Ever been out in a big field and need to tell something to Joe at the other end? If you’re lucky Sally is in between and you can shout to Sally to tell Joe your message. Maybe Joe shouts back to Sally in reply.
That’s how amateur radio repeaters work.
Friend of Hackaday [Kenneth Finnegan] got tired of explaining the details of repeaters so he put together a pair of repeater tutorial videos, the first of which is found after the break.

The higher radio frequencies, say 50 MHz and above, typically only propagate within line of sight. Add in limited power and antennas from a hand-held, typically under 5 watts and the ubiquitous ‘rubber ducky’ antenna, and you cannot talk very far. Mobile rigs in vehicles with 50 watts and larger antennas do better but in reality they don’t help all that much.
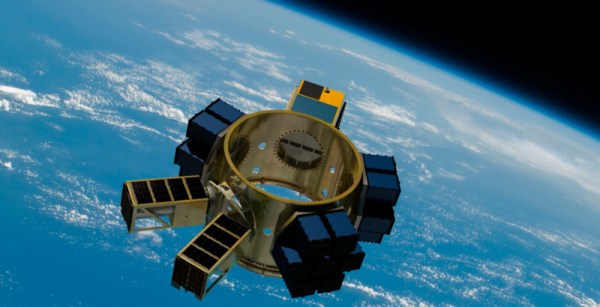
What really makes an improvement is height to improve range. Height provides a longer line of sight with fewer obstructions. Hams created repeaters and put them on towers, buildings or hill tops to expand the radio horizon. The ultimate repeaters are space satellites. Can’t get much higher than that. A close second are balloons going to near space altitudes with repeaters which will provide multi-state coverage.
Besides providing height, a repeater will also have higher output power and much better antennas, especially important for receiving weak signals from distant handhelds. A signal comes in and is repeated back out on a slightly different frequency. All modern ham gear on these frequencies is setup to handle this offset frequency operation.
Whether hams came up with the idea is arguable, but they were certainly there during the early days.

 hose licensed as hams will be able to
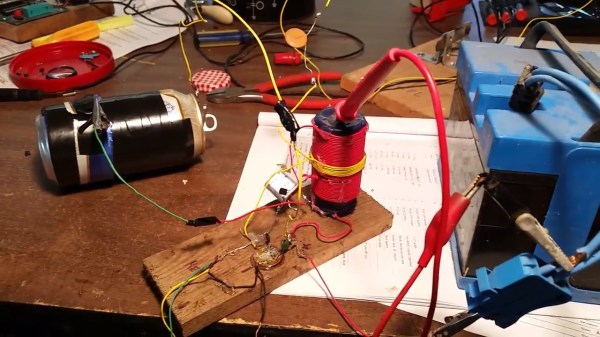
 If the crystal is “easily” scavengeable, and the rest of the radio is easily home-made, the tuning capacitor (obtainable from old AM/FM radios) can become the sticking point. So [Paul] cut up two aluminum “beverage” cans, wrapped the inner one in electrical tape, hooked up wires and made his own variable capacitor. By sliding the cans in or out so that more or less of them overlap, he can tune the radio to exactly the crystal’s natural frequency.