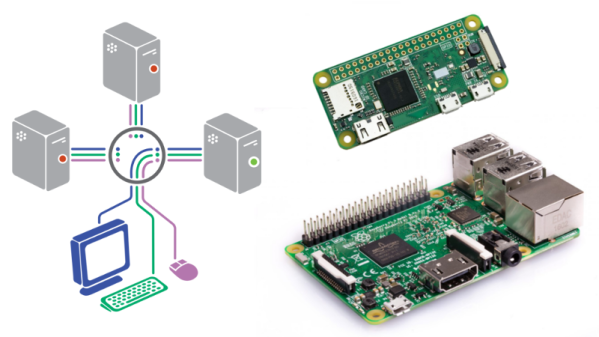
Sometimes you have a whole bunch of computers that you need to work with, and having a keyboard, monitor, and mouse for each one becomes too much to deal with. There are a multitude of solutions to this problem, but [Fmstrat] went the hacker route, and built their own.
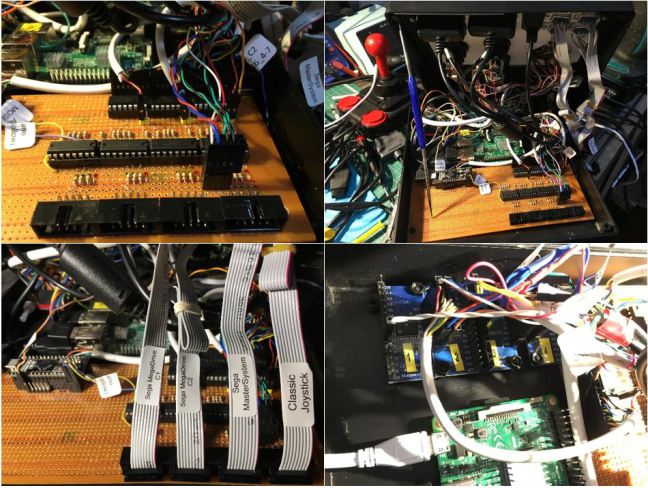
The build is a rather unique way of controlling PCs remotely, but it does the job. A Raspberry Pi 3 is pressed into service as the core of the operation. It’s accessible over IP for remote control. Video is captured from the controlled machines through the combination of an HDMI-to-S-Video adapter and an analog video capture card plugged into the Pi. Keystrokes are sent in a roundabout way, first sent to a Pi Zero over a USB-to-Serial adapter. From there, the Pi acts as an emulated mouse and keyboard to the PC under control.
One caveat of remotely controlling computers over a network is that if things go pearshaped, it can become necessary to power cycle the machine. [Fmstrat] deals with this by fitting a relay board to the Pi 3, which is connected to the reset buttons of the machines under control.
It may not be the quickest, easiest, or industry standard way of controlling remote computers, but it works. [Fmstrat] tells us this build was primarily designed to get around the fact that there aren’t any decent cheap IP-KVM systems, and consumer motherboards don’t support the IPMI standard that would otherwise be useful here.
We particularly like the hard-wired relays for rebooting a machine – great for when a network dropout is stopping Wake-on-LAN packets from achieving their goal. While the conversion of HDMI outputs into analog video for capture is unusual and somewhat costly on a per-machine basis, it’s functional and gives the system the ability to work with any machine capable of outputting a basic analog video signal. With the Pi Zero keyboard emulation and analog video capture, we could see this being used with everything from modern computers to vintage 80s hardware. If you’ve ever needed to control an Amiga 2000 remotely for whatever reason, this could be the way to do it.
We’ve seen plenty of other KVM builds over the years, too – like this low-cost HDMI switcher.