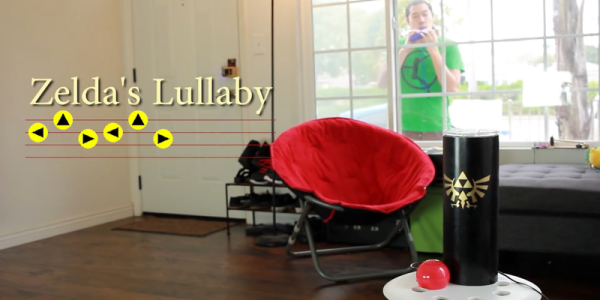
Voice recognition is this year’s model for home automation, but aside from feeling like you’re onboard the Aries 1b arguing with HAL 9000, it just doesn’t do it for our geeky selves. So what’s even geekier? How about carrying around an ocarina in your pocket so that you can get a Raspberry Pi to unlock the door for you? (YouTube video, embedded below.) Yeah, that’ll do.
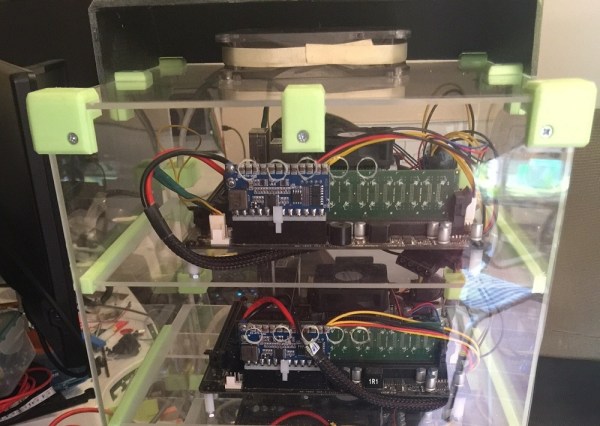
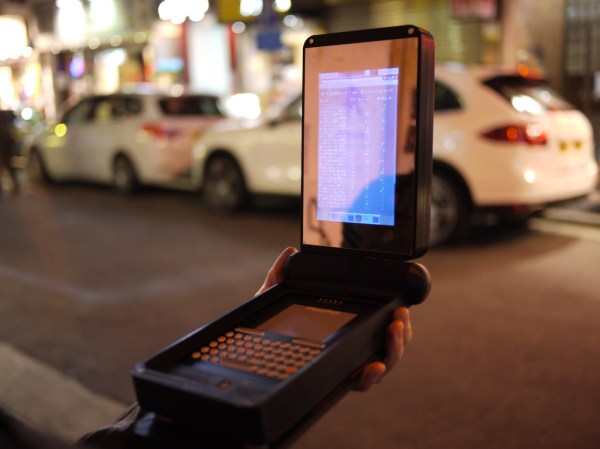
[Sufficiently Advanced]’s video gets us 90% of the way toward replicating this build. There’s a tube with a microphone and a Raspberry Pi inside. There are a bunch of ESP8266-powered gadgets scattered around the house that take care of such things as turning on and off the heater, watering plants, and even pressing a (spare) car remote with a servo.
We’d love to know what pitch- or song-recognition software the Raspberry Pi is running. We’ve wanted to implement a whistling-based home automation interface since seeing the whistled. We can hold a tune just fine, but we don’t always start out on the same exact pitch, which is a degree of freedom that [Sufficiently Advanced]’s system doesn’t have to worry about, assuming it only responds to one ocarina.
If you’re questioning the security of locking and unlocking your actual apartment by playing “Zelda’s Lullaby” from outside your window, you either overestimate the common thief or you just don’t get the joke. The use case of calling (and hopefully finding) a cell phone is reason enough for us to carry a bulky ocarina around everywhere we go!


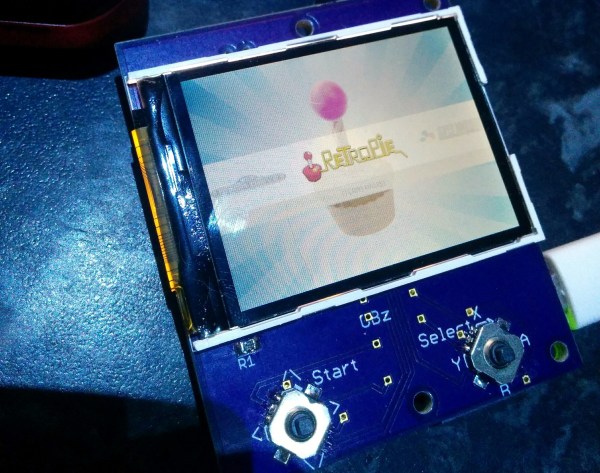
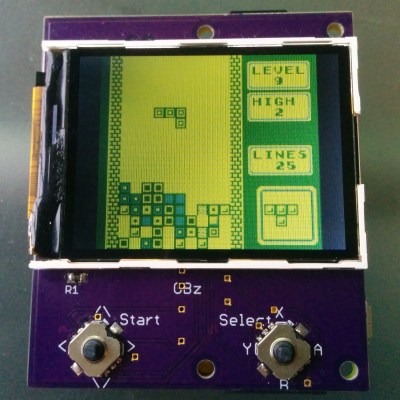 This build is based on the Pi Zero and a 2.2″ (0.56 dm) ili9341 TFT display. This display has a resolution of 240×320 pixels, which is close enough to the resolution of the systems the Pi Zero can emulate. The Pi Zero and display are attached to a beautiful purple breakout board (


