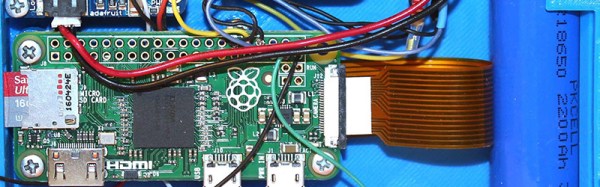
What’s the quickest way to turn one game into 2,400? Cram a Raspberry Pi Zero running RetroPie into an NES cartridge and call it Pi Cart.
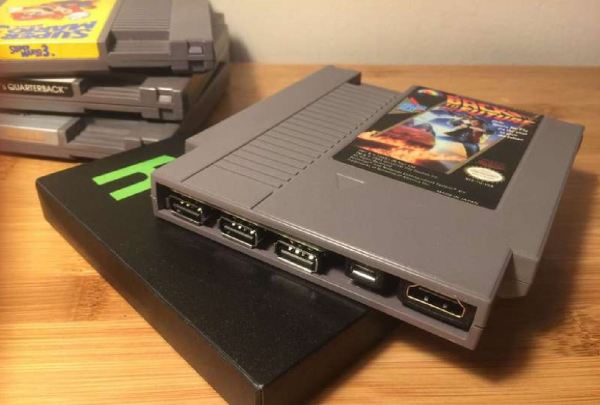
This elegant little build requires no soldering — provided you have good cable management skills and the right parts. To this end, [Zach] remarks that finding a USB adapter — the other main component — small enough to fit inside the cartridge required tedious trial and error, so he’s helpfully linked one he assures will work. One could skip this step, but the potential for couch co-op is probably worth the effort.
Another sticking point might be Nintendo’s use of security screws; if you have the appropriate bit or screwdriver, awesome, otherwise you might have to improvise. Cutting back some of the plastic to widen the cartridge opening creates enough room to hot glue in the USB hub, a micro USB port for power, and an HDMI port in the resulting gap. If you opted to shorten the cables, fitting it all inside should be simple, but you may have to play a bit of Tetris with the layout to ensure everything fits.