More people working from home has had an impact on the cost and availability of USB webcams, so [Jeff Geerling] got around the issue with a DIY solution that rang in around $100. It consists of a Raspberry Pi and HQ camera module acting as a USB webcam, and there is no messy streaming of ffmpeg over the network masquerading as a camera device or anything. It works just as a USB camera should.
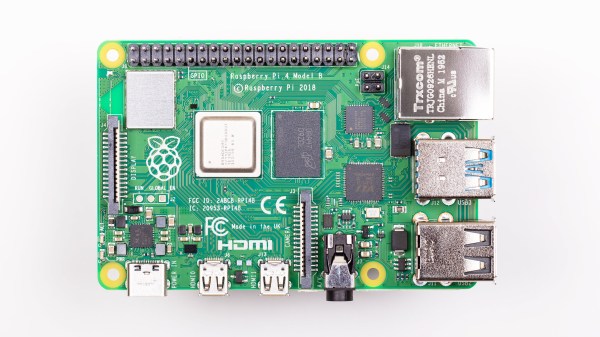
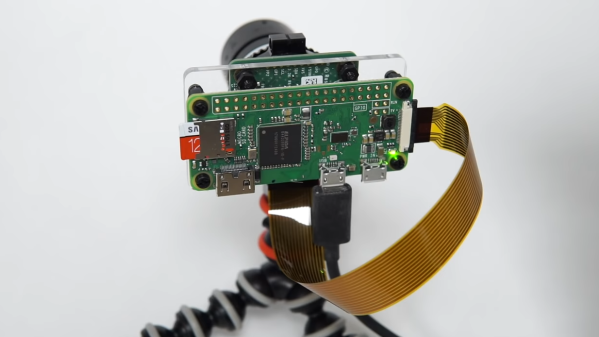
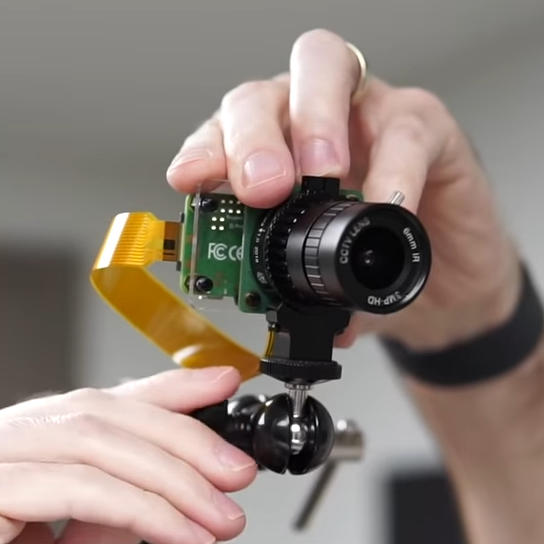 [Jeff] chose a Raspberry Pi Zero and HQ camera module for his unit, making a tidy package that might not be quite as small as commercial webcams, but is certainly perfectly respectable as a USB camera. That being said, there are a few drawbacks, namely the lack of a microphone or autofocus, latency issues at higher resolutions, and the need to shut down the Pi cleanly.
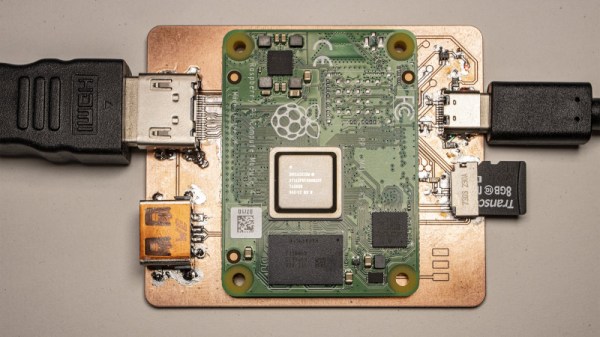
Check out the GitHub repository for everything needed to set up your own, including a complete hardware list and some options for mounting. [Jeff] also tested whether the camera would work with the new keyboard-embedded Raspberry Pi 400, and it absolutely does. Embedded below is a video walkthrough and demonstration of the whole project, so check it out.
Continue reading “USB Webcams Out Of Stock? Make One With A Raspberry Pi And HQ Camera Module”