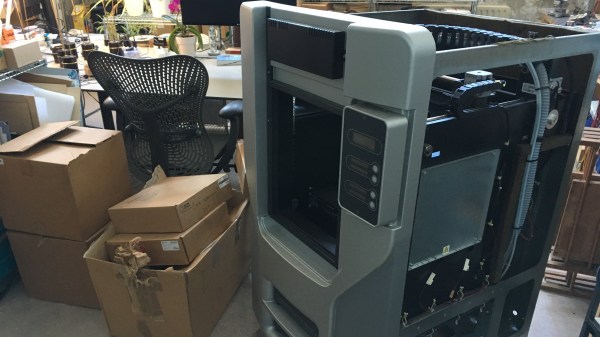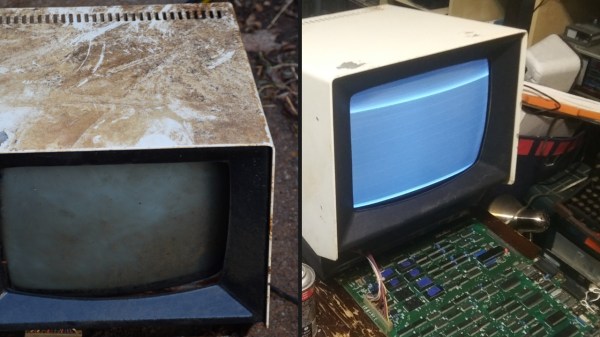
When Datamedia announced their new DT80 terminal as a VT100 killer back in 1979, they were so confident of its reliability, they threw in a full one-year warranty. Now, decades later, that confidence is once more put to the touch after [RingingResonance] fished one such terminal out of a creek by an old illegal dumping site. Not knowing what to expect from the muck-ridden artifact, his journey of slowly breathing life back into the device began.
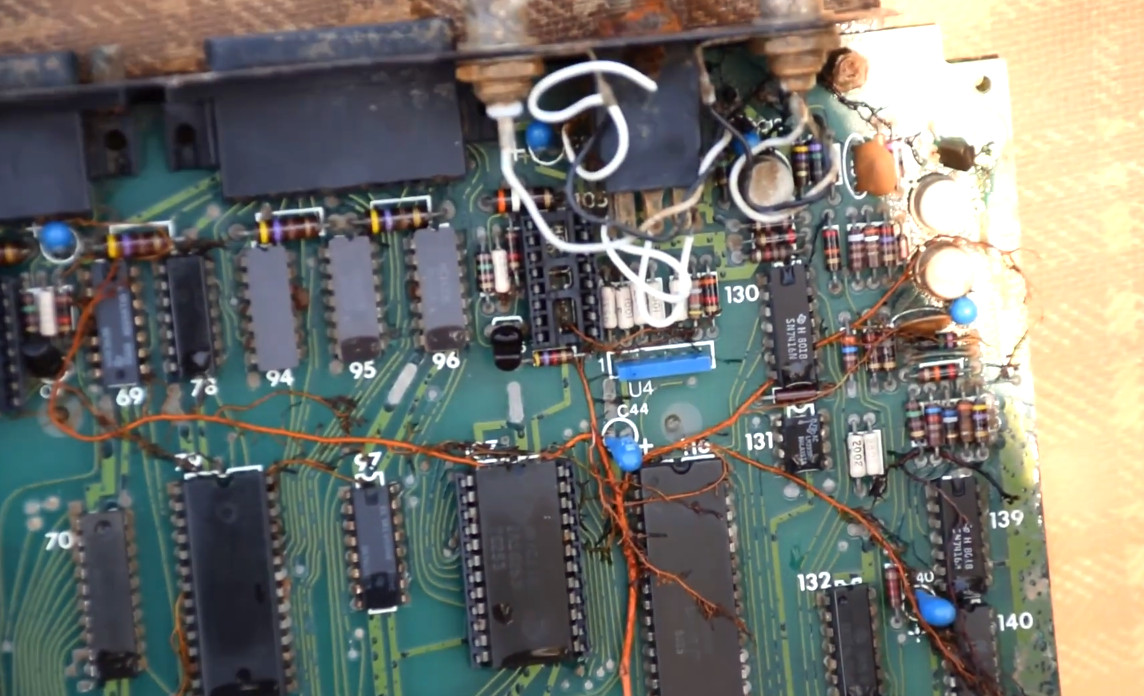
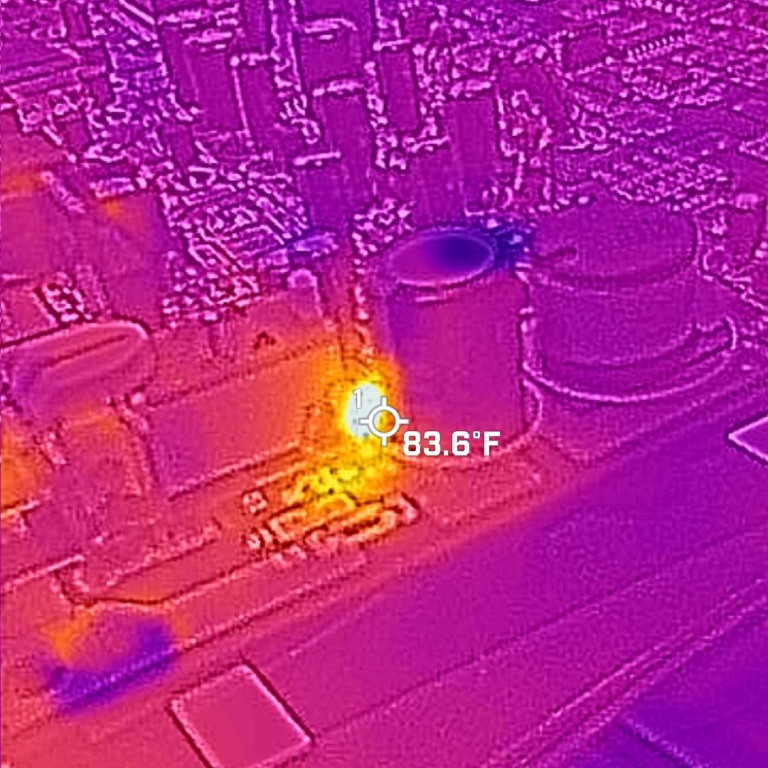
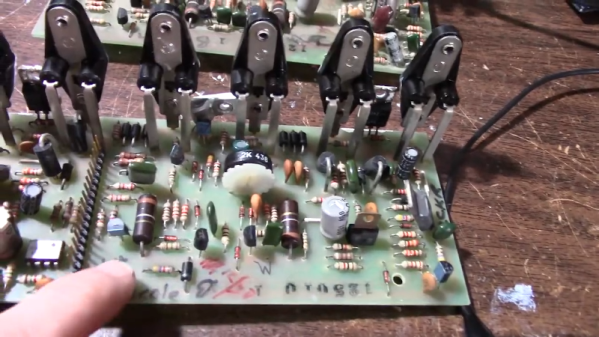
Considering the layers of mud and roots already growing all over the main board, one can only assume how long the terminal has actually been in there. But cleaning it from all that was only the beginning: some components were missing, others turned out to be broken, including some of the ROMs, which [RingingResonance] speculates may have been caused by lightning which determined the DT80’s fate in the first place.
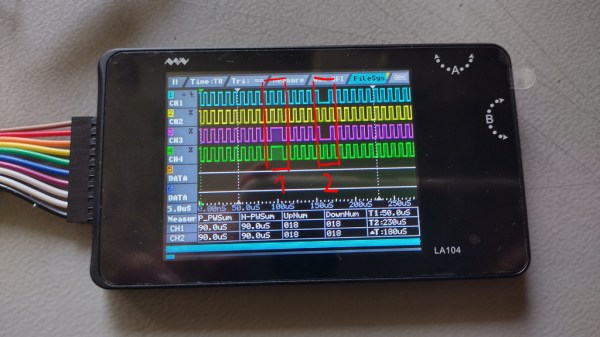
That’s when the adventure really started though, digging deep into the terminal’s inner life, eventually writing a debugger and own firmware for it. That code, along with all other research, notes, and links to plenty more pictures can be found in the GitHub repository, and is definitely worth checking out if you’re into the technologies of yesteryear.
Despite the DT80’s claimed superiority, the VT100 prevailed and is the terminal that history remembers — and emulates, whether as tiny wearable or a full look-alike. But this fall into oblivion was also part of [RingingResonance]’s motivation to keep going forward restoring the DT80. Someone had to. So if you happen to have anything to contribute to his endeavours or share with him, we’re sure he will appreciate you reaching out to him.
Continue reading “Re-reclaimed From Nature: Resurrecting A DT80 Terminal”