drill battery retrofit

Frankensteined Cordless Drill Lives Again

With tools, especially cordless tools, you’re going to pay now or pay later. On one hand, you can spend a bunch of money up front and get a quality tool that will last a long time. The other option is purchasing a cheap cordless tool that won’t last long, having to replace it later and thus spending more money. With cheap cordless tools it is common for the battery to fail before the physical tool making that tool completely unusable. Sure, another battery could be purchased but sometimes they cost just as much as the tool and battery combo originally did. So what’s a cordless tool user to do?

[EngergySaver] had a set of DeWalt cordless tools with a bunch of working batteries. He also had a cheap drill where the battery had died. His bundle of tools included two flashlights, one of which the case physically broke in half, probably from a clumsy drop. Instead of tossing the broken flashlight pieces in the garbage, [EngergySaver] kept them around for a while. Then one day he had the idea of combining the base of the broken DeWalt flashlight with the top of the old battery-less drill. He had the parts so why not?

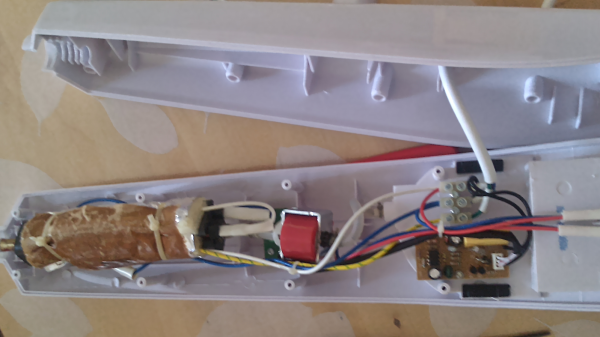
The battery pack was 18 volt and the cheap drill expected 16.8 volts. [EngergySaver] figured the voltages were close enough and decided not to worry about the difference during his hack. He started by disassembling both the drill and flashlight down to the bare plastic housings. He marked an appropriate place to splice the handles and made some cuts. After the wiring was spliced together and the tool casings reassembled, a piece of sheet metal was cut and bent around the handle at the joint between flashlight and drill. Hose clamps hold the sheet metal tight around the handles, keeping the new hybrid tool together. And although we’re not crazy about the sheet metal and hose clamp method, it seems to be working just fine. With a little work and ingenuity [EngergySaver] resurrected an old tool for our favorite price; $0.

Dewalt Radio Repair

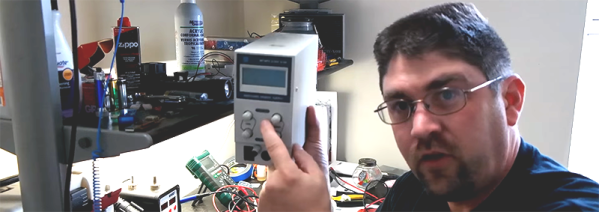
We’re suckers for repair videos and this Dewalt worksite radio repair (YouTube Link) from Hackaday alum [Todd Harrison] is no exception. Like a detective story, we’re always trying to guess who did it.

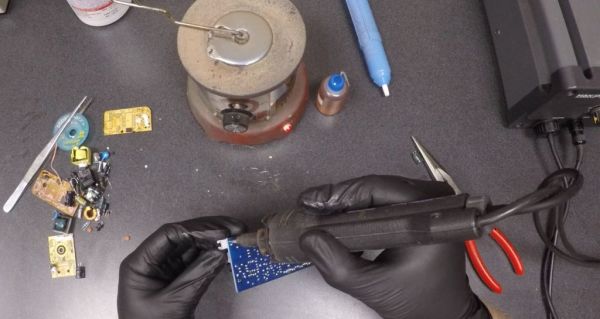
In his first video [Todd] traced the issue down to a faulty 6 volt regulator which was pushing out 8 volts. He fixed that by hacking a LM317 into the circuit to replace the original non-adjustable part. That helped but after a few days the radio failed again. So here he traced out the voltages to find the second culprit. Along the way, we get to see some of the nicer features of his Fluke 87 and 289 meters. As well as puzzling over the some of the design decisions in the radios construction, before identifying the final issue.

We won’t spoil the surprise, but find out how Todd solves this riddle, wrapped in a mystery, inside an enigma in the video below!

Continue reading “Dewalt Radio Repair”

Hacking A Wireless AC Power Outlet

It’s always nice to see hackers pick up stuff headed for the landfill and put it back in action with a quick repair and upgrade. [Septillion] found a wireless remote controlled AC outlet in the junk bin and decided to do just that. A nice spin-off of such hacks is that we end up learning a lot about how things work.

His initial tests showed that the AC outlet and its remote could be revived, so he set about exploring its guts. These remote AC outlets consist of an encoder chip on the remote and a corresponding decoder chip on the outlet, working at 433MHz.  Since the various brands in use have a slightly different logic, it needed some rework to make them compatible. The transmit remote was a quick fix – changing the DIP switch selected address bits from being pulled low to high and swapping the On and Off buttons to make it compatible with the other outlets.

Working on the AC outlet requires far more care and safety. The 230V AC is dropped down using a series capacitor, so the circuit is “hot” to touch. Working on it when it is powered up requires extreme caution. A quick fix would have been to make the changes to the address bits and the On/Off buttons to reflect the changes already made in the remote transmitter. Instead, he breadboarded a small circuit around the PIC12F629 microcontroller to take care of the data and address control. Besides, he wanted to be able to manually switch the AC outlet. The relay control from the decoder was routed via the microcontroller. This allowed either the decoder or the local manual switch from controlling the relay. Adding the PIC also allowed him to program in a few additional modes of operation, including one which doubled the number of outlets he could switch with one remote.

Restoring A Vintage PDP-11/04 Computer

[MattisLind] spent one and a half years to complete restoration of a Digital Equipment Corporation (DEC) PDP-11/04 including peripherals like a TU60 tape drive and a LA30P Decwriter printing terminal. The computer is now able to run CAPS-11 which is a very simple operating system and also CAPS-11/BASIC. Just like the project itself, his blog post is quite long filled with interesting details. For a tl;dr version, check the video after the break.

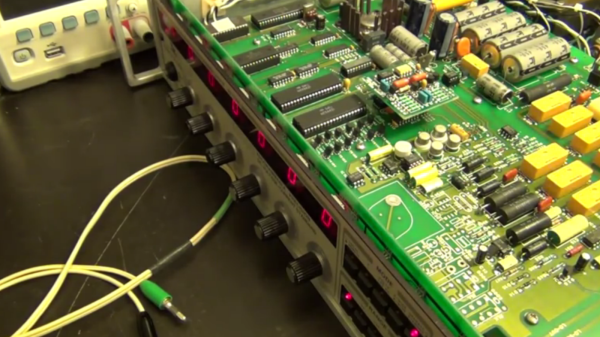
This system originally belonged to Ericsson and [MattisLind] received it from Ericsson computer club, EDKX. He was lucky to have access to online resources which made the task easier. But it still wasn’t easy considering the number of hardware faults he had to tackle and the software challenges too. The first task was obviously looking at the Power supply. He changed the big electrolytic capacitors, and the power supply seemed to work well with his dummy load, but failed when hooked up to the backplane of the computer. Some more digging around, and a replaced thyristor later, he had it fixed. The thyristor was part of a crowbar circuit to protect the system from over-voltages should one of the main switching transistors fail.

With the power supply fixed, the CPU still wouldn’t boot. Some sleuthing around, and he pin pointed the bus receiver chip that had failed. His order of the device via a Chinese ebay seller was on the slow boat, so he just de-soldered a device from another board which improved things a bit, but it was still stuck in a loop. A replacement communications board and the system now passed diagnostics check, but failed memory testing. This turned out to be caused be a faulty DIP switch. He next tackled all the software challenges in getting the CPU board up to speed.

Continue reading “Restoring A Vintage PDP-11/04 Computer”

ESP8266 ESP07 Module DoA Fix

It seems the Far-East factories can’t churn out ESP8266 based modules fast enough to feed all the world’s hackers. Well, Pick-n-Place machines are human too, so it’s not too long before you end up with a messed up batch from a factory. [Tracker Johnny] found a bunch of ESP07 modules which had their resonator mounted the wrong way around, effectively making them DoA. The resonator mounting isn’t consistently wrong too – most have reported them 90 deg offset, while others had them 180 deg. off.

Unfortunately, you need some tools and skills to fix the error. The ESP07 modules have a metal shield which needs to be removed to access the resonator. This is best done using a hot air gun. With the cover removed, you need to de-solder the resonator, and put it back in the right orientation as shown in the pictures on [Tracker Johnny]’s blog. You can find other people reporting the same fault at this forum thread. Coming in the wake of the problem with magic smoke from ESP8266 based ESP01 modules we reported earlier, it seems obvious that quality comes at a cost.

Fixing Sega Cartridges With Old BIOS Chips

For one reason or another, [Dragao] has an old Sonic The Hedgehog cartridge that throws an illegal instruction somewhere in the Marble Zone stage. While the cause of this illegal instruction is probably cosmic rays, how to repair this cartridge isn’t quite as clear. It can be done, though, using BIOS chips from an old computer.

[Dragao] got the idea of repairing this cartridge from Game Boy flash carts. These cartridges use chips that are a simple parallel interface to the address and data lines of the Game Boy’s CPU, and Sega Genesis / Mega Drive flash cart would work the same way. The problem was finding old DIP flash chips that would work. He eventually found some 8-bit wide chips on the motherboard of an old computer, and by stacking the chips, he had a 16-bit wide Flash chip.

To program the chips, [Dragao] wired everything up to an Arduino Mega, put a ROM on the chip, and wired it up to the old Sega cartridge. Surprisingly or unsurprisingly, everything worked, and now [Dragao] has a fully functioning copy of Sonic The Hedgehog.

Camry Battery

Fixing A Toyota Camry Hybrid Battery For Under Ten Dollars

[scoodidabop] is the happy new owner of a pre-owned Toyota Camry hybrid. Well at least he was up until his dashboard lit up like a Christmas tree. He did some Google research to figure out what all of the warning lights meant, but all roads pointed to taking his car into the dealer. After some diagnostics, the Toyota dealer hit [scoodidabop] with some bad news. He needed a new battery for his car, and he was going to have to pay almost $4,500 for it. Unfortunately the car had passed the manufacturer’s mileage warranty, so he was going to have to pay for it out-of-pocket.

[scoodidabop] is an electrician, so he’s obviously no stranger to electrical circuits. He had previously read about faulty Prius batteries, and how a single cell could cause a problem with the whole battery. [scoodidabop] figured it was worth testing this theory on his own battery since replacing a single cell would be much less expensive than buying an entire battery.

He removed the battery from his car, taking extra care not to electrocute himself. The cells were connected together using copper strips, so these were first removed. Then [scoodidabop] tested each cell individually with a volt meter. Every cell read a voltage within the normal range. Next he hooked up each cell to a coil of copper magnet wire. This placed a temporary load on the cell and [scoodidabop] could check the voltage drop to ensure the cells were not bad. Still, every cell tested just fine. So what was the problem?

[scoodidabop] noticed that the copper strips connecting the cells together were very corroded. He thought that perhaps this could be causing the issue. Having nothing to lose, he soaked each and every strip in vinegar. He then wiped down each strip with some steel wool and placed them into a baking soda bath to neutralize the vinegar. After an hour of this, he reassembled the battery and re-installed it into his car.

It was the moment of truth. [scoodidabop] started up his car and waited for the barrage of warning lights. They never came. The car was running perfectly. It turned out that the corroded connectors were preventing the car from being able to draw enough current. Simply cleaning them off with under $10 worth of supplies fixed the whole problem. Hopefully others can learn from this and save some of their own hard-earned money.