The Dipole Antenna Isn’t As Simple As It Appears

Dipole antennas are easy, right? Just follow the formula, cut two pieces of wire, attach your feedline, and you’re on the air.  But then again, maybe not. You’re always advised to cut the legs a little long so you can trim to the right length, but why? Shouldn’t the math just be right? And what difference does wire choice make on the antenna’s characteristics? The simple dipole isn’t really that simple at all.

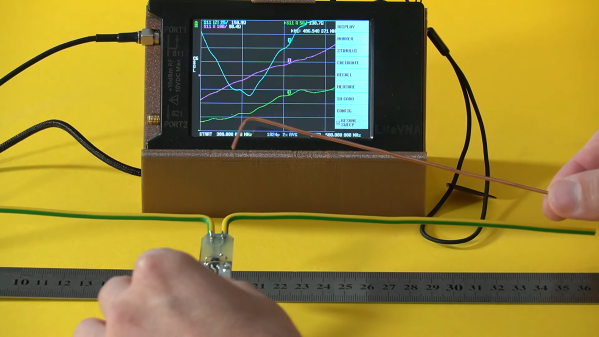
If you’ve got antenna questions, check out [FesZ]’s new video on resonant dipoles, which is a deep dive into some of the mysteries of the humble dipole. In true [FesZ] fashion, he starts with simulations of various dipole configurations ranging from the ideal case — a lossless conductor in free space with as close to zero diameter conductors as the MMANA antenna simulator can support — and gradually build up to more practical designs. Continue reading “The Dipole Antenna Isn’t As Simple As It Appears”

Spin Up To Speed With This Stroboscope

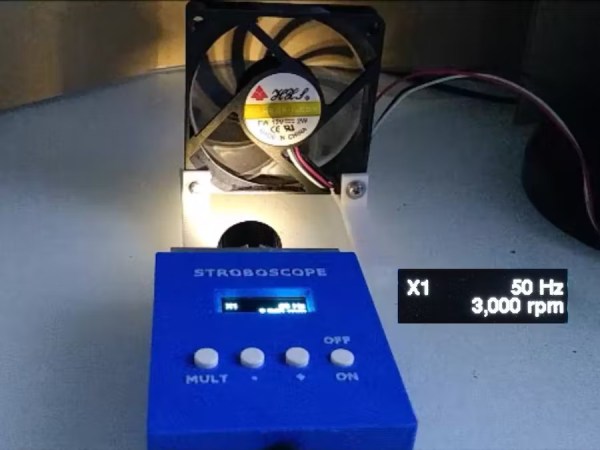
A stroboscope is not the most common tool, and while they can be purchased fairly inexpensively from various online stores, they are straightforward enough tools that plenty of us could build our own mostly from parts laying around. The basic idea is to shine a flashing light on a spinning object, and when it appears stationary the stroboscope will indicate the rotational speed. There are a few specialty parts that might not be in everyone’s parts drawers, though, and [John] shows us the ins-and-outs of his own DIY stroboscope.

The effect relies on extremely precise timing, and as such the most important part of a build like this is making sure to get the LED circuitry correct so its duty cycle and frequency can be tightly controlled. [John] is using a PT4115E driver board for the LED, and is using it to power a 1W white LED which also includes its own heat sink and lens. The controls for the stroboscope are handled by an ATtiny1614 microcontroller which shows its pulse rate on a small screen. The user can control the rate the LED flashes with simple controls, and when the spinning object appears to come to a stop the only thing left to do is read this value off of the screen.

While it might seem like an overly niche tool, stroboscopes have plenty of day-to-day uses. Older cars that used a central distributor made use of a specialty stroboscope called a timing light in order to properly advance the ignition timing of the engine. They also retain some use in medical applications, and plenty of older readers may be familiar with their use adjusting the speed on record players. They can also be used to make sure the shutter speeds on cameras are calibrated correctly.

Continue reading “Spin Up To Speed With This Stroboscope”

Metal Detector Gets Help From Smartphone

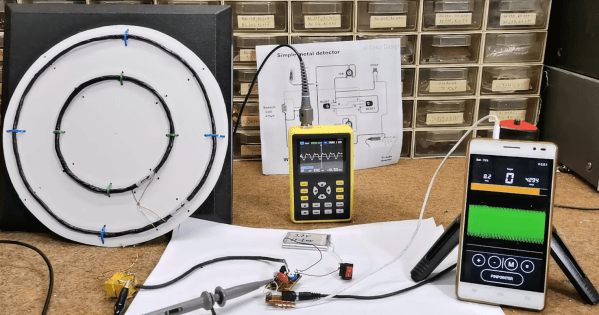
[mircemk] is quite a wizard when it comes to using coils of wires in projects, especially when their application is within easy-to-build metal detectors. There are all kinds of ways to send signals through coiled wire to detect metal objects in the ground, and today [mircemk] is demonstrating a new method he is experimenting with which uses a smartphone to detect the frequency changes generated by the metal detector.

Like other metal detectors, this one uses two coils of wire with an oscillator circuit and some transistors. The unique part of this build, though, is how the detector alerts the user to a piece of metal. Normally there would be an audible alert as the frequencies of the circuit change when in the presence of metal, but this one uses a smartphone to analyze the frequency information instead. The circuit is fed directly into the headphone jack on the smartphone and can be calibrated and used from within an Android app.

Not only can this build detect metal, but it can discriminate between different types of metal. [mircemk] notes that since this was just for experimentation, it needs to be calibrated often and isn’t as sensitive as others he’s built in the past. Of course this build also presumes that your phone still has a headphone jack, but we won’t dig up that can of worms for this feature. Instead, we’ll point out that [mircemk] has shown off other builds that don’t require any external hardware to uncover buried treasure.

Continue reading “Metal Detector Gets Help From Smartphone”

More Software-Defined Radio Projects Using DragonOS

DragonOS, a Debian-based Linux distribution specifically packaged for software-defined radio functionality, roared onto the wavelengths during the beginnings of the various pandemic lockdowns last year. Since then [Aaron], the creator of the OS, has been busy adding features to the distribution as well as creating plenty of videos which show off its capabilities and also function as how-tos for people who might want to learn about software-defined radio. The latest is a video about using this software to detect radio signals in certain specified spectrums.

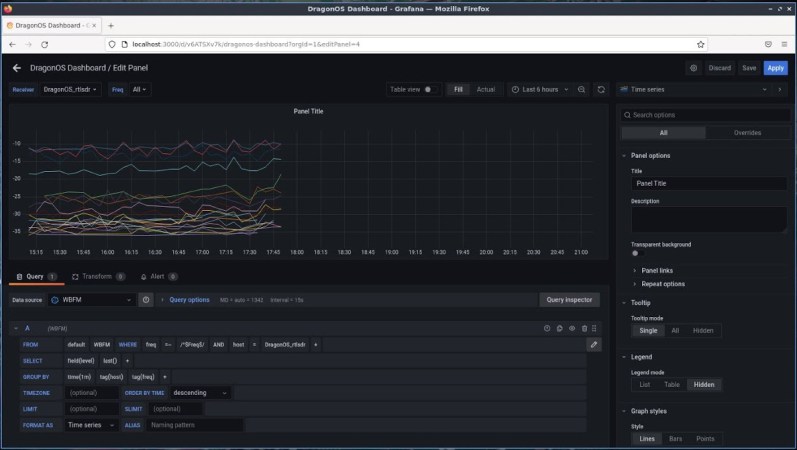
This build uses two  RTL-SDR devices paired with the DragonOS software suite to automatically detect active frequencies within a specified frequency range and that aslo exceed a threshold measured above the average noise floor. The video includes the setup of the software and its use in detecting these signals, but also includes setup of influxdb and Grafana which provide logging capabilities as well. Using this setup, multiple receivers either local or over the internet can then be configured to dump all the identified frequencies, powers, and time stamps into DragonOS.

[Aaron] has also been helping developers to build the SDR4space.lite application which includes GPS support, so he hopes that in a future video a user will be able to easily associate location to identified frequencies. Projects like these also serve as a reminder that getting into software-defined radio is as easy as buying a $10 USB radio receiver and configuring some free software to do anything that you can imagine like tracking ships and airplanes in real time.

Continue reading “More Software-Defined Radio Projects Using DragonOS”

Automatic guitar tuning robot

Handheld Bot Takes The Tedium Out Of Guitar Tuning

Even with fancy smartphone apps and custom-built tuners, tuning a guitar can be a tedious process, especially for the beginner. Pluck a string, figure out if the note is sharp or flat, tighten or loosen accordingly, repeat. Then do the same thing for all six strings. It’s no wonder some people never get very far with the guitar.

Luckily, technology can come to the rescue in the form of this handy open-source automatic guitar tuner by [Guyrandy Jean-Gilles]. The tuner has a Raspberry Pi Pico inside, with a microphone attached to the ADC. The program running on the Pico listens for the sound of a plucked string and determines whether the note is sharp or flat. The Pico then drives a small DC gear motor in the appropriate direction, which turns the peg the right way to bring the string into tune. The tuner makes ample use of 3D-printed parts, STLs for which are included in the project repo. [Guyrandy] has also made some updates to the project to make the tuner a little easier to use.

While there’s an affordable commercial version of this — upon which [Guyrandy] based his design — we really like the fact that he rolled his own here, and made the design freely accessible to everyone. We also like the idea that guitarists who can’t use tuners requiring visual feedback can use this, too — just like this one.

[via r/raspberry_pi]

Keep Coffee Warm Through Induction Heating

Transformers have an obvious use for increasing or decreasing the voltage in AC systems, but they have many other esoteric uses as well. Electric motors and generators are functionally similar and can be modeled as if they are transformers, but the truly interesting applications are outside these industrial settings. Wireless charging is essentially an air-core transformer that allows power to flow through otherwise empty space, and induction cooking uses a similar principle to induce current flow in pots and pans. And, in this case, coffee mugs.

[Sajjad]’s project is an effort to keep his coffee warm while it sits on his desk. To build this special transformer he places his mug inside a coil of thick wire which is connected to a square wave generator. A capacitor sits in parallel with the coil of wire which allows the device to achieve resonance at a specific tuned frequency. Once at that frequency, the coil of wire efficiently generates eddy currents in the metal part of the coffee mug and heats the coffee with a minimum of input energy.

While this project doesn’t work for ceramic mugs, [Sajjad] does demonstrate it with a metal spoon in the mug. While it doesn’t heat up to levels high enough to melt solder, it works to keep coffee warm in a pinch if a metal mug isn’t available. He also plans to upgrade it so it takes up slightly less space on his desk. For now, though, it can easily keep his mug of coffee hot while it sits on his test bench.

Continue reading “Keep Coffee Warm Through Induction Heating”

Reliable Frequency Reference From GPS

GPS technology is a marvel of the modern world. Not only can we reliably locate positions on the planet with remarkable accuracy and relatively inexpensive hardware, but plenty of non-location-based features of the technology are available for other uses as well. GPS can be used for things like time servers, since the satellites require precise timing in order to triangulate a position, and as a result they can also be used for things like this incredibly accurate frequency reference.

This project is what’s known as a GPSDO, or GPS-disciplined oscillator. Typically they use a normal oscillator, like a crystal, and improve its accuracy by pairing it with the timing signal from a GPS satellite. This one is a standalone model built by [Szabolcs Szigeti] who based the build around an STM32 board. The goal of the project was purely educational, as GPSDOs of various types are widely available, but [Szabolcs] was able to build exactly what he wanted into this one including a custom power supply, simple standalone UI, and no distribution amplifier.

The build goes into a good bit of detail on the design and operation of the device, and all of the PCB schematics and source code are available on the projects GitHub page if you want to build your own. There are plenty of other projects out there that make use of GPS-based time for its high accuracy, too, like this one which ties a GPS time standard directly to a Raspberry Pi.