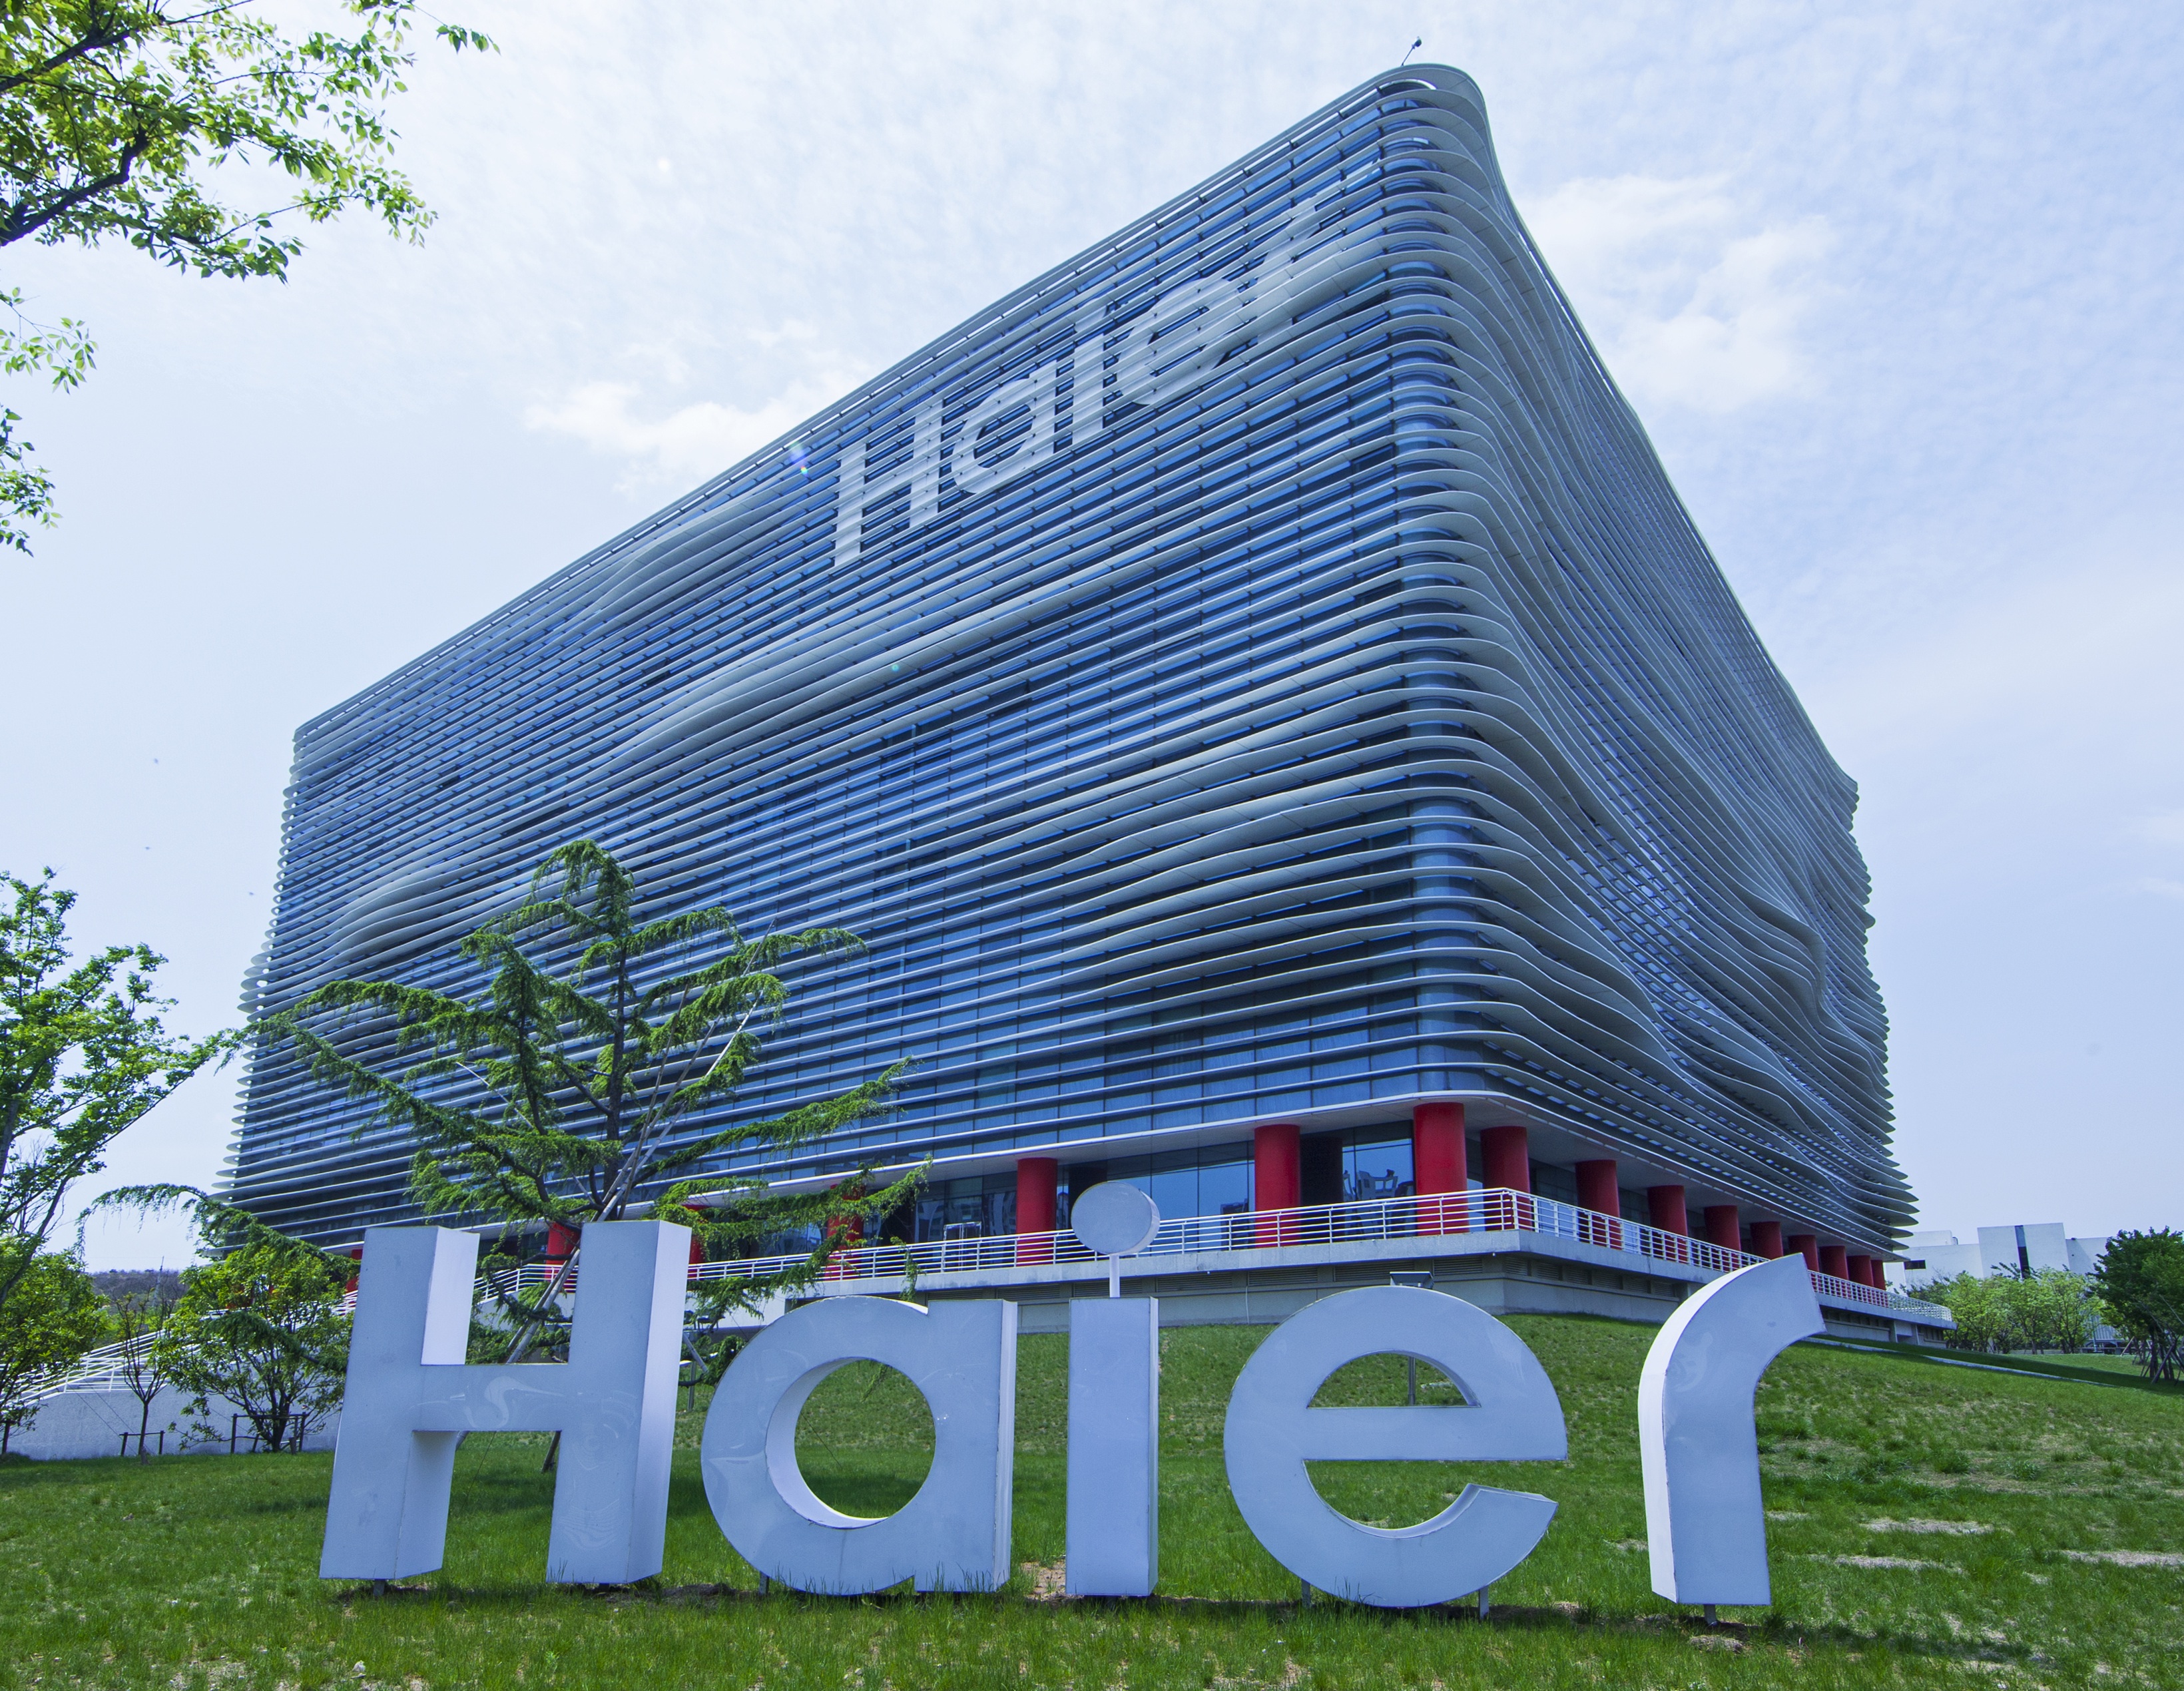
Showing a car dash screen with options menu, showing a "Steering" entry and a bunch of options one can change, i.e. Normal, Sport, offroad, Eco etc.

Your Car Has Driving Profiles – Here’s How To Change Them

Just like mobile phones of yesteryear, modern cars have profiles. They aren’t responsible for the sounds your car produces, however, as much as they change how your car behaves – for instance, they can make your engine more aggressive or tweak your steering resistance. On MQB platform cars, the “Gateway” module is responsible for these, and it’s traditionally been a black box with a few user-exposed profiles – not as much anymore, thanks to the work of [Jille]. They own a Volkswagen hybrid car, and had fun changing driving modes on it – so naturally, they decided to reverse-engineer the configuration files responsible.

Now, after two years of experimentation, tweaking values and observing changes, there’s quite some sense made of the configuration binaries. You can currently edit these binaries, also referred to as datasets, in a hex editor – there’s profiles for the 010 hex editor that make sense of the data you load, and explanation of the checksums involved. With this, you are no longer limited by profiles the manufacturer composed – if a slightly different driving combination of parameters makes more sense to you, you can recombine them and have your own profile, unlock modes that the manufacturer decided to lock out for non-premium cars, and even fix some glaring oversights in factory modes.

This is pretty empowering, and far from ECU modifications that introduce way more fundamental changes to how your car operates – the parameters being changed are within the range of what the manufacturer has implemented. The smarter our cars become, the more there is for us hackers to tweak, and even in a head unit, you can find things to meaningfully improve given some reverse-engineering smarts.

The SSD described, a green board with a ZIP connector, a controller chip and two out of four NAND chips populated. There's traces of flux on the chip, as it hasn't been washed after soldering yet.

ZIF HDDs Dying Out? Here’s An Open-Source 1.8″ SSD

A lot of old technology runs on parts no longer produced – HDDs happen to be one such part, with IDE drives specifically being long out of vogue, and going extinct to natural causes. There’s substitutes, but quite a few of them are either wonky or require expensive storage medium. Now, [dosdude1] has turned his attention to 1.8 ZIF IDE SSDs – FFC-connected hard drives that are particularly rare and therefore expensive to replace, found in laptops like the Macbook Air 1,1 2008 model. Unsatisfied with substitutes, he’s designed an entire SSD from the ground up around an IDE SSD controller and NAND chips. Then, he made the design open-source and filmed an assembly video so that we can build our own. Take a look, we’ve put it below the break!

For an open-source design, there’s a respectable amount of work shared with us. He’s reverse-engineered some IDE SSDs based on the SM2236 controller to design the schematic, and put the full KiCad files on GitHub. In the video, he shows us how to assemble this SSD using only a hot air station and a soldering iron, talks about NAND matching and programming software intricacies, and shows the SSD working in the aforementioned Macbook Air. Certainly, assembly would have been faster and easier with a stencil, but the tools used work great for what’s a self-assembly tutorial!

Continue reading “ZIF HDDs Dying Out? Here’s An Open-Source 1.8″ SSD”

The Meraki AP PCB on a desk, case-less, with three USB-UARTs connected to its pins - one for interacting with the device, and two for monitoring both of the UART data lines.

Flashing Booby-Trapped Cisco AP With OpenWrt, The Hard Way

Certain manufacturers seriously dislike open-source firmware for their devices, and this particular hack deals with quite extreme anti-hobbyist measures. The Meraki MR33, made by Cisco, is a nice access point hardware-wise, and running OpenWrt on it is wonderful – if not for the Cisco’s malicious decision to permanently brick the CPU as soon as you enter Uboot through the serial port. This AP seems to be part of a “hardware as a service” offering, and the booby-trapped Uboot was rolled out by an OTA update some time after the OpenWrt port got published.

There’s an older Uboot version available out there, but you can’t quite roll back to it and up to a certain point, there was only a JTAG downgrade path noted on the wiki – with its full description consisting of a “FIXME: describe the process” tag. Our hacker, an anonymous user from the [SagaciousSuricata] blog, decided to go a different way — lifting, dumping and modifying the onboard flash in order to downgrade the bootloader, and guides us through the entire process. There’s quite a few notable things about this hack, like use of Nix package manager to get Python 2.7 on an OS which long abandoned it, and a tip about a workable lightweight TFTP server for such work, but the flash chip part caught our eye.

The flash chip is in TSOP48 package and uses a parallel interface, and an iMX6.LL devboard was used to read, modify and flash back the image — hotswapping the chip, much like we used to do with old parallel-interface BIOS chips. We especially liked the use of FFC cables and connectors for connecting the flash chip to the devboard in a way that allows hotswapping – now that we can see it, the TSOP 0.5 mm pitch and 0.5 mm FFC hardware are a match made in heaven. This hack, of course, will fit many TSOP48-equipped devices, and it’s nice to have a toolkit for it in case you don’t have a programmer handy.

In the end, the AP got a new lease of life, now governed by its owner as opposed to Cisco’s whims. This is a handy tutorial for anyone facing a parallel-flash-equipped device where the only way appears to be the hard way, and we’re glad to see hackers getting comfortable facing such challenges, whether it’s parallel flash, JTAG or power glitching. After all, it’s great when your devices can run an OS entirely under your control – it’s historically been that you get way more features that way, but it’s also that the manufacturer can’t pull the rug from under your feet like Amazon did with its Fire TV boxes.

We thank [WifiCable] for sharing this with us!

(Ed Note: Changed instances of “OpenWRT” to “OpenWrt”.)

Protected Mode On A Z80! (Almost)

The microprocessor feature which probably most enables the computing experience we take for granted today is protected mode. A chip with the required hardware can run individual software processes in their own environments, enabling multitasking and isolation between processes. Older CPUs lacked this feature, meaning that all the resources were available to all software. [Andy Hu] has done the seemingly impossible with a Zilog Z80, enabling a protected mode on the chip for the first time in over four decades. Has he found an elusive undocumented piece of silicon missed by every other researcher? Not quite, but it is a clever hack.

The Z80 has two address spaces, one for memory and the other for I/O. He’s taken the I/O request line and fed it through a flip-flop and some logic to call a hardware interrupt the first time an I/O call is made or when a RST instruction is executed. Coupled with a small piece of memory for register contents, and he’s made a Z80 with a fully-functional protected mode, for the cost of a few logic chips. It’s explained in the video below the break, and we hope you agree that it’s rather elegant given the resources in hand. It’s too late for the commercial 8-bit machines of the past, but it would be interesting to see what today’s retrocomputer designers make of it.

Continue reading “Protected Mode On A Z80! (Almost)”

When [Elon] Says No, Just Reverse Engineer The Starlink Signal

We all know that it’s sometimes better to beg forgiveness than ask permission to do something, and we’ll venture a guess that more than a few of us have taken that advice to heart on occasion. But [Todd Humphreys] got the order of operations a bit mixed up with his attempt to leverage the Starlink network as a backup to the Global Positioning System, and ended up doing some interesting reverse engineering work as a result.

The story goes that [Todd] and his team at the University of Texas Austin’s Radionavigation Lab, on behalf of their sponsors in the US Army, approached Starlink about cooperating on a project to make their low-Earth orbit constellation provide position, navigation, and timing capabilities. Although initially interested in the project, Starlink honcho [Elon Musk] put the brakes on things, leaving [Todd]’s team high and dry. Not to be dissuaded, they bought a Starlink user terminal, built what amounts to a small radiotelescope — although we’ve seen something similar done with just an RTL-SDR — and proceeded to reverse-engineer the structure of Starlink’s Ku-band downlink signal. The paper (PDF link) on their findings is densely packed with details, such as the fact that Starlink uses an orthogonal frequency-division multiplexing (OFDM) scheme.

It’s important to note that their goal was not to break encryption or sniff in on user data; rather, they wanted access to the synchronization and timing signals embedded in the Starlink data structures. By using this data along with the publically available ephemera for each satellite, it’s possible to quickly calculate the exact distance to multiple satellites and determine the receiver’s location to within 30 meters. It’s not as good as some GPS-Starlink hacks we’ve seen, but it’s still pretty good in a pinch. Besides, the reverse engineering work here is well worth a read.

Thanks to [Adrian] for the tip!

A solar inverter that asks for a password on its display

Decompiling Software To Fix An Old Solar Inverter

It’s a fact of life that electronic devices become obsolete after a few years. Sometimes this is because technology has moved on, but it can also happen that a perfectly functional device becomes near-useless simply because the original manufacturer no longer supports it. When [Buy It Fix It] found a pair of second-hand Power-One Aurora solar inverters, he ran into an issue for which he needed access to the service menu, which happened to be password-protected. The original manufacturer had ceased to exist, and the current owner of the brand name was unable to help, so [Buy It Fix It] had to resort to reverse engineering to find the password.

Thanks to the Wayback Machine over at the Internet Archive, [Buy It Fix It] was able to download the PC software bundle that originally came with the inverters. But in order to access all features, a password was required that could only be obtained by registering the unit with the manufacturer. That wasn’t going to happen, so [Buy It Fix It] fired up dnSpy, a decompiler and debugger for .NET programs. After a bit of searching he found the section that checked the password, and by simply copying that section into a new program he was able to make his own key generator.

With the service password now available, [Buy It Fix It] was able to set the inverter to the correct voltage setting and hook it up to his solar panels. Interestingly, the program code also had references to “PONG”, “Tetris” and “tiramisu” at various places; these turned out to be Easter eggs in the code, containing simple versions of those two games as well as a photo of the Italian dessert.

Inside the software archive was also another program that enabled the programming of low-level functions within the inverter, things that few users would ever need to touch. This program was not written in .NET but in C or something similar, so it required the use of x32dbg to look at the machine code. Again, this program was password-protected, but the master password was simply stored as the unencrypted string “91951” — the last five digits of the manufacturer’s old phone number.

The inverter was not actually working when [Buy It Fix It] first got it, and his repair video (also embedded below) is also well worth watching if you’re into power electronics repair. Hacking solar inverters to enable more features is often possible, but of course it’s much easier if the entire design is open source.

Continue reading “Decompiling Software To Fix An Old Solar Inverter”

An LCD mounted inside a Roland synthesizer

Reverse-Engineering A Display Protocol To Repair A Roland Synthesizer

Repairing electronic devices isn’t as hard as it used to be. Thanks to the internet, it’s easy to find datasheets and application notes for any standard component inside your gadget, and once you’ve found the faulty one, you simply buy a replacement from one of a million web shops — assuming you don’t end up with a fake, of course. When it comes to non-standard components, however, things get more difficult, as [dpeddi] found out when a friend asked him for help in repairing a Roland Juno-G synthesizer with a broken display.

The main issue here was the fact that the display in question was a custom design, with no replacement or documentation available. The only thing [dpeddi] could figure out from the service manual was the basic pinout, which showed a parallel interface with two lines labelled “chip select” — an indication that the display contained two separate controllers. But the exact protocol and data format was not documented, so [dpeddi] brought out his logic analyzer to try and decode the signals generated by the synthesizer.

After a bit of trial and error, he was able to figure out the protocol: it looked like the display contained two KS0713-type LCD controllers, each controlling one half of the screen. Finding a compatible replacement was still proving difficult, so [dpeddi] decided instead to decode the original signals using a microcontroller and show the picture on a modern LCD driven by SPI. After some intial experiments with an ESP32, it turned out that the task of reading two reasonably fast parallel buses and driving an even faster serial one was a bit too much for the ESP, so [dpeddi] upgraded to a Raspberry Pi Pico. This worked a treat, and thanks to a 3D-printed mounting bracket, the new display also fit snugly inside the Roland’s case.

The Pico’s code is available on [dpeddi]’s GitHub page, so if you’ve also got a dodgy display in your Juno-G you can simply download it and use it to plug in a brand-new display. However, the method of reverse-engineering an existing display protocol and translating it to that of a new one is pretty universal and should come in handy when working with any type of electronic device: say, a vintage calculator or multimeter, or even another synthesizer.