Historically, the subject of our January teardown has been a piece of high-tech holiday lighting from the clearance rack; after all, they can usually be picked up for pocket change once the trucks full of Valentine’s Day merchandise start pulling up around the back of your local Big Box retailer. But this year, we’ve got something a little different.
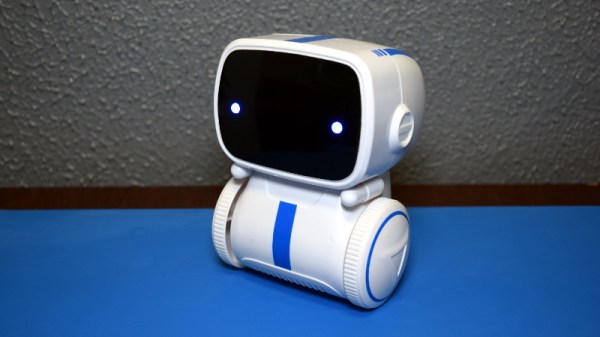
Today we’re looking at the BilBot Bluetooth robot, which over the holidays was being sold at Five Below for (you guessed it) just $5 USD. These were clearly something the company hoped to sell a lot of, with stacks of the little two-wheeled bots in your choice of white and yellow livery right by the front door. With wireless control from your iOS or Android device, and intriguing features like voice command, I’d be willing to bet they managed to move quite a few of these at such a low price.
For folks like us, it can be hard to wrap our minds around a product like this. It must have a Bluetooth radio, some kind of motor controller, and of course the motors and gears themselves. Yet they can sell it for the price of a budget hamburger and still turn a profit. If you wanted to pick up barebones robotics platform, with just a couple gear motors and some wheels, it would cost more than that. The economies of scale are a hell of a thing.
Which made me wonder, could hackers take advantage of this ultra-cheap robot for our own purposes? It’s pretty much a given that the software for this robot will be terrible, and that whatever control electronics live inside it will be marginal at best. But what if we write those off and just look at the BilBot as a two-wheeled platform to carry our own electronics? It’s certainly worth $5 to find out.