Autonomous vehicle development is a field of technology that remains relatively elusive to the average hacker, what with the needing a whole car and all. Instead of having to deal with such a large scale challenge, [Piotr Sokólski] has instead turned to implementing the same principles on the scale of a small radio-controlled car.
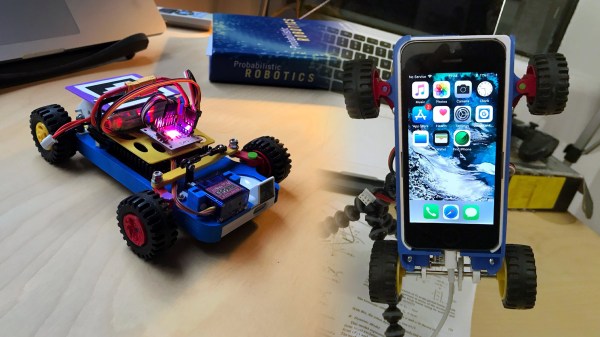
Wanting to lower the barrier of entry for developing software for self-driving cars, he based his design off of something you’re likely to have lying around already: a smartphone. He cites the Google Cardboard project for his inspiration, with how it made VR more accessible without needing expensive hardware. The phone is able to control the actuators and wheel motors through a custom board, which it talks to via a Bluetooth connection. And since the camera points up in the way the phone is mounted in the frame, [Piotr] came up with a really clever solution of using a mirror as a periscope so the car can see in front of itself.
The software here has two parts, though the phone app one does little more than just serve as an interface by sending off a video feed to be processed. The whole computer vision processing is done on the desktop part, and it allows [Piotr] to do some fun things like using reinforcement learning to keep the car driving as long as possible without crashing. This is achieved by making the algorithm observe the images coming from the phone and giving it negative reward whenever an accelerometer detects a collision. Another experiment he’s done is use a QR tag on top of the car, visible to a fixed overhead camera, to determine the car’s position in the room.
This might not be the first time someone’s made a scaled down model of a self-driving vehicle, though it’s one of the most cleverly-designed ones, and it’s certainly much simpler than trying to do it on a full-sized car in your garage.