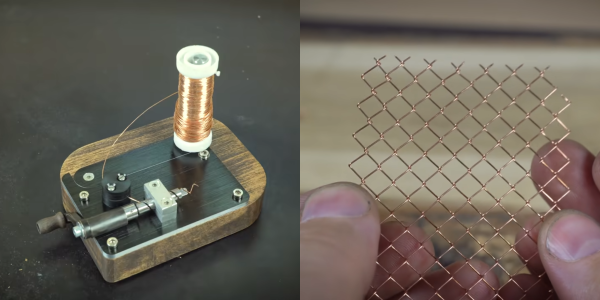
Chain link fences are woven with a mechanism that is almost hypnotic to watch, so [Levsha] decided to build his own tiny hand-crank tabletop version to make tiny copper wire fences.
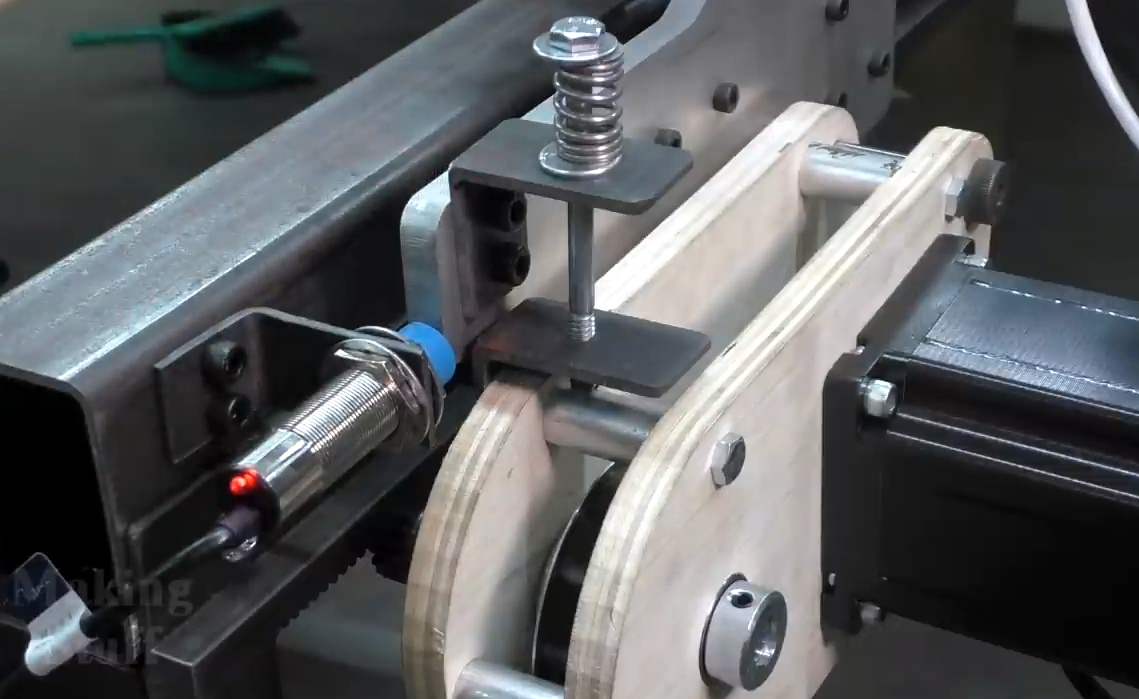
Chain link consist of a series of wires bent and woven in a zigzag pattern. The zigzag bends are made by winding the wire around a rotating flat plate inside a stationary tube with a spiral slot in the side to keep the spacing of the bends consistent. [Levsha]’s version is roughly 1/10 scale of the real thing, and only does the bending and winding parts. Linking the bent wire together is up to the operator. All the components were machined on a lathe and CNC router, and beautifully finished and assembled on a wood base. The hardest part was the tube with the spiral slot, which took a few attempts to get right. [Levsha] initially tried to use steel wire, but it was too stiff and caused the winding mechanism to lock up. 0.4 mm copper wire turned out to be the best choice.
Although there is no practical use for this device that we can see, the craftsmanship is excellent, and it is one of those videos that reminds us how badly we want some machine tools.
Fine attention to detail is really what makes videos like this enjoyable to watch. Wee seen a few other such project, like a beautiful scratch-built lathe, or a pneumatic powered drone that can’t fly.
Continue reading “Tiny Chain-Link Fence Made With Hand-Cranked Brilliance”