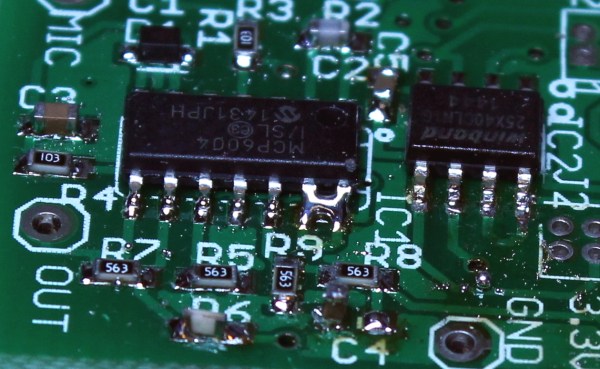
When you learn to solder, you are warned about the pitfalls of creating a solder joint. Too much solder, too little solder, cold joints, dry joints, failing to “wet” the joint properly, a plethora of terms are explained if you read one of the many online guides to soldering.
Unsurprisingly it can all seem rather daunting to a novice, especially if they are not used to the dexterity required to manipulate a tool on a very small-scale at a distance. And since the soldering iron likely to be in the hands of a beginner will not be one of the more accomplished models with fine temperature control and a good tip, it’s likely that they will experience most of those pitfalls early on in their soldering career.
As your soldering skills increase, you get the knack of making a good joint. Applying just the right amount of heat and supplying just enough solder becomes second nature, and though you still mess up from time to time you learn to spot your errors and how to rework and fix them. Your progression through the art becomes a series of plateaux, as you achieve each new task whose tiny size or complexity you previously thought rendered it impossible. Did you too recoil in horror before your first 0.1″ DIP IC, only to find it had been surprisingly easy once you’d completed it?
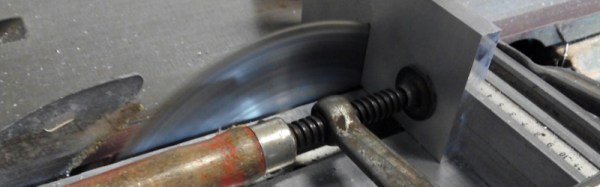
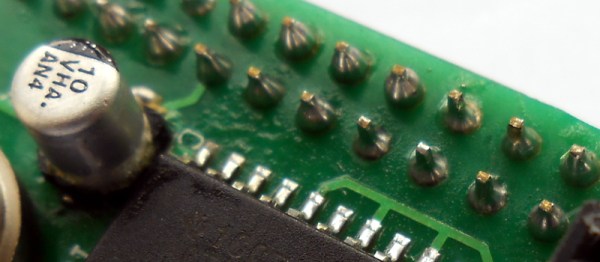
A few weeks ago we posted a Hackaday Fail of the Week, revolving around a soldering iron failure and confirmation bias leading to a lengthy reworking session when the real culprit was a missing set of jumpers. Mildly embarrassing and something over which a veil is best drawn, but its comments raised some interesting questions about bad solder joints. In the FoTW case I was worried I’d overheated the joints causing them to go bad, evaporating the flux and oxidising the solder. This was disputed by some commenters, but left me with some curiosity over bad solder joints. We all know roughly how solder joints go wrong, but how much of what we know is heresay? Perhaps it is time for a thorough investigation of what makes a good solder joint, and the best way to understand that would surely be to look at what makes a bad one.
Continue reading “Ask Hackaday: How Hard Is It To Make A Bad Solder Joint?”