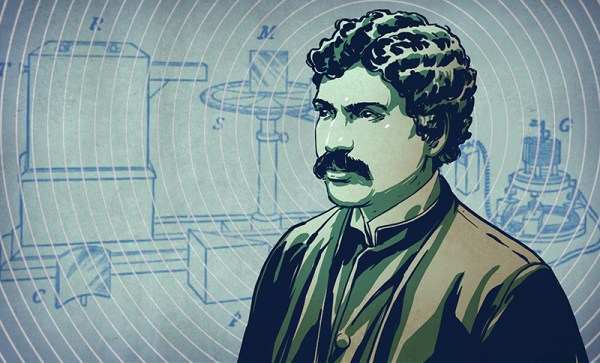
The early days of electricity appear to have been a cutthroat time. While academics were busy uncovering the mysteries of electromagnetism, bands of entrepreneurs were waiting to pounce on the pure science and engineer solutions to problems that didn’t even exist yet, but could no doubt turn into profitable ventures. We’ve all heard of the epic battles between Edison and Tesla and Westinghouse, and even with the benefit of more than a century of hindsight it’s hard to tell who did what to whom. But another conflict was brewing at the turn of 19th century, this time between an Indian polymath and an Italian nobleman, and it would determine who got credit for laying the foundations for the key technology of the 20th century – radio.
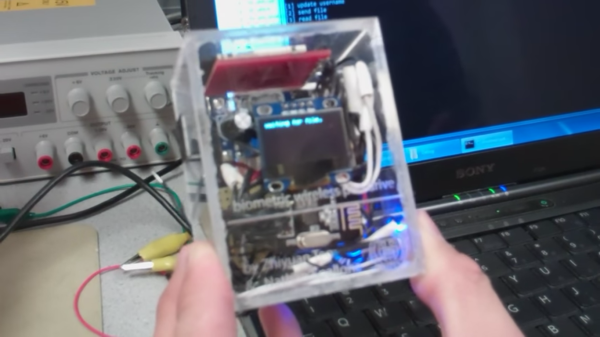
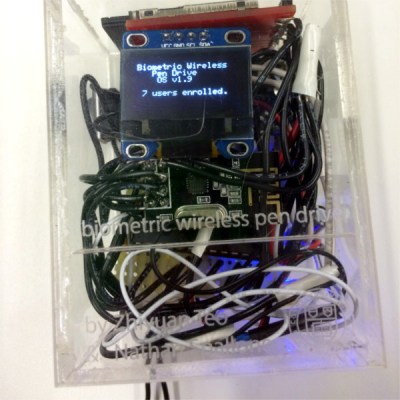 Their solution can be used by up to 20 different people who each get a slice of an SD card in the storage unit There are two physical pieces, a base station and the wireless storage unit itself. The base station connects to the host PC over USB and contains an Arduino for serial pass-through and an nRF24L01+ module for communicating with the storage side. The storage drive’s components are crammed inside a clear plastic box. This not only looks cool, it negates the need for cutting out ports to mount the fingerprint sensor and the OLED. The sensor reads the user’s credentials through the box, and the authentication status is displayed on an OLED. Files are transferred to and from the SD card over a second nRF24L01+ through the requisite PIC32.