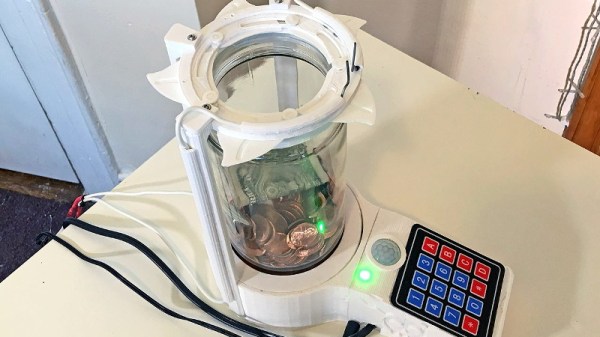
How do you keep people out of your change jar? If you didn’t say with a 3D printed iris mechanism and high-voltage spark gap, then clearly you aren’t [Vije Miller]. Which is probably for the best, as we’re not sure we actually want to live in a world where there are two of these things.
Regular Hackaday readers will know that [Vije] has a way of using electromechanical trickery to inject a bit of excitement, and occasionally a little danger, into even the most mundane aspects of life. His latest project is an automated change jar that uses a pinpad to authenticate users, while everyone else gets the business end of a spark gap if the PIR sensor detects them getting to close.
 You can see a demonstration of the jar in the video after the break, where he shows the jar’s ability to stop…himself, from getting access to it. Hey, nobody said it was meant to keep out real intruders. Though we do think a similar gadget could be a fun way to keep the kids out of the cookie jar before dinner, though we’d strongly suggest deleting the high-voltage component from the project before deploying it with a gullet full of Keebler’s best.
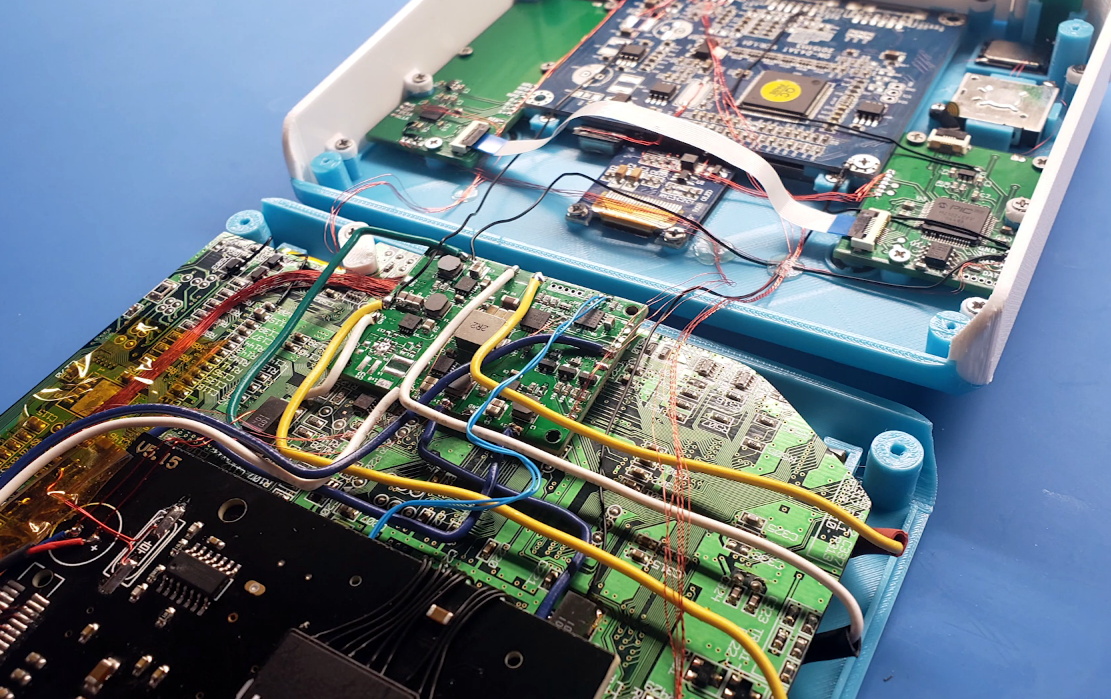
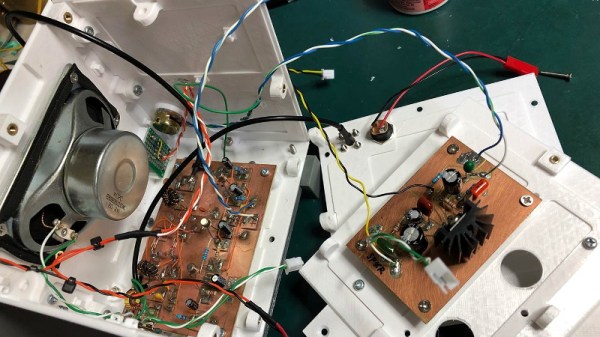
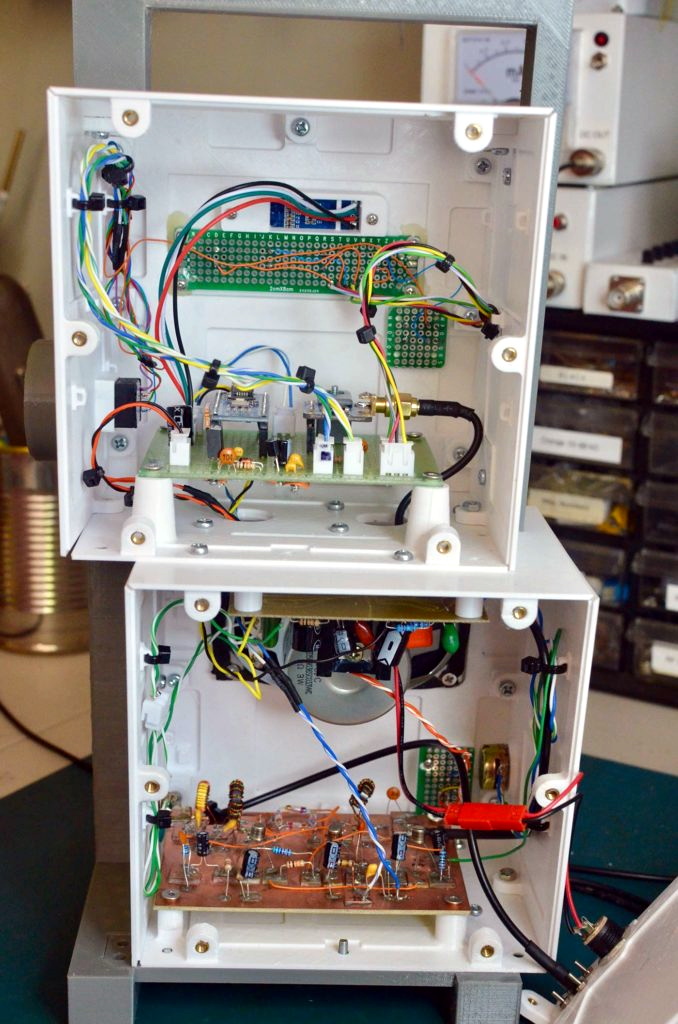
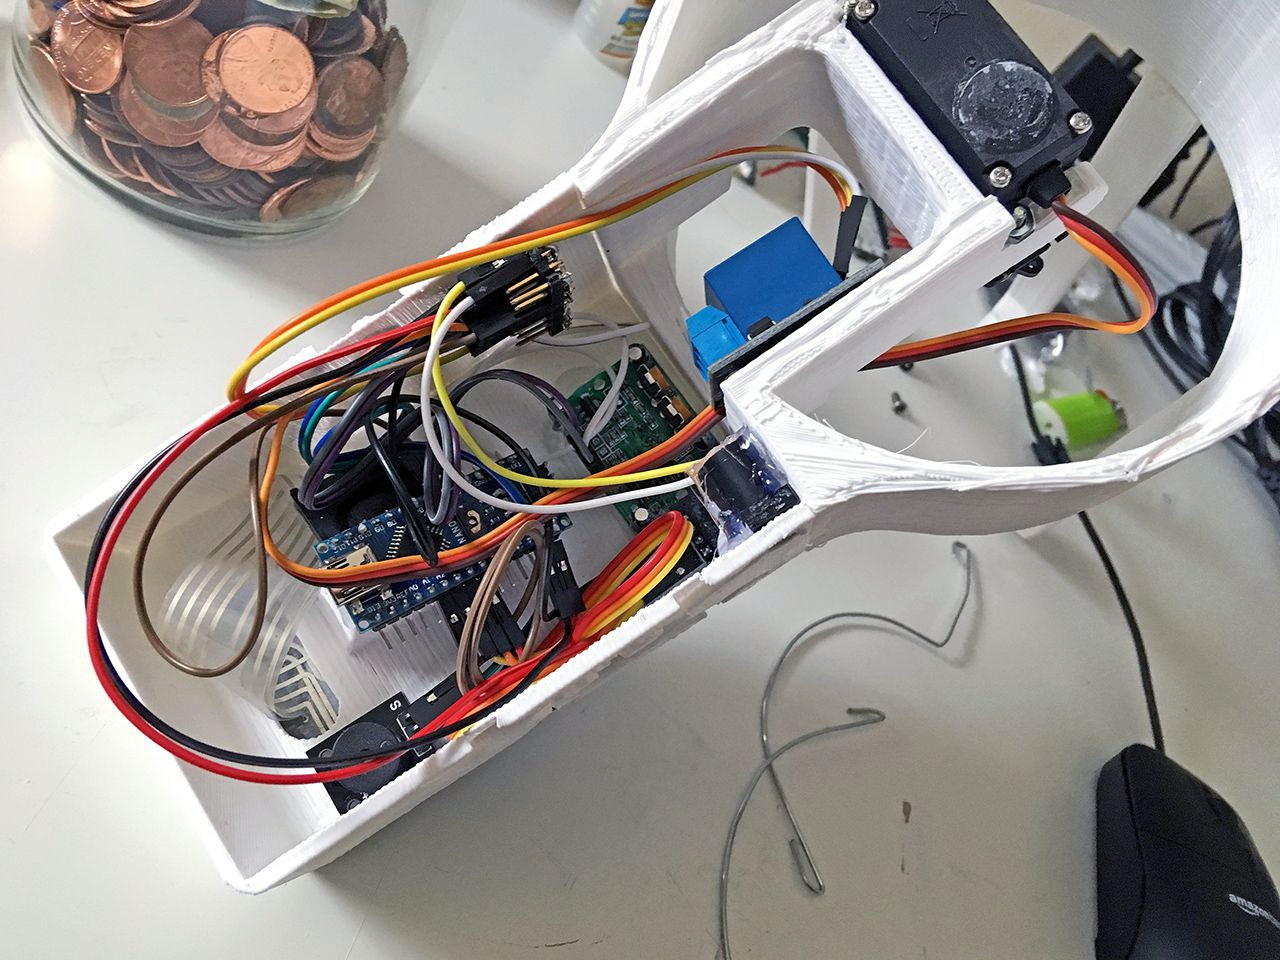
[Vije] was able to adapt a printable iris design he found on Thingiverse to fit over the mouth of the jar, and uses servos in the base to rotate the whole assembly around and open it up. The internal Arduino Nano handles reading from the pinpad, controlling the stepper, and of course firing up the spark generator for 1000 milliseconds each time the PIR sensor detects somebody trying to be cute. Just the sound of the arc should be enough to get somebody to reconsider the value of literal pocket change.
Some of the design elements used in this change jar’s high voltage components were influenced by the lessons learned when [Vije] was building his plasma-powered toilet air freshener. There’s a sentence we bet you never expected to read today.