When Project Enclosures Go Bad: A Message From The Trenches

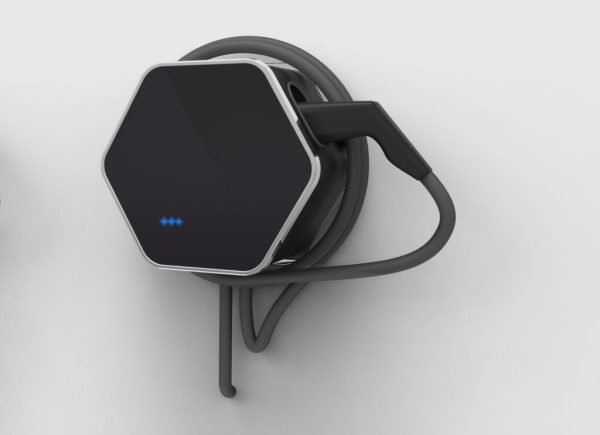
A wall-mounted, electric car charging station doesn’t sound like it’d require the most exciting or complicated enclosure. This was pretty much the assumption [Mastro Gippo] and his team started out with when they decided to turn what came back from a product designer into a real enclosure for the ‘Prism’ charging hardware they had developed. As it turned out, the enclosure proved to be the most challenging part of the project.

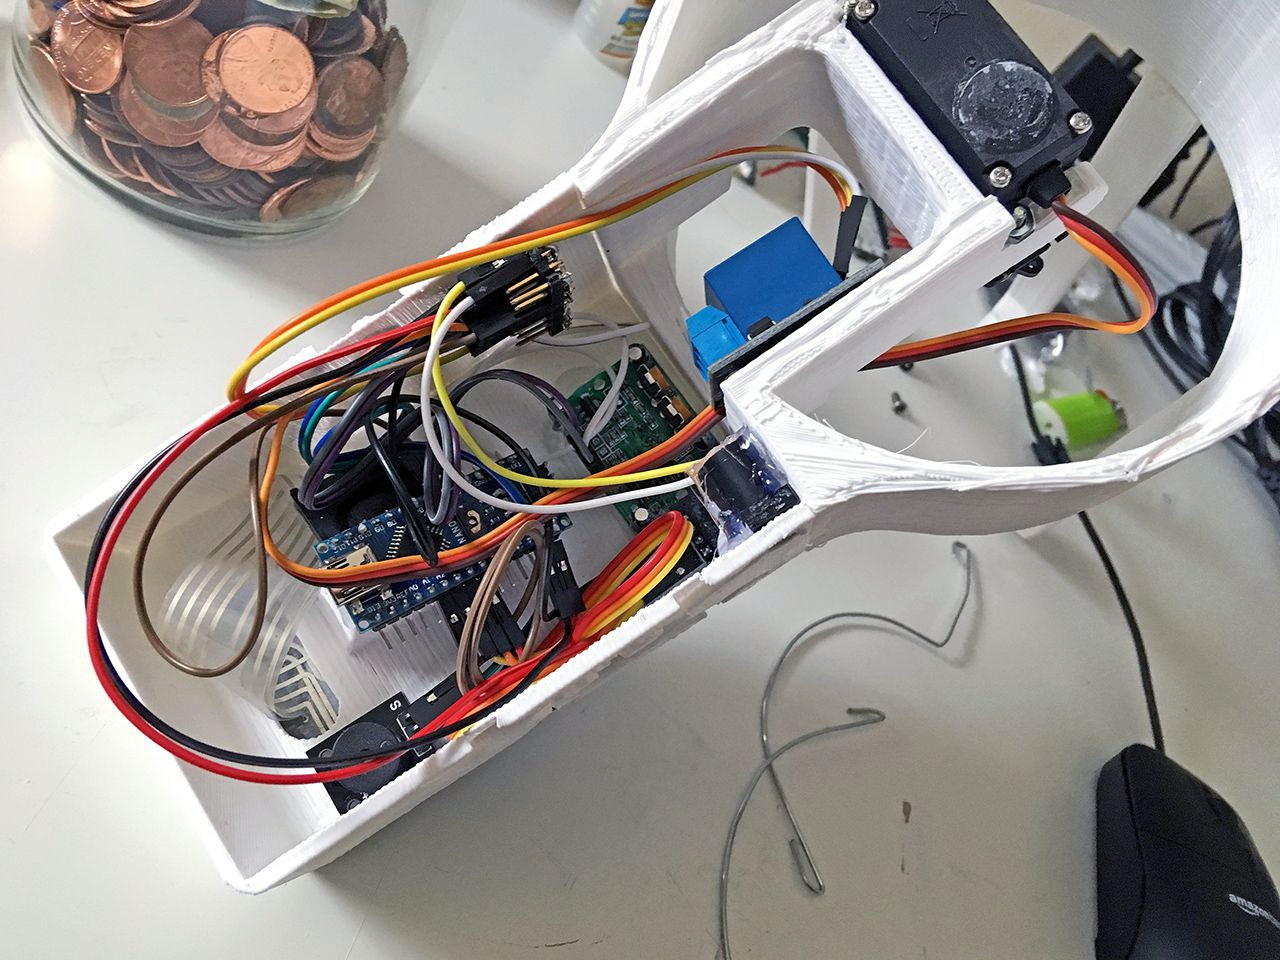
The first thought was to make a cheap, simple prototype enclosure for integration testing. This led them through trying out FDM 3D printed enclosures, wooden enclosures, folded (glued) plastic enclosures, aluminium extruded enclosures, Zamac alloy enclosures, and finally the plastic injection molded enclosure they had been avoiding due to the high costs.

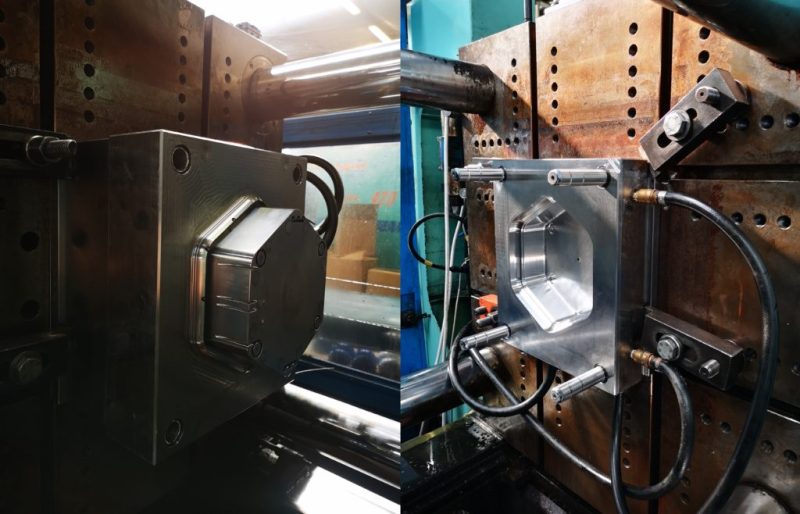
The injection mold used to produce the Prism enclosures with.

Even if it meant taking out a loan to cover the setup costs, the results really do speak for themselves with a well-integrated design and two really happy looking partners-in-business. It does make us wonder how projects lacking this kind of financial leeway can get professional-grade enclosures without breaking the proverbial bank.

FDM 3D printing is always getting better and with a lot of post-processing you can have one enclosure that looks great, but that doesn’t scale. Outsourcing it to a professional 3D printing company like Shapeways is better, but it’s still not injection-molding quality and if the product is successful you’ll eventually invert the cost/benefit you were shooting for in the first place. Where is the middle ground on great-looking enclosures? Please let us know your experiences and thoughts in the comments.

Trimmed Dreamcast Board Makes For Perfect Portable

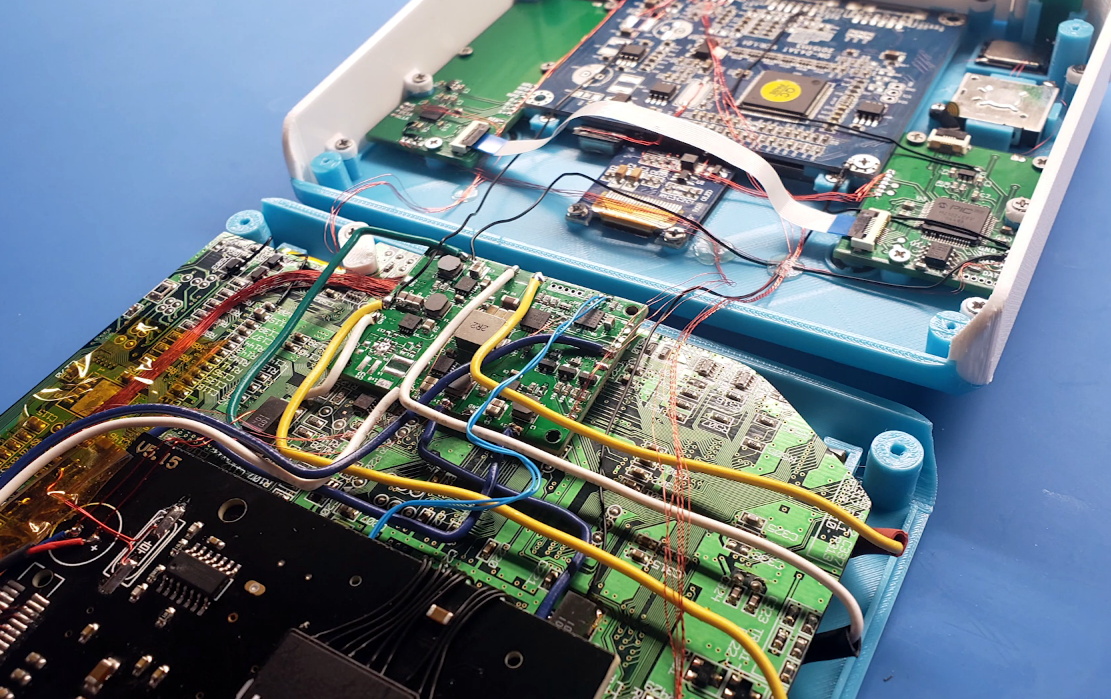
In the last year or so we’ve been seeing an array of portable game system builds based around “trimmed” Wii motherboards which have literally been cut down to a fraction of their original size. It turns out that most of the board is dedicated to non-essential functions, with the core Wii system contained within one specific area that can be isolated with a steady hand. But as [Gman] shows in his latest build, the same concept can also be applied to the Sega Dreamcast.

But of course, there’s a bit more to it than just taking a hacksaw to a Dreamcast motherboard. [Gman] had to supplement the trimmed system with quite a bit of additional hardware, such as a power management board he originally designed for portable Wii projects.

Other components were specifically built for this project. For example there’s a custom PCB that handles emulating the Dreamcast controller using a PIC32MZ microcontroller. He’s also using a LM49450 to pull digital audio from the motherboard over I2S, completely bypassing the analog output.

While not currently functioning, [Gman] also included an SPI OLED display and the hardware necessary to emulate basic functionality of the system’s unique Visual Memory Unit (VMU) right in the front of the system. We’re looking forward to seeing him revisit this feature in the future when he’s got the software side of things worked out.

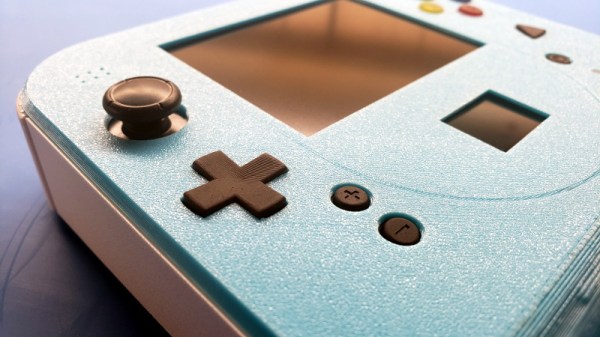
The Nintendo 2DS inspired enclosure is completely 3D printed. A Prusa i3 with textured PEI bed was used to achieve the gorgeous dappled look on the system’s front panel, while the buttons were done on a Form 2 SLA printer. With a mold made from the printed buttons, [Gman] was able to cast the final pieces using a variety of colors until he found a combination he was happy with.

If you’re not Team Sega and would rather hack up your own tiny versions of Nintendo’s hardware, look no further than this fully functional trimmed Wii built into an Altoids tin.

3D Printing A NAS Server Case

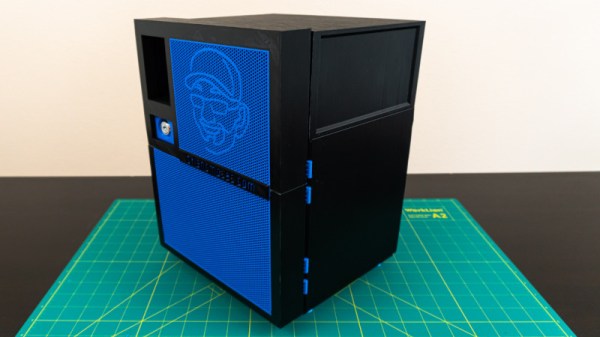
It’s good to back up, and despite that, few of us do. [Brian] we suspect is of the more diligent persuasion, given his strong enthusiasm for network attached storage. Recently, he found himself looking for a new case for his DIY build, and decided to go the 3D printed route.

The case is the design of one [Toby K], who sells the design online. [Brian] set out to produce the case himself using a Prusa i3, investing much time into the process. Total print time for the successful parts alone was over 227 hours, not including the failed parts and reprints.

Assembly caused some headaches, with various hinges and dovetails not fitting together perfectly first time. Not one to shy away from some proper down and dirty making, [Brian] was able to corral the various parts into fitting with a combination of delicate hammering, filing, and reprinting several broken pieces.

Overall, accounting for the filament used and hardware required, [Brian] spent over $200 producing the case. For those who just need a housing for their NAS, it doesn’t make a whole lot of financial sense. But for those who enjoy the build, and like the opportunity to customize their case as they see fit, the time and money can certainly be worth it. As [Brian] states, there aren’t too many cases on the market that ship with his logo on the grill.

We’ve seen other 3D printed case builds before, too. Video after the break.

Continue reading “3D Printing A NAS Server Case”

Jazzberry Bakes The Pi Into A Mechanical Keyboard

If you hang around Hackaday long enough, pretty soon you’ll start to see some patterns emerging. As the nexus of all things awesome in the hacking world, our front page offers a unique vantage point by which you can see what’s getting folks excited this particular month, year, or decade. Right now we can tell you hackers love the Raspberry Pi, 3D printing, and perhaps above all, they can’t get enough mechanical keyboards.

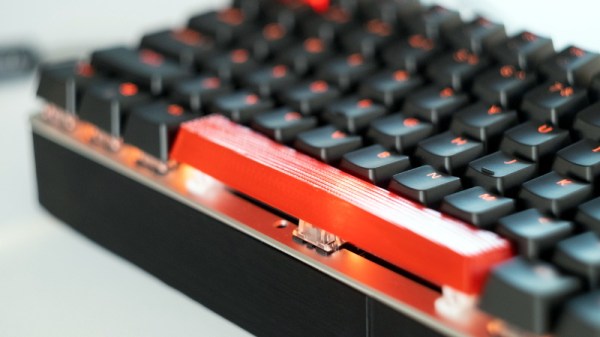
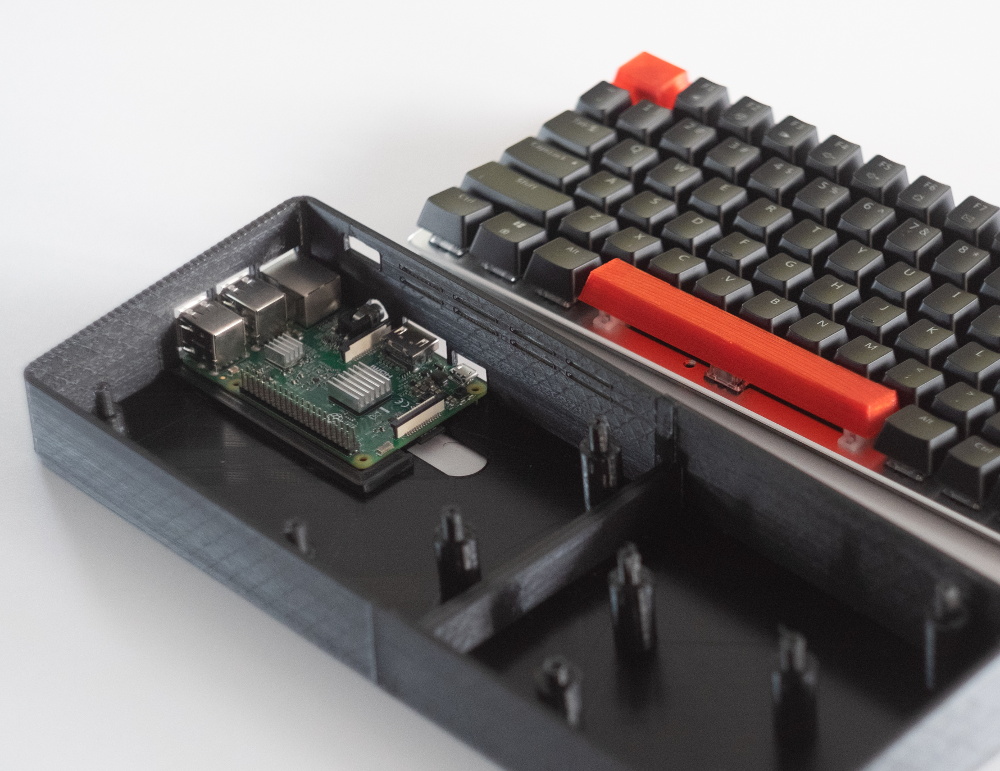
So that makes the Jazzberry by [Mattis Folkestad] something of a perfect storm in the hacker world. The project uses a 3D printed enclosure to combine a Raspberry Pi 3B+ and an Ajazz AK33 mechanical keyboard into a single unit like the home computers of old. Honestly, we’re just glad he didn’t sneak an ESP8266 in there; as the resulting combination might have been enough to crash the site.

That being said, we can’t help but notice there’s a lot of open space inside the 3D printed enclosure. Right now there’s nothing inside but the Raspberry Pi, which only takes up a fraction of the internal volume. Adding a battery and hard drive would be the logical next steps, but it could also be outfitted with a suite of radios and various other hacking and security research accoutrements. We’ve seen an influx of such builds over the last few months, and the Jazzberry seems like it could make a very slick entry into this burgeoning category of mobile pentesting devices.

The STL files are designed specifically for the combination of hardware that [Mattis] used, but it shouldn’t be too difficult to modify them for your own purposes. Even if you stick with the same AK33 keyboard, an upgrade to the impressively powerful Raspberry Pi 4 would be more than worth the time fiddling with the STLs in your CAD tool of choice. If you really want to go all in, add a display and you’re well on the way to that cyberdeck you’ve always wanted.

A Power Bank For Soldering On The Go

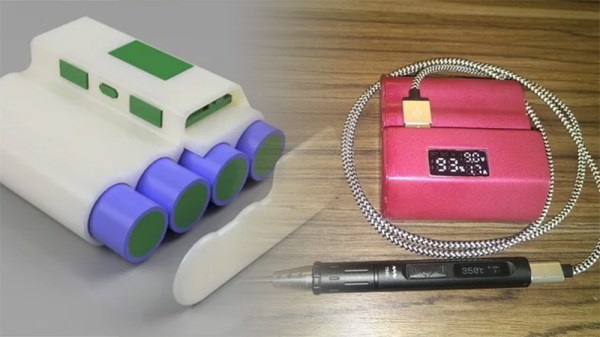
If you have a portable gadget, the chances are you’ve probably used power banks before. What few could have predicted when these portable battery packs first started cropping up is that they would one day be used to power soldering irons. Dissatisfied with the options currently available on the market, [Franci] writes in with his own power bank specifically designed for use with his TS80 portable soldering iron.

The electronics side of this build is simple and easy to replicate, with 4 18650 Li-ion cells standard to most high-capacity power banks and an off-the-shelf Fast Charge module serving as the brains of the operation. The beauty of this project however lies in the design of the actual case, completely custom-made from scratch to be 3d printed.

Unlike most power banks, where the outputs stick out to the side and leave the connectors prone to being bumped and damaged, [Franci] engineered his case so the ports are stacked on top and facing inwards. That way, USB plugs are contained within the footprint of the power bank’s body, and therefore protected from bending or snapping off in the socket. He also gracefully provides all instructions needed to make your own, including a wiring guide and a reminder about safety when dealing with battery packs.

If you’re unfamiliar with the TS80 soldering iron, we’ve featured the younger sibling of the TS100 in a previous post. And if you think this power bank is too simple for you, don’t worry, we’ve got you covered.

A Work Of Art That Also Receives AM And SSB

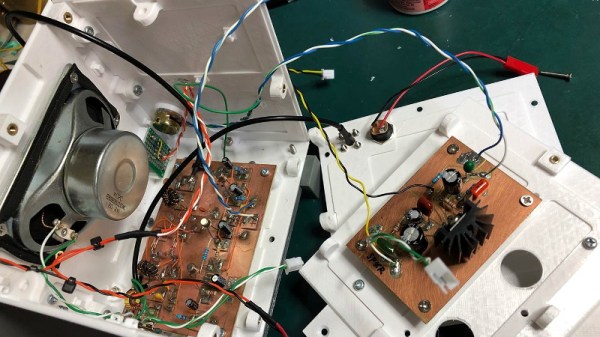
Over the winter, [Michael LeBlanc] thought a good way to spend his time during those long dark nights would be to scratch build his own direct conversion receiver. He was able to find plans for such a project easily enough online, but where’s the fun in following instructions? The final result incorporates what he found online with his own unique tweaks and artistic style.

[Michael] based his receiver on a modified approach to the DC40 created by [Ashhar Farhan], a name likely familiar to readers involved in amatuer radio. He further modified the design by swapping out the audio amplifier for a TDA2003A, and bolted on a digital tuner by way of an Arduino and a Si5351 clock generator. There’s a small OLED to show the current frequency, which is adjusted with a high-quality Bourns EM14 optical encoder so he can surf the airwaves in the comfort and style.

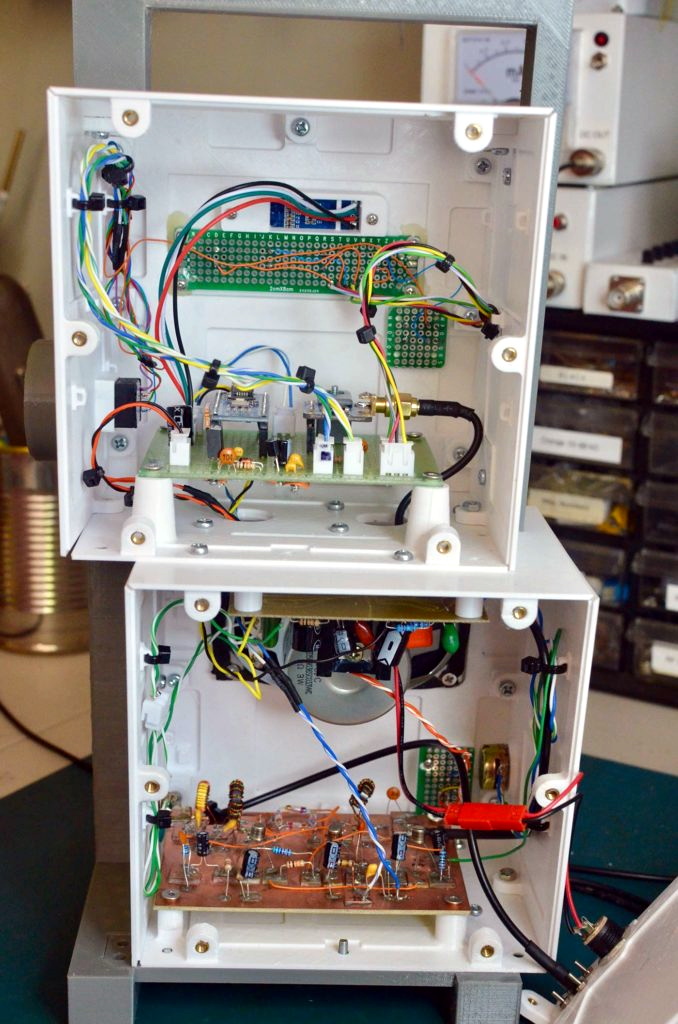
The digital tuner mated to the analog DC40 receiver gives the radio an interesting duality, which [Michael] really embraces with his enclosure design. From a practical standpoint he wanted to keep the two halves of the system in their own boxes to minimize any interference, but the 3D printed case exaggerates that practical consideration into a fascinating conversation piece.

The analog and digital compartments are askew, and their rotary controls are on opposite sides. The radio looks like it might topple over if it wasn’t for the fact that the whole thing is bolted together, complete with brass inserts for the printed parts. The integrated carry handle at the top somehow manages to make it look vintage and ultra-modern at the same time. Rarely do you see a printed enclosure that’s both meticulously designed inside and aesthetically pleasing externally. [Michael] earned his 3D Printing Merit Badge for sure with this one.

Continue reading “A Work Of Art That Also Receives AM And SSB”

Overengineering The Humble USB Power Bank

Back in the flip phone days, you could get through the whole weekend before you had to even think about plugging the thing in. But as the processing power of our mobile devices increased, so to did their energy consumption. Today you’re lucky if your phone doesn’t die before you make it home at the end of the day. To avoid the horrors of having to live without their mobile devices, many people have resorted to lugging around small “power banks” to keep their phones topped off.

That said, the “Ultimate 18650 Power Bank” created by [Kennedy Liu] is on a whole new level. Only true Road Warriors need apply for this particular piece of kit. Inside the 3D printed enclosure is…well, pretty much everything. It’s got an internal inverter to power your AC devices, a Qi wireless charging coil, an adjustable DC output, displays for all relevant voltages, and naturally plenty of USB ports to charge your gadgets. Oh, and some RGB LEDs tossed in for good measure.

[Kennedy] packed a lot of hardware into this relatively small package, and in the video after the break, shows off exactly how everything is arranged inside of this power bank. A big part of getting the whole thing together is the 3D printed frame, which includes carefully designed insets for all of the key components. So if you want to build your own version, you’ll need to get the exact same hardware he used to make sure the puzzle fits together. Luckily, he’s provided links for all the relevant components for exactly that purpose.

Now, you might be wondering about the wisdom of packing all this electronic gear into a thermoplastic enclosure. But [Kennedy] has thought about that; in addition to tacking a heatsink onto pretty much everything, he’s added fans for active cooling and a fairly robust thermal overload protection scheme. By mounting thermally controlled switches to the heatsinks of the high-output components, the system can cut power to anything getting too hot before it has a chance to melt the plastic (or worse).

Most of the DIY power banks we’ve seen in the past have been little more than a simple collection of 18650 cells, so it’s interesting to see one with so much additional functionality packed in. Admittedly some elements of the construction are, to quote the great Dave Jones, “a bit how ya doin.” But with some refinements we think it would be a very handy device to have in your arsenal.

Continue reading “Overengineering The Humble USB Power Bank”