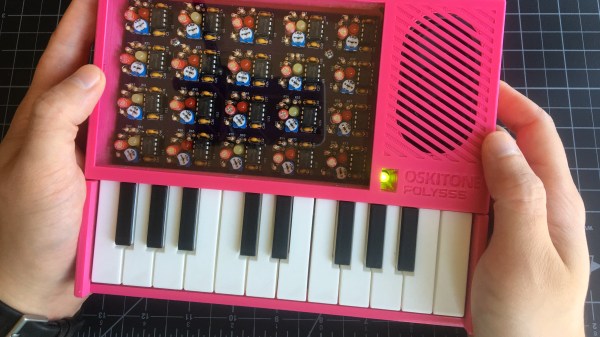
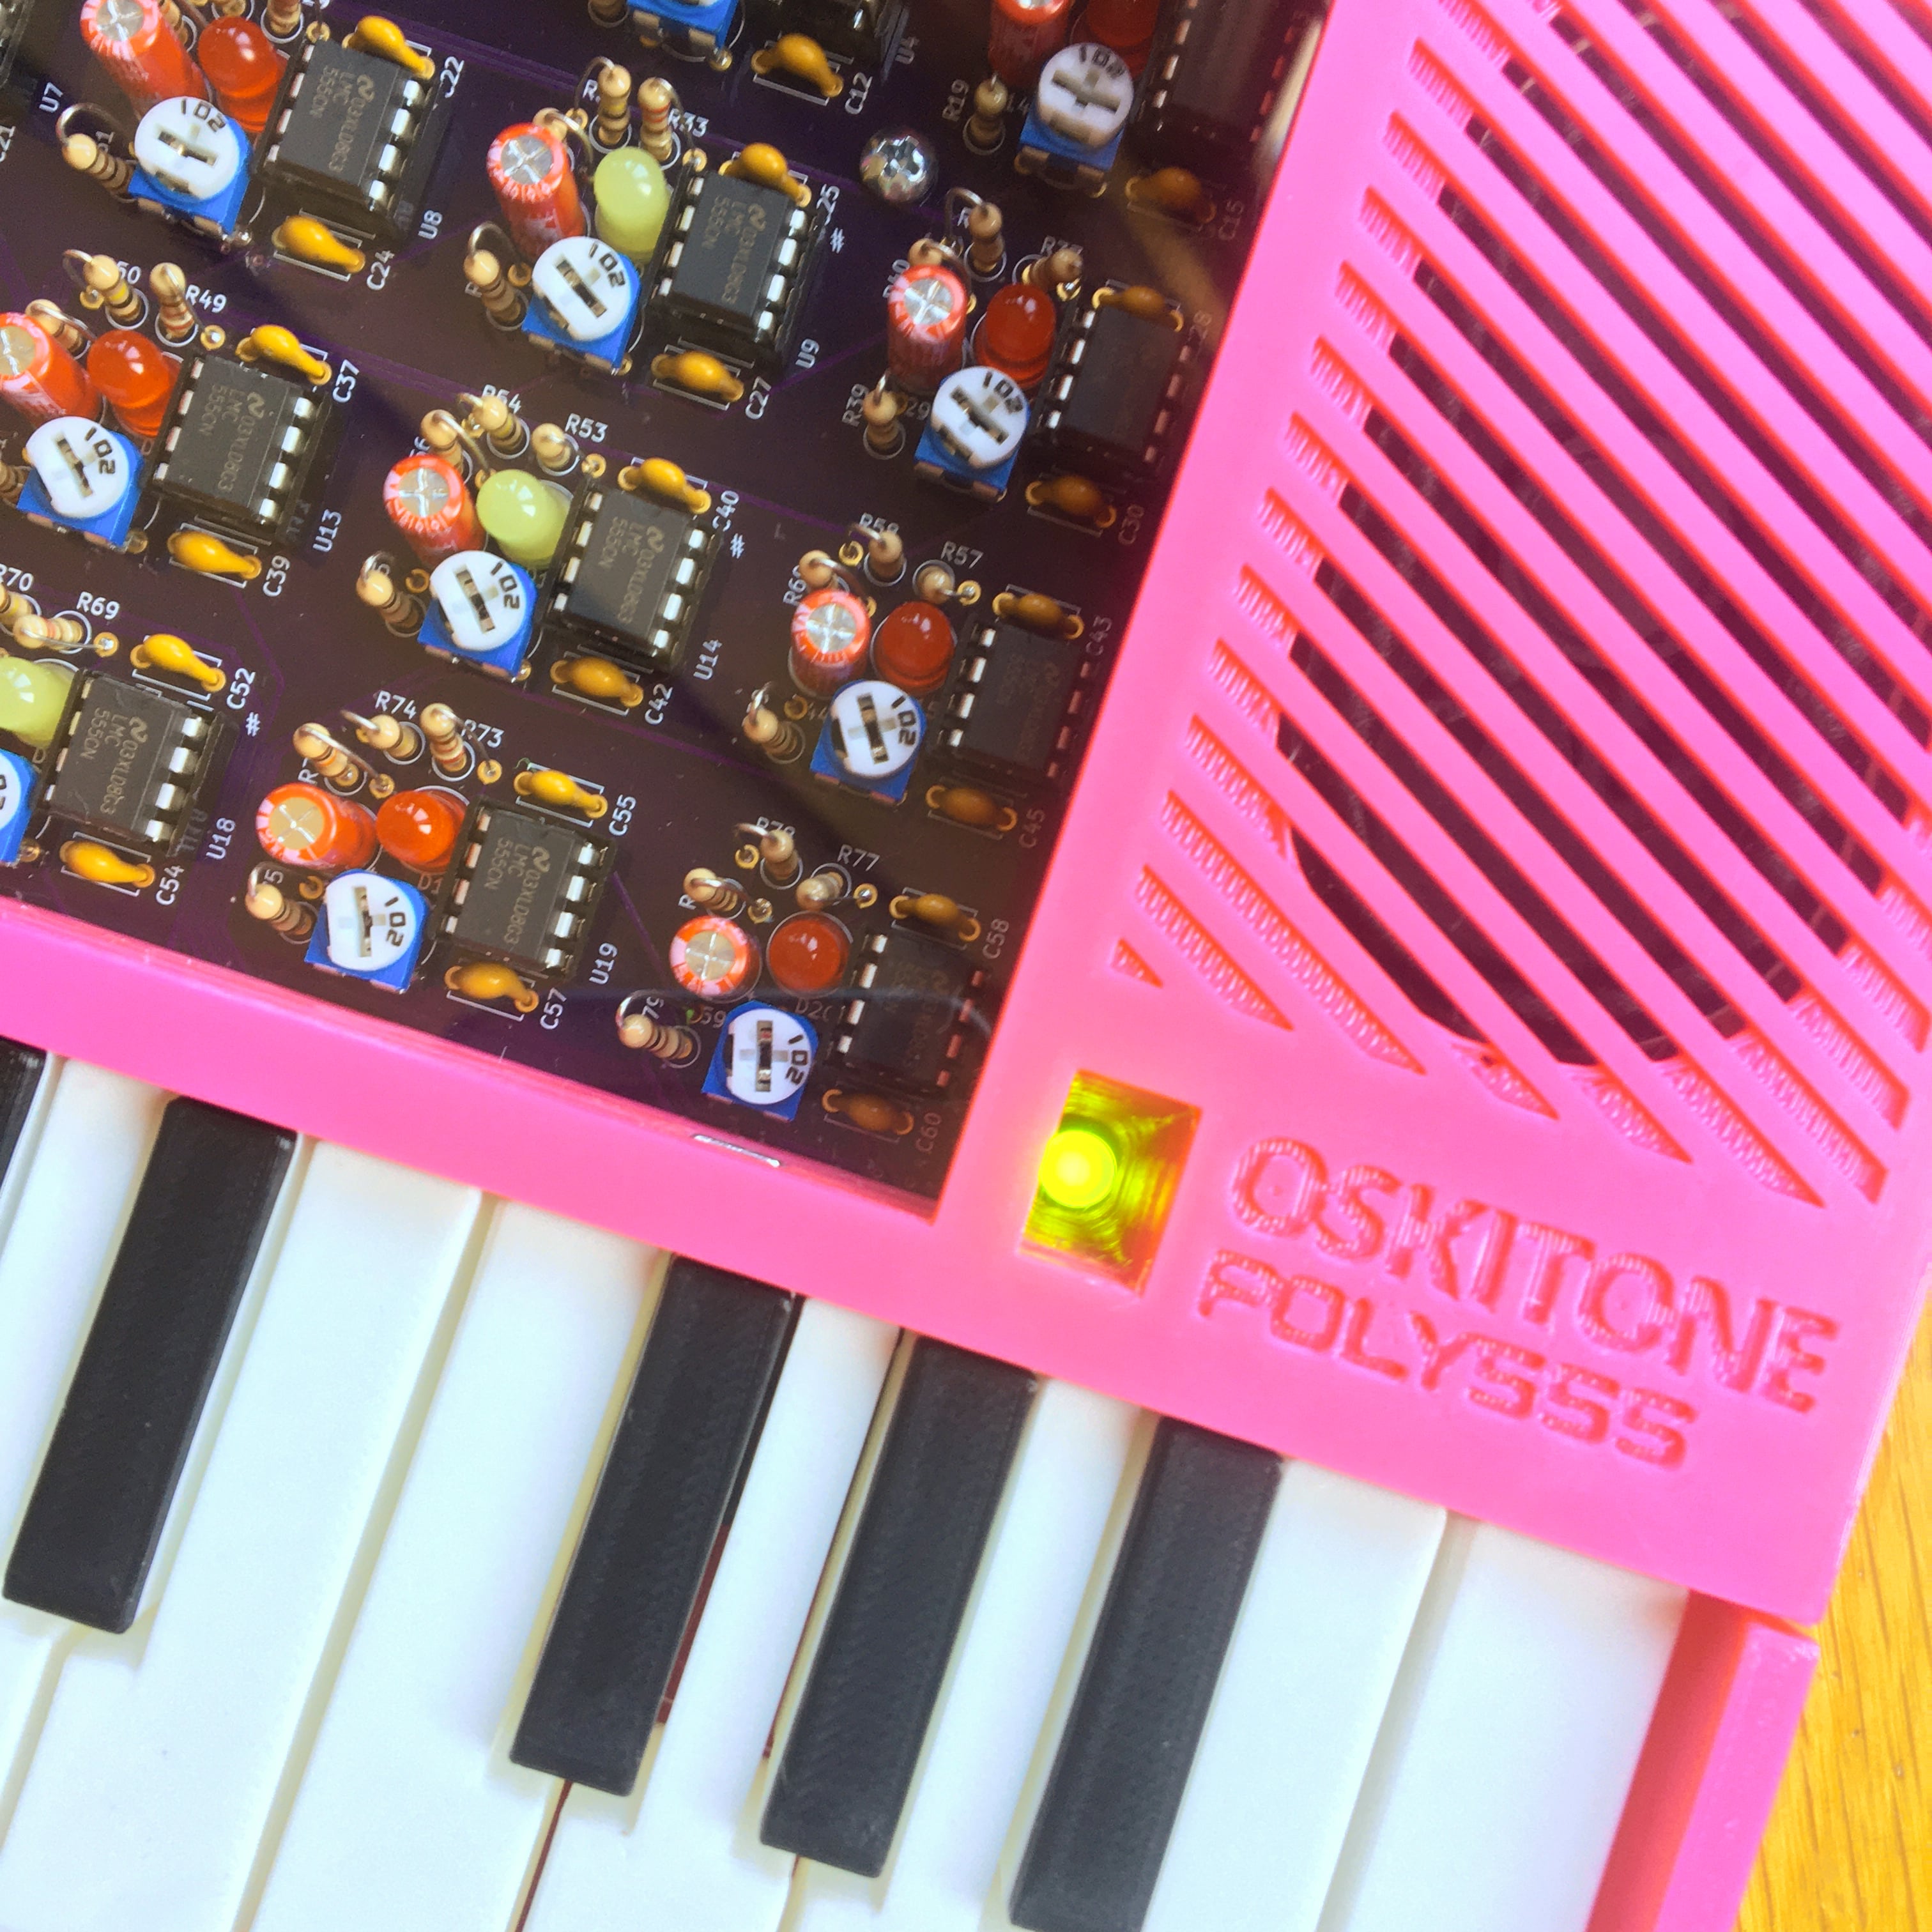
Spot This DIY Electronic Load’s Gracefully Hidden Hacks

Sometimes it’s necessary to make do with whatever parts one has on hand, but the results of squashing a square peg into a round hole are not always as elegant as [Juan Gg]’s programmable DC load with rotary encoder. [Juan] took a design for a programmable DC load and made it his own in quite a few different ways, including a slick 3D-printed enclosure and color faceplate.

The first thing to catch one’s eye might be that leftmost seven-segment digit. There is a simple reason it doesn’t match its neighbors: [Juan] had to use what he had available, and that meant a mismatched digit. Fortunately, 3D printing one’s own enclosure meant it could be gracefully worked into the design, instead of getting a Dremel or utility knife involved. The next is a bit less obvious: the display lacked a decimal point in the second digit position, so an LED tucked in underneath does the job. Finally, the knob on the right could reasonably be thought to be a rotary encoder, but it’s actually connected to a small DC motor. By biasing the motor with a small DC voltage applied to one lead and reading the resulting voltage from the other, the knob’s speed and direction can be detected, doing a serviceable job as rotary encoder substitute.

The project’s GitHub repository contains the Arduino code for [Juan]’s project, which has its roots in a design EEVblog detailed for an electronic load. For those of you who prefer your DIY rotary encoders to send discrete clicks and pulses instead of an analog voltage, a 3D printed wheel and two microswitches will do the job.

Ten 3D Printed Gadgets That Just Can’t Stay Still

There was a time, not so very long ago, when simply getting a 3D printer to squirt out an object that was roughly the intended shape and size of what the user saw on their computer screen was an accomplishment. But like every other technology, the state of the art has moved forward. Today the printers are better, and the software to drive them is more capable and intuitive. It was this evolution of desktop 3D printing that inspired the recently concluded 3D Printed Gears, Pulleys, and Cams contest. We wanted to see what hackers and makers can pull off with today’s 3D printing tools, and the community rose to the challenge.

Let’s take a look at the top ten spinning, walking, flapping, and cranking 3D printed designs that shook us up:

Continue reading “Ten 3D Printed Gadgets That Just Can’t Stay Still”

A Raspberry Pi Grimoire For The Command Line Wizard

Who says there’s no such thing as magic? Not anyone who knows what a Unix pipe is, that’s for sure. If you do some of your best incantations at a blinking cursor, this scratch-built Raspberry Pi Zero “Spellbook” laptop created by [Calvin] might be just what the apothecary ordered. Lucky for us, he was kind enough to document the design and construction of this penguin-powered tome for anyone else who wishes to dabble in the GNU Dark Arts.

In the series of videos after the break, viewers have the opportunity to watch a project go from idea to final product. The first video was uploaded nearly a month before the project was completed, and goes over some of the design elements of the project as well as different ideas [Calvin] had in terms of things like component placement. Throughout the video, he illustrates his ideas in TinkerCAD, which might not have been our first choice for a project this complex, but it does go to show what’s possible in the free web-based CAD package.

By the second video, [Calvin] has printed some parts and now has the hardware coming together. The general idea is that the outside panels of the “book” are made out of steel cut from the side panel of an old computer, with the 3D printed components taking the form of spacers between the electronic components. These plastic “pages” are not only easier and faster to print than a complete case, but help sell the appearance of the book when viewed from the sides.

[Calvin] has shared his TinkerCAD design so that others can print out the necessary components for the book, though you’ll have to source your own steel plates. He also breaks down all the principle components he used and gives links to where you can buy them, from the display and keyboard down to the screws and standoffs. He went with the Pi Zero and sticks to mainly console work, but if you want something with enough power to throw around a graphical environment, he says there’s room in the case for a Pi 3.

Hackers seem to enjoy hiding hardware inside of books, PLA or otherwise. We’ve recently seen an iPad nestled snugly into a notebook, and of course no house would be complete without a book doubling as a hidden switch.

Continue reading “A Raspberry Pi Grimoire For The Command Line Wizard”

Downloadable 3D Cockpits Enhance FPV Racing

First Person View (or First Person Video) in RC refers to piloting a remote-controlled vehicle or aircraft via a video link, and while serious racers will mount the camera in whatever way offers the best advantage, it’s always fun to mount the camera where a miniature pilot’s head would be, and therefore obtain a more immersive view of the action. [SupermotoXL] is clearly a fan of this approach, and shared downloadable designs for 3D printed cockpit kits for a few models of RC cars, including a more generic assembly for use with other vehicles. The models provide a dash, steering wheel, and even allow for using a small servo to make the steering wheel’s motions match the actual control signals sent. The whole effect is improved further by adding another servo to allow the viewer to pan the camera around.

Check out the video embedded below to see it in action. There are more videos on the project’s page, and check out the project’s photo gallery for more detailed images of the builds.

Continue reading “Downloadable 3D Cockpits Enhance FPV Racing”

The Magnetic Rubik’s Cube

Ernő Rubik has much to answer for when it comes to the legacy of his namesake cube. It has both enthralled and tormented generations, allowing some to grandstand in the playground while others are forced to admit defeat in the face of a seemingly intractable puzzle. It just so happens that [Tom Parker] has been working on a Rubik’s cube with a novel magnetic design.

Yes, that’s right – [Tom]’s cube eschews the traditional rotating and sliding mechanism of the original cube, instead replacing it all with magnets. Each segment of the cube, along with the hidden center piece, is 3D printed. Through using a fused deposition printer, and pausing the print at certain layers, it’s possible to embed the magnets inside the part during the printing process.

[Tom] provides several different versions of the parts, to suit printers of different capabilities. The final cube allows both regular Rubik’s cube movements, but also allows for the player to cheat and reassemble it without having to throw it forcefully against the wall first like the original toy.

It’s an interesting build, and a great one to get to grips with the techniques involved in embedding parts in 3D prints. It may not be capable of solving itself, but we’ve seen another build that can pull off that impressive feat. Video after the break.

Continue reading “The Magnetic Rubik’s Cube”

Palm-Sized Gatling Gun Has 32 Mini Elastics With Your Name On Them

One thing 3D printers excel at is being able to easily create objects that would be daunting by other methods, something that also allows for rapid design iteration. That’s apparent in [Canino]’s palm-sized, gatling-style, motorized 32-elastic launcher.

The cannon has a rotary barrel driven by a small motor, and a clever sear design uses the rotation of the barrels like a worm gear. The rotating barrel has a spiral formation of hooks which anchor the stretched elastic bands. A small ramp rides that spiral gap, lifting ends of stretched bands one at a time as the assembly turns. This movement (and therefore the firing control) is done with a small continuous rotation servo. While in theory any motor would do, using a servo has the advantage of being a standardized shape, and therefore easy to integrate into the design. A video is embedded below in which you can see it work, along with some close-ups of the action.

Continue reading “Palm-Sized Gatling Gun Has 32 Mini Elastics With Your Name On Them”

Supportless Overhangs: Just Reorient Gravity By 90 Degrees

The 3D print by [critsrandom] in the image above may not look like much at first glance, until one realizes that the 90 degree overhang has no supports whatsoever. Never mind the messy bottom surface, and never mind that the part shown might avoid the problem entirely with some simple supports or a different print orientation; the fact that it printed at all is incredible.

[critsrandom] shared the method in a post on Reddit, and it consists simply of laying the 3D printer on its side. When the print head reaches the overhang, the fact that it is printing sideways is what allows that spot to make the leap from “impossible” to merely “messy”. Necessary? Probably not, but a neat trick nevertheless.

Tilted 3D printers is something that we’ve seen in the past, but for different reasons. When combined with a belt-driven build platform, a tilted printer has a theoretically infinite build volume (in one axis, anyway.)