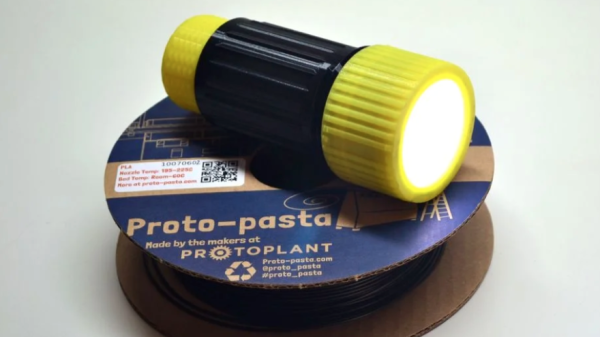
Conductive filament isn’t an ideal electrical conductor, but it’s a 3D-printable one and that’s what makes [Hercemer]’s 3D-printed flashlight using conductive filament work. Every part of the flashlight is printed except for the 9 volt battery and LEDs. Electrically speaking, the flashlight is a small number of LEDs connected in parallel to the terminals of the battery, and turning it on or off is done by twisting or loosening a cap to make or break the connection.
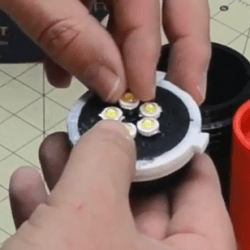
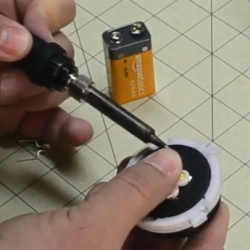
The main part of the build is a 3D-printed conductive cylinder surrounded by a printed conductive ring with an insulator between them. This disk- or pad-shaped assembly forms not only the electrical connection between the LEDs and battery terminals, but also physically holds the LEDs. To attach them, [Hercemer] simply melts them right in. He uses a soldering iron to heat up the leads, and presses them into the 3D-printed conductive block while hot. The 9 V battery’s terminals contact the bottom when the end cap is twisted, and when they touch the conductive assembly the flashlight turns on.
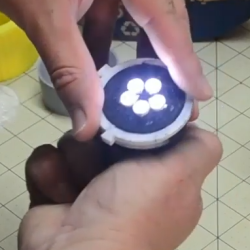
Anticipating everyone’s curiosity, [Hercemer] measured the resistance of his conductive block and measured roughly 350 ohms when printed at 90% infill; lower infills result in more resistance. You can see a video of the assembly and watch the flashlight in action in the video, embedded below.
Continue reading “100% Printed Flashlight: Conductive Filament And Melted-in Leads”