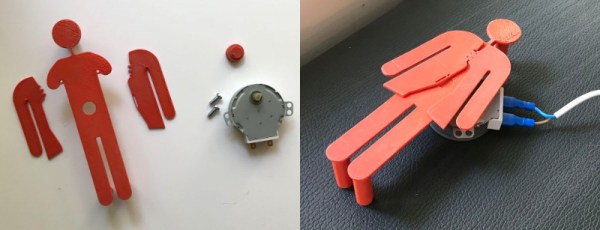
3D printing has brought the production of plastic parts to the desktops and workshops of makers the world over, primarily through the use of FDM technology. The problem this method is that when squirting layers of hot plastic out to create a part, the subsequent vertical layers don’t adhere particularly well to each other, leading to poor strength and delamination problems. However, carbon nanotubes may hold some promise in solving this issue.
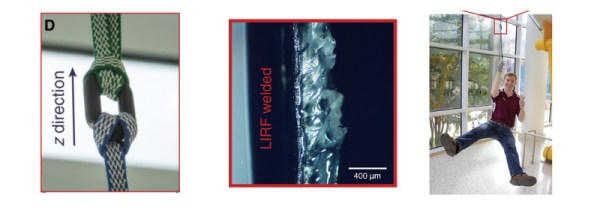
A useful property of carbon nanotubes is that they can be heated with microwave energy. Taking advantage of this, researchers coated PLA filament in a polymer film containing carbon nanotubes. As the layers of the print are laid down, the nanotubes are primarily located at the interface between the vertical layers. By using microwaves to heat the nanotubes, this allows the print to be locally heated at the interface between layers, essentially welding the layers together. As far as results are concerned, the team reports an impressive 275% improvement in fracture strength over traditionally printed parts.
The research paper is freely available, which we always like to see. There’s other methods to improve your print strength, too – you could always try annealing your printed parts.
[Thanks ????[d] ???? for the tip]