Build A 3D Printer Workhorse, Not An Amazing Disappointment Machine

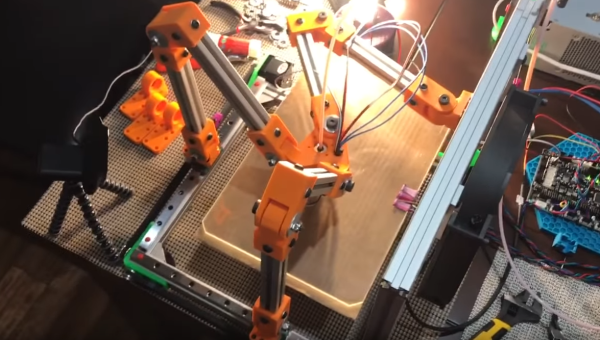
3D printers have become incredibly cheap, you can get a fully workable unit for $200 – even without throwing your money down a crowdfunded abyss. Looking at the folks who still buy kits or even build their own 3D printer from scratch, investing far more than those $200 and so many hours of work into a machine you can buy for cheap, the question “Why the heck would you do that?” may justifiably arise.

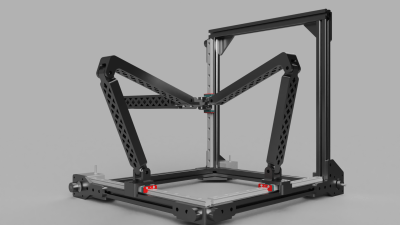
The answer is simple: DIY 3D printers done right are rugged workhorses. They work every single time, they never break, and even if: they are an inexhaustible source of spare parts for themselves. They have exactly the quality and functionality you build them to have. No clutter and nothing’s missing. However, the term DIY 3D printer, in its current commonly accepted use, actually means: the first and the last 3D printer someone ever built, which often ends in the amazing disappointment machine.

This post is dedicated to unlocking the full potential in all of these builds, and to turning almost any combination of threaded rods and plywood into a workshop-grade piece of equipment.

Continue reading “Build A 3D Printer Workhorse, Not An Amazing Disappointment Machine”

A Hydra Of A 3D Printer

3D printers are great for producing one thing, but if you need multiple copies, the workflow quickly starts to go downhill. The solution? Build a 3D printer with multiple print heads, capable of printing four objects in the same amount of time it takes to print one.

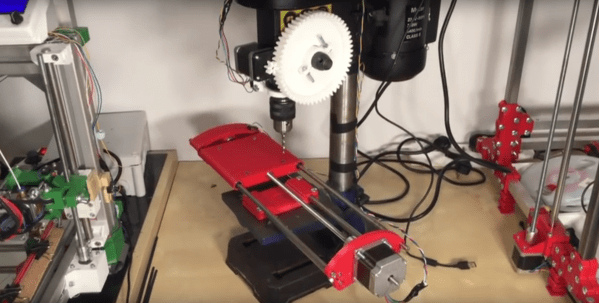
This build is an experiment for [allted]’ Mostly Printed CNC / MultiTool. It’s a CNC machine that uses printed parts and 3/4″ electrical conduit for the frame and rails.  That last bit is the interesting part: electrical conduit is cheap, easy to acquire, available everywhere, and can be cut with a hacksaw. As far as desktop CNC machines go, it doesn’t get simpler or cheaper than this, and a few of these builds are milling wood with the same quality of a machine based on linear rails. It won the grand prize in the recent Boca Bearings contest, and is a great basis for a cheap and serviceable 2.5 or 3D CNC.

[allted] already has this cheap CNC mill cutting aluminum and engraving wood with a laser, showing off the capabilities of a remarkably cheap but highly expandable CNC machine. It’s a fantastic build, and we can’t wait to see more of these machines pop up in garages and workspaces.

Continue reading “A Hydra Of A 3D Printer”

Automating 3D Printers With Robots

3D printers were never meant to be used for production. They’re not manufacturing machines, they’re prototyping machines. That doesn’t mean 3D printers can’t be used in a manufacturing context, it’s just very hard – you’d need someone manning a fleet of machines, or some sort of ‘automated build platform’ that won’t be invented for exactly fourteen years.

In the absence of someone paid to watch printers print, [Mark], [Robert], and [James] at tend.ai have created a way to manage a fleet of printers with a robot arm. It’s a robotic arm that automatically monitors the LCD on a rack full of 3D printers, plucks the finished prints off the bed, drops the parts in a box, and starts another print.

Tend.ai is in the business of cloud robotics, and have designed a system that takes any robotic arm, any webcam, and provides the backend for this robotic arm to – wait for it – tend to other machines. As a demo, it works well. Parts are picked up off of the machines, dropped into boxes, and another print run started.

As a tech demo for a cloud robotics platform, you can’t do much better than this. As a way to automate a fleet of 3D printers, I can only wonder how this robot arm system would work with large, flat printed parts. A robotic gripper could always be replaced with a spatula, I guess.

You can check out the demo and the ‘how they did it’ video below.

Continue reading “Automating 3D Printers With Robots”

Review: Monoprice MP Select Mini 3D Printer

2016 is the year of the consumer 3D printer. Yes, the hype over 3D printing has died down since 2012. There were too many 3D printers at Maker Faire three years ago. Nevertheless, sales of 3D printers have never been stronger, the industry is growing, and the low-end machines are getting very, very good.

Printers are also getting cheap. At CES last January, Monoprice, the same company you buy Ethernet and HDMI cables from, introduced a line of 3D printers that would be released this year. While the $300 resin-based printer has been canned, Monoprice has released their MP Select Mini 3D printer for $200. This printer appeared on Monoprice late last month.

My curiosity was worth more than $200, so Hackaday readers get a review of the MP Select Mini 3D printer. The bottom line? There are some problems with this printer, but nothing that wouldn’t be found in printers that cost three times as much. This is a game-changing machine, and proof 2016 is the year of the entry-level consumer 3D printer.

Continue reading “Review: Monoprice MP Select Mini 3D Printer”

Barb Makes Mechanical Pokey Finger With Filament Rivets

We were trolling around Hackaday.io, and we stumbled on [Barb]’s video series called (naturally enough) “Barb Makes Things“. The plot of her videos is simple — Barb points a time-lapse camera at her desk and makes stuff. Neat stuff.

Two particularly neat projects caught our attention: a mechanical pointy-finger thing and the useful 3D-printing-filament rivets that she used to make it. (Both of which are embedded below.) The finger is neat because the scissor-like extension mechanism is straight out of Wile E. Coyote’s lab.

how-to-3d-printing-filament-rivets-reymdd8ufiumkv-shot0004_thumbnail

But the real winners are the rivets that hold it together. [Barb] takes a strand of filament, and using something hot like the side of a hot-glue gun, melts and squashes the end into a mushroom rivet-head. Run the filament through your pieces, mushroom the other end, and you’re set. It’s so obvious after seeing the video that we just had to share. (Indeed, a lot of cheap plastic toys are assembled using this technique.) It’s quick, removable, and seems to make a very low-friction pivot, which is something that printed pins-into-holes tends not to. Great idea!

Continue reading “Barb Makes Mechanical Pokey Finger With Filament Rivets”

This DLP 3D Printer Build Is Going Really Well

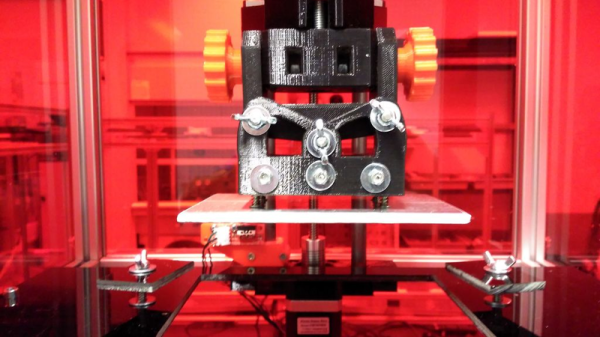
We suppose [Dan Beaven] got up one day and said, “I’ll make my own resin 3D printer, with resin management and an advanced separation mechanism!” It’s a build log that shows just how possible it is to roll your own resin printer.

Prints on a dime!
Prints on a dime!

The machine isn’t finished yet, but the example prints coming off it are already very impressive. [Dan] stopped the print midway to get this photo of the detail on the stairs in the standard rook torture test.

[Dan] wants a lot of features from his machine that some of the more polished commercial printers are only now offering. One really nice one is the sliding and twist separation instead of tilt. This will allow for cleaner separation between layers during a print, a lower failure rate, and also faster print times.

He also added resin management with a peristaltic pump. This reduces the size of the build vat, and less resin will be exposed to the elements and wasted. It also means that the printer can run unattended. In the resin handling area of the printer he’s also added a carbon air filter. This lets him run higher performing resins without gassing him out of house and home with fumes.

We like how [Dan] just runs right ahead and puts the printer together. He even points out kludges on the machine that are holding it together long enough for him to print a more functional part for the 3D printer– on the 3D printer. We look forward to the next installment.

Hackaday Prize Entry: A Numerically Controlled RepRap

The story for permanent storage for computers begins with the Jacquard loom. Hackaday commenters that are less clever than a Wikipedia article may argue that it was the earlier Bouchon and de Vaucanson looms, but either way we owe permanent storage methods to loom designers. So the story goes that punched cards for weaving brocades and damask patterns in cloth turned into punched cards for tabulating a census, calculating artillery trajectories, and ends with hundreds of gigabytes of storage in a thumbnail-sized micro SD card.

This story glosses over one important fact. The automated looms of the 17th century were simply a way to make a manufacturing process faster. These automated looms were the forebears of numerically controlled machine tools. These machines, first a lathe, followed by mills and all sorts of metalworking tools, first appearing in the 1950s, used punched tape to store the commands required to mill a part out of metal. Just like the SD card on a modern 3D printer.

For [will.stevens’] Hackaday Prize entry, he’s going back to the roots of automated manufacturing and building a punched card reader for his 3D printer. Is the idea sound? Yes. Is it going to be easy? No, [will] is creating his punched card reader on his 3D printer. It’s the ultimate expression of the RepRap philosophy of self-replication, and an interesting engineering challenge, too.

[will]’s idea for a punch card print controller uses relays. It’s a simple control system that encodes the individual steps for the X and Y axes, along with a length of a line. This printer won’t be able to create lines that go in every direction, instead, there are only 48 possible angles this printer can use out of 360 degrees. At large scales, prints and plots will have the jaggies, but at smaller scales, this control system will be able to print something resembling a circle.

[will] has a PDF of his proposed control system, and he’s already hard at work creating the 3D printed relays and solenoids. [will]’s goal for this year’s Hackaday Prize is to create a 2D plotter – just one axis short of a 3D printer, and he’s well on his way to printing off his own punched cards.

The HackadayPrize2016 is Sponsored by: