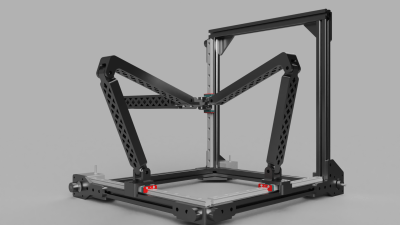
Cartesian 3D printers were the original. Then delta printers came along, and they were pretty cool too. Now, you can add tripteron printers to the mix. The Tripteron is an odd mix of Cartesian and delta. The system was invented at the robotics laboratory at Université Laval in Quebec, Canada. The team who created it say that it is “isotropic and fully decoupled, i.e. each of the actuators is controlling one Cartesian degree of freedom, independently from the others.” This means that driving the bot will be almost as simple as driving a standard X/Y/Z Cartesian printer. The corollary to that are of course delta robots, which follow a whole different set of kinematic rules.
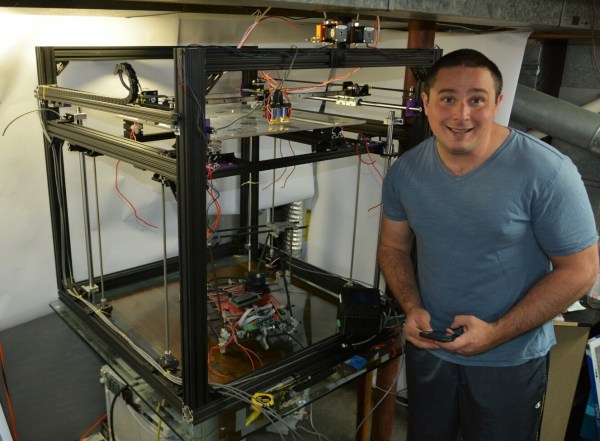
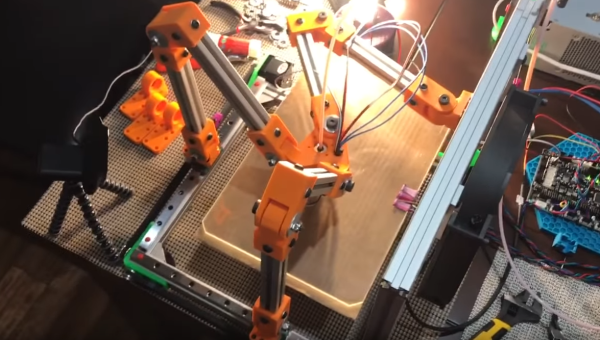
 A few people have experimented with Tripteron printers over the years, but as far as we can see, no one has ever demonstrated a working model. Enter [Apsu], who showed up about a month ago. She started a post on the RepRap forums discussing her particular design. She works fast, and has now demonstrated a working prototype making prints. Sure they’re just calibration cubes, but this is a huge step forward.
[Apsu] admits that she still has a way to go in her research — especially improving the arm and joint implementation. However, she’s quite pleased that her creation has gone from a collection of parts to a new type 3D printer. We are too — and we can’t wait to see the next iteration!