There’s something about clocks — sooner or later, every hacker wants to build one. And we end up seeing all kinds of display techniques being used to show time. For the simplest of builds, 7-segment display modules usually get dug up from the parts bin. If you have a bunch of “smart” LED’s (WS2812’s, APA102’s), then building your own custom 7-segment modules isn’t too difficult either. [rhoalt] had neither, but he did have several 8 LED Neopixel rings lying around. So he thought of experimenting with those, and built a ‘Binoctular’ LED clock which uses the Neopixel rings as 7 segment displays.
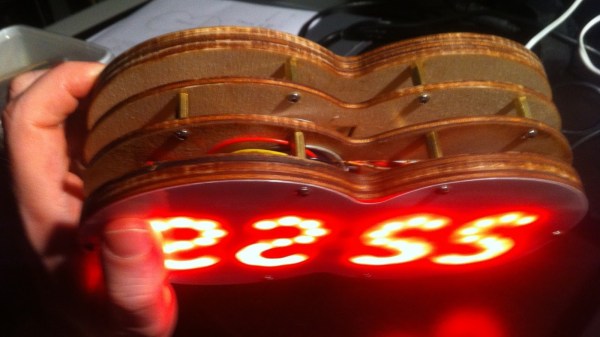
 Each digit is made using one pair of Neopixel rings, stacked to form a figure of eight. All the digits are composed of arcs, so readability isn’t the best but it’s not hard either. [rhoalt] does mention that the display is easier to read via blurred camera images rather than visually, which isn’t surprising. We’re long used to seeing numbers composed of straight line segments, so arc segmented digits do look weird. But we wouldn’t have known this if [rhoalt] hadn’t shown us, right ? Maybe a thicker diffuser with separator baffles may improve the readability.
The rest of the build is pretty plain vanilla — an Arduino Nano clone, a DS3231 RTC, a Lithium battery, and some buttons, all housed together in a laser cut enclosure which follows the figure of eight design brief. And as usual, once you’ve built one, it’s time to improve and make a better version.


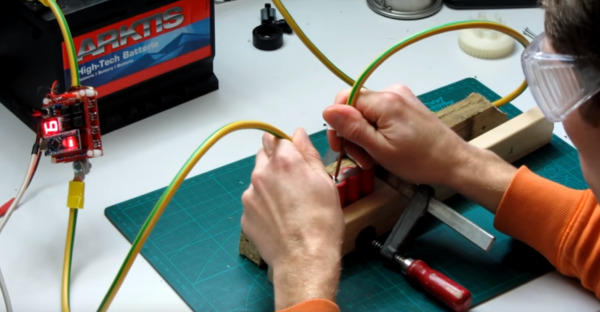
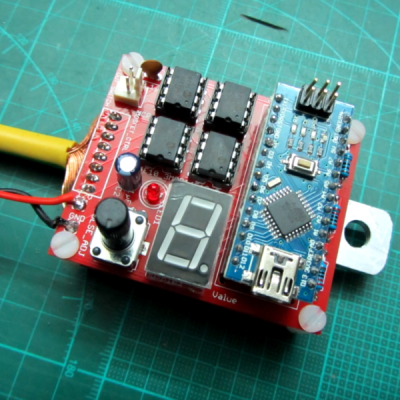 When it comes to delivering the high currents necessary for spot welding, the Arduino Nano is not necessarily the first thing that comes to mind. But the need for a precisely controlled welding pulse makes the microcontroller a natural for this build, as long as the current handling is outsourced. In [KaeptnBalu]’s build, he lets an array of beefy MOSFETs on a separate PCB handle the welding current. The high-current wiring is particularly interesting – heavy gauge stranded wire is split in half, formed into a U, tinned, and each leg gets soldered to the MOSFET board. Welding tips are simply solid copper wire, and the whole thing is powered by a car battery, or maybe two if the job needs extra amps. The video below shows the high-quality welds the rig can produce.