Are you running out of ways to entertain yourself and your family? If you’ve read all the books and watched all the movies, it might be time to explore the psychic abilities of silicon. [Hari Wiguna] has just the trick to keep them guessing for a good long time.
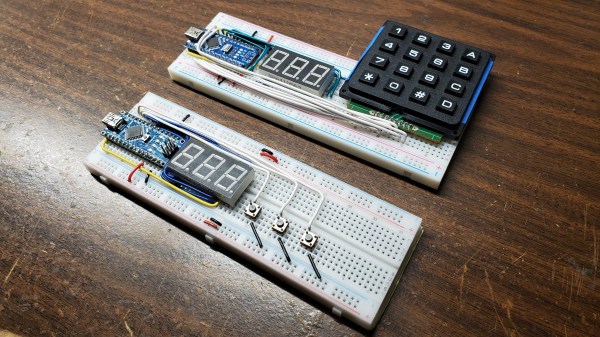
This trick doesn’t take much, just a couple of Arduinos, some momentary buttons, a number pad, and a large helping of math. As you can see in the demo after the break, there is nothing connecting the two, not even 802.11(n). On the randomizer Arduino, [Hari] generates random numbers with the push of a button until the audience sees one they like. Then [Hari] locks in the number with the other button.
What happens next is key: the randomizer generates another random number, but uses it as a hint to set a sentinel digit. The randomizer Arduino subtracts the larger of the two digits in the number from nine and stores the result as the flag. When the next number comes up that has the flag digit in the correct place, the number after that will be the random number chosen at the beginning.
The psychic Arduino’s secret is that it knows the first guess it receives is special. It does the same sentinel digit math as the randomizer, so when the guesser enters the guess with the sentinel digit, it knows the next number entered is the winner. Clear as mud? Check out the second video below where [Hari] explains the trick, a new take on a magic classic.
Looking for a more exciting way to generate random numbers? Try using fish tanks, lava lamps, or muons from outer space.