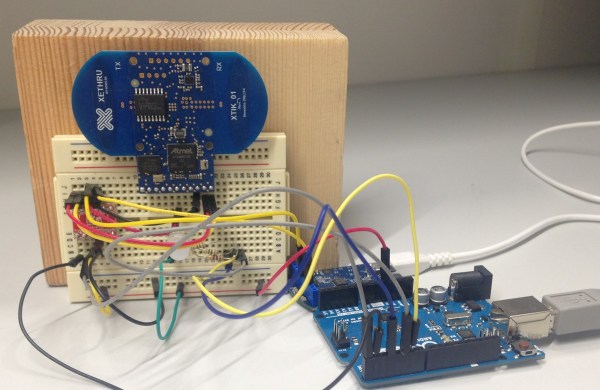
Giant wristwatches are so hot right now. This is a good thing, because it means they’re available at many price points. Aim just low enough on the scale and you can have a pre-constructed chassis for building your own smartwatch. That’s exactly what [benhur] did, combining a GY-87 10-DOF module, an I²C OLED display, and an Arduino Pro Mini.
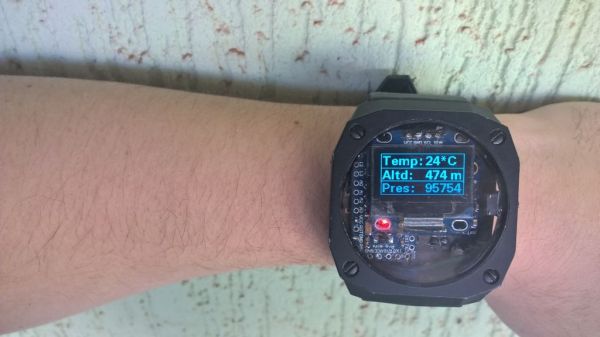
The watch uses one button to cycle through its different modes. Date and time are up first, naturally. The next screen shows the current temperature, altitude, and barometric pressure. Compass mode is after that, and then a readout showing your step count and kilocalories burned.
In previous iterations, the watch communicated over Bluetooth to Windows Phone, but it drew too much power. With each new hardware rev, [benhur] made significant strides in battery life, going from one hour to fourteen to a full twenty-fours.
Take the full tour of [benhur]’s smartwatch after the break. He’s open to ideas for the next generation, so share your insight with him in the comments. We’d like to see some kind of feedback system that tells us when we’ve been pounding away at the Model M for too long. Continue reading “It’s Time To Roll Your Own Smartwatch” →