These days it’s super-easy (not super-cheap) to go out and buy a 3D printer. But if you’ve got the mad skills like [Mario Lukas] maybe you can build a 3D print using a bunch of scavenged parts (translated). He’s published six posts on the build, and put together an overview video which you can watch after the break.
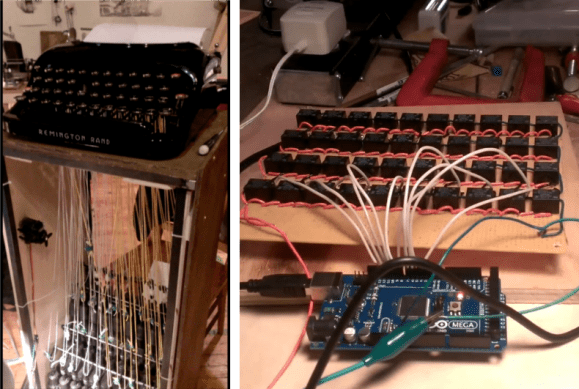
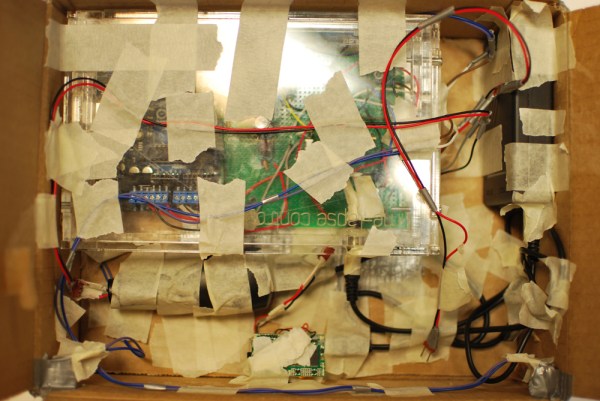
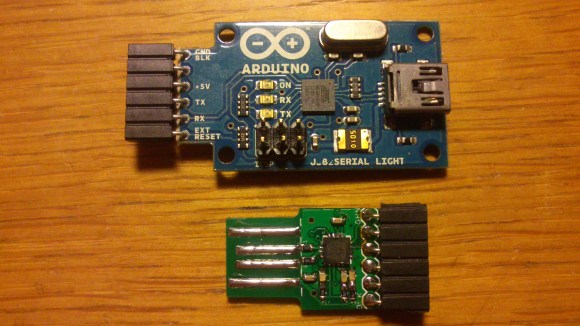
A pile of salvaged parts were found in a scanner and four different printers. He’s also powering the thing with an old PC PSU. The hot bed and extruder are brand new, which is a wise investment. We’re not sure about the threaded rod and bearings but we’d bet those are new as well. When it came time to work on the electronics he chose an Arduino board as the go-between for the printer and computer. It uses four stepper motor driver boards to drive the axes. Connections can be a bit complicated and he actually ‘smoked’ one of the boards during the development phase.
One of the mechanical build posts shows a belt routed in a T-shape. We wonder if it’s function is similar to what this H-bot style printer uses?
Continue reading “Scratch-built 3D Printer Shows Rock-solid Performance”