
Typewriters may be long past their heyday, but just because PCs, word processor software, and cheap printers have made them largely obsolete doesn’t mean the world is better off without them. Using a typewriter is a rich sensory experience, from the feel of the keys under your fingers that even the clickiest of PC keyboards can’t compare with, to the weirdly universal sound of the type hitting paper.
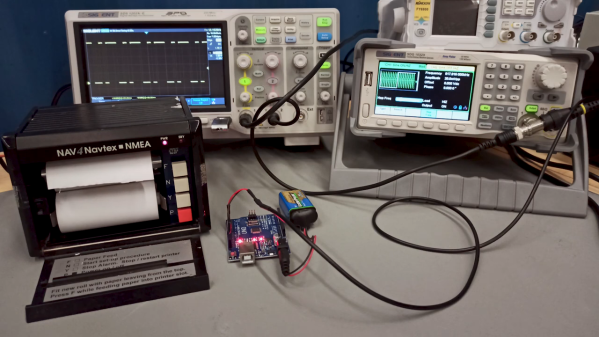
So if life hands you a typewriter, why not put it back to work? That’s exactly what [Artillect] did by converting an 80s typewriter into a Linux terminal. The typewriter is a Brother AX-25, one of those electronic typewriters that predated word processing software and had a daisy wheel printhead, a small LCD display, and a whopping 8k of memory for editing documents. [Artillect] started his build by figuring out which keys mapped to which characters in the typewriter’s 8×11 matrix, and then turning an Arduino and two multiplexers loose on the driving the print head. The typewriter’s keyboard is yet used for input, as the project is still very much in the prototyping phase, so a Raspberry Pi acts as a serial monitor between the typewriter and a laptop. The video below has a good overview of the wiring and the software, and shows the typewriter banging out Linux command line output.
For now, [Artillect]’s typewriter acts basically like an old-school teletype. There’s plenty of room to take this further; we’d love to see this turned into a cyberdeck complete with a built-in printer, for instance. But even just as a proof of concept, this is pretty great, and you can be sure we’ll be trolling the thrift stores and yard sales looking for old typewriters.
Continue reading “Converting An 80s Typewriter Into A Linux Terminal”

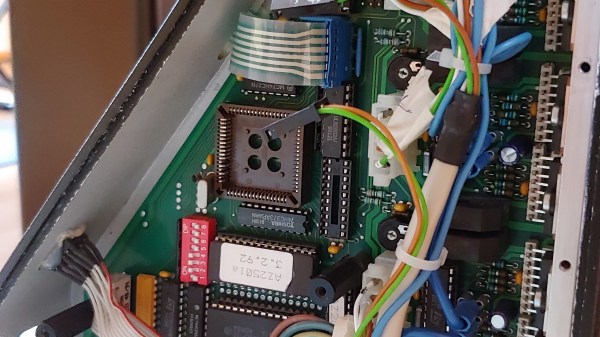
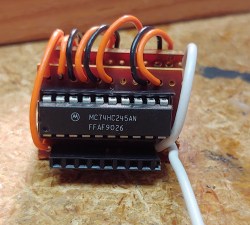 They reverse-engineered the motor driver connections – those go through a 74HC245 buffer between the original CPU and the drivers. Initially, they put an Arduino inside the control box of the CNC and it fit nicely, but it turned out the Arduino’s CPU would restart every time the spindle spun up – apparently, EMC would rear its head. So, they placed the Arduino out of the box, and used two CAT7 cables to wire up the motor and endstop signals to it.


