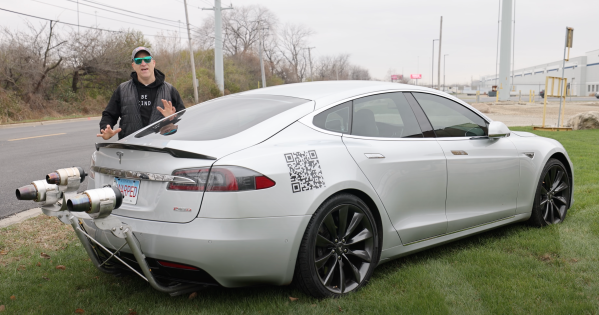
Tesla is well known for making cars that can accelerate quickly, but there’s always room for improvement. [Warped Perception] decided that his Tesla Model S P85D needed that little bit of extra oomph (despite the 0-60 MPH or 0-97 km/h time of 3.1 seconds), so he did what any sensible person would: add three jet turbines to the back of his car.
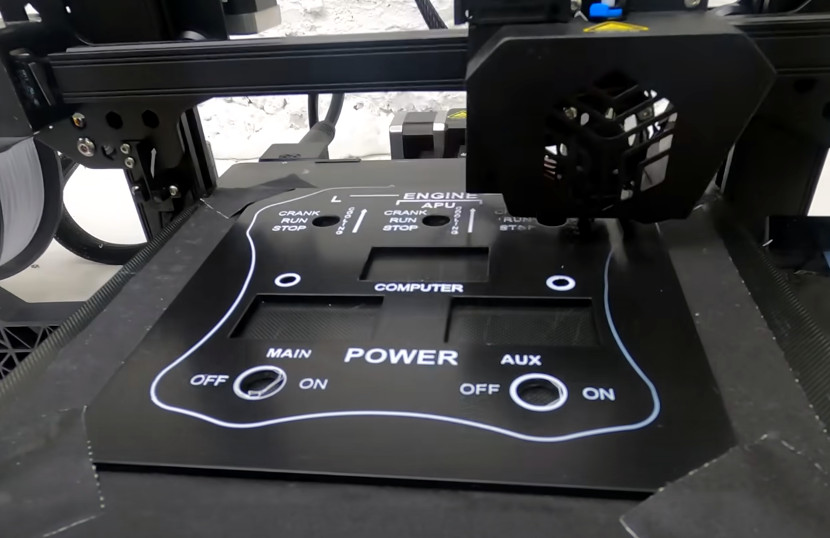
The best part of this particular build is the engineering and fabrication that made this happen. With over 200 pieces and almost all personally fabricated, this is a whirlwind of a build. The control panel is first, and there’s a particularly clever technique of 3D printing the lettering directly onto the control panel for the flat stuff. Then for the pieces with angles that would prevent the head from moving freely, he printed onto a plastic sheet in reverse, applied glue, then stuck the letters to the plate as a sheet. A top layer of clear coat ensures the letters won’t come off later.
He installed the control electronics in the trunk with wiring strung from the car’s front to the rear. Three Arduinos serve as controllers for the jets. Afterward, came the bracket to hold the engines and attach it to the car’s underside. Unfortunately, supplies were a little hard to come by, so he had to make do with what was on hand. As a result it didn’t come out as strong as he would have hoped, but it’s still pretty impressive.
[Warped Perception] does a few tests before taking it out on the road. Then, he shifted the car into neutral and could drive the car solely on jet power, which was one of his goals. While we don’t love the idea of testing a jet engine on public roads, it certainly would discourage tailgaters.
Next, he finds a quieter road and does some speed tests. Unfortunately, it was drizzling, and the pavement was damp, putting a damper on his 0-60 standing times. Electric-only he gets 4.38 seconds, and turning on the jets plus electric shaves that down to 3.32 seconds. Overall, an incredible build that’s sure to draw a few curious glances whenever you’re out on the town.
If you’re looking to upgrade your Tesla, perhaps instead of jet engines, you might opt for a robot to plug it in for you?
Continue reading “Tesla Model S Gets Boost With Jet Engine Upgrade”