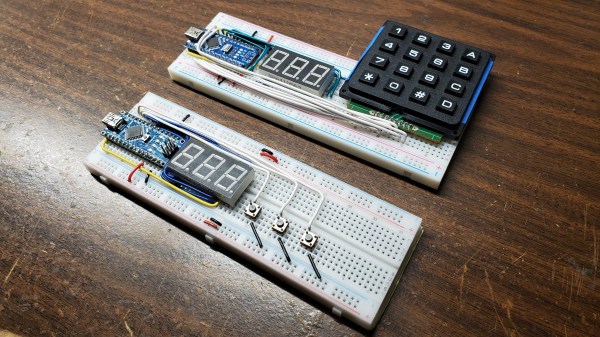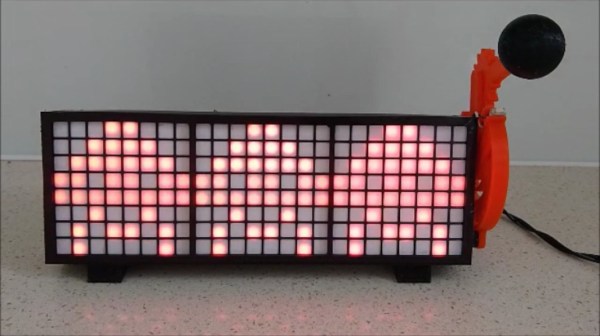
For some reason, when slot machines went digital, they lost their best feature — the handle. Who wants to push a button on a slot machine, anyway? Might as well just play video poker. [John Bradnam] seems to agree, and has built an open-source three-color matrix slot machine complete with handle.
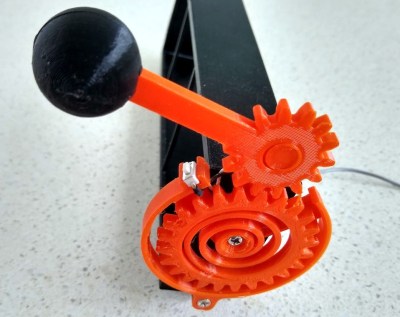 In this case, you’ll be losing all of your nickels to an Arduino Pro Mini. The handle is an upgrade to an earlier slot machine project that uses three 8×8 matrices and a custom driver board. When the spring-loaded handle is pulled, it strikes a micro switch to spins the reels and then snaps back into place. Between each pull, the current score is displayed across the matrix. There’s even a piezo buzzer for victory squawks. We only wish the button under the handle were of the clickier variety, just for the feels. Check out the short demo video after the break.
If you’re not a gambler, you could always turn your slot machine into a clock.