NES Cartridge Hack Makes Great Novelty Gift

NES cartridge with arduino

Most all of us recall the Blinking Screen of Death on original NES systems. This was caused by a bad connection between the cartridge and the NES cartridge connector. For whatever reason, it became a very popular idea to give a quick blow down the cartridge, even though this didn’t really help. [Dale] decided to play on this annoying problem by making the NES Blow Cart!

Inspired by a previous cartridge hack, [Dale] mounted a custom made circuit sporting the ever popular ATtiny85 in a Super Mario / Duck Hunt cartridge. A small microphone sits where the original cartridge connector was, along with the on/off switch and program header. A quick blow triggers the ATtiny85 to play a song.

The most difficult part for [Dale] was to figure out how to get the ATtiny to play “music”. This was solved with the discovery of a library called Rtttl. This allowed him to take old Nokia Super Mario and Zelda ringtones and get them on the Attiny85. All files, including the rtttl library are available on his github. Be sure to stick around after the break for a video of the project in action.

Continue reading “NES Cartridge Hack Makes Great Novelty Gift”

Digispark Pro, The Bigger Smaller Dev Board

digi

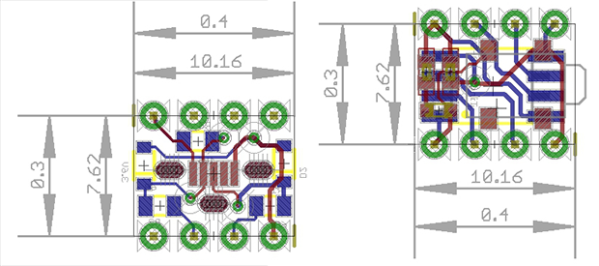
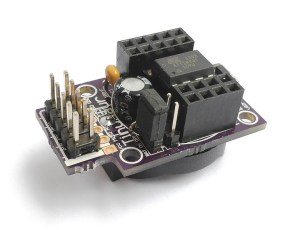
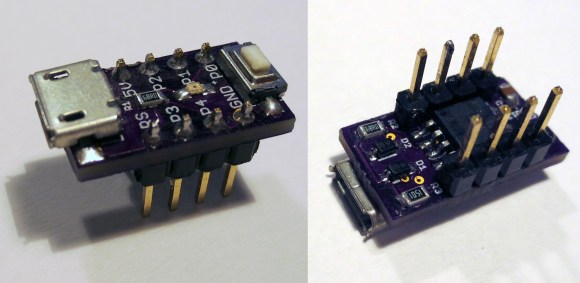
There has recently been a huge influx of extremely small dev board based on the ATtiny85. This small 8-pin microcontroller is able to run most Arduino sketches,  and the small size and low price of these dev boards means they have been extremely popular. The Digispark was among the first of these small boards, and now the creator is releasing a newer, bigger version dubbed the Digispark Pro.

The new board isn’t based on the ‘tiny85, but rather the ATtiny167. This larger, 20-pin chip adds 10 more I/O pins, and a real hardware SPI interface, but the best features come with the Digispark Pro package. There’s real USB programming, device emulation, and serial over USB this time, and the ability to use the Arduino serial monitor, something not found in the original Digispark.

There are also a few more shields this time around, with WiFi and Bluetooth shields available as additional rewards. Without the shields, the Digi Pro is cheap, and only $2 more per board than the original Digispark.


A Simple Posture Sensor

ChairPosture

If you are on the computer for a large part of the day, posture becomes a serious issue that can negatively impact your health. [Wingman] saw this problem, and created a hack to help solve it. His simple posture sensor will monitor the position of your head relative to the chair, and reminds you to sit up straight.

The posture sensor is built around the HC-SR04 ultrasonic distance sensor, an Attiny85, and a piezo speaker. We’ve seen this distance sensor used in the past for a few projects. Rather than going down the wearable route, which has its own drawbacks, [Wingman] decided to attach his sensor on the back of his chair. The best part is that the sensor is not mounted directly on the chair, but rather on a piece of fabric allowing it to be easily moved when needed.

Given how low-cost and small the sensor is, the project can be easily expanded by adding multiple sensors in different locations. This would allow the angle of the back and possibly the neck to be determined, giving a more accurate indicator of poor posture. There are very few hacks out there that address bad posture. Do you have a project that helps address bad posture? Have you used video processing or a wearable device to monitor your posture? Let us know in the comments an don’t forget to send post links about them to our tips line.

Nrf24l01+ Using 3 ATtiny85 Pins

[Ralph] wasn’t satisfied with the required 5 control pins to drive his nrf24l01+ transceiver module, so he used this circuit needing just 3 pin using an ATtiny85.

One of the key components was to effectively drive the chip select (CSN) line from the clock (SCK) line. The nrf24l01+ needs the CSN line to transition from high to low on the beginning of a communication.  [Ralph] put the SCK line behind a diode, put a capacitor in parallel with the CSN line and altered the arduino-nrf24l01 library to encode extra delays for the clock line.  This allowed the CSN line to be driven by the SCK line. Subsequent line transitions during transmission happen too fast to charge the capacitor, leaving the CSN line in a low state.

After tying the chip enable line high and dropping the 5V power line to 1.9-3.6V across a red LED, [Ralph] had an ATtiny85 controlling a nrf24l01+ module.

Though deceptively simple, a very cool hack that opens up a couple more lines on the ATtiny85.

Hack All The Things In The Time You Save With This LED Pomodoro Timer

Do you want to use your time more productively but are tomato-averse? [Robin]’s LED Pomodoro timer could be the perfect hack for you.

The Pomodoro Technique is a time management solution developed in the late 1980s. The basic idea is to spend a very focused 25 minutes performing some activity such as working or studying and then take a 5-minute break. Many of its proponents use a tomato-shaped kitchen timer to alert them to switch between the two states, but [Robin] wanted to make his own and learn along the way.

First, he wanted to use an ATtiny85 and learn about its features. Specifically, he used its timers, PWM, and low-power sleep mode. [Robin] used Charlieplexing to drive a total of six LEDs. When the timer starts, five yellow LEDs are driven high to indicate each 5-minute slice of work time. A red LED is lit during the 5-minute break.

[Robin] also explored compact PCB design and fabrication. All components are SMD and his board is 4cm square. [Robin] is using this SMD buzzer for discrete feedback. He included a footprint for a six-pin ISP header and programmed it with pogo pins. The timer is completely interrupt-driven: one click of the tactile button starts the work counter, and the buzzer sounds when time is up. A second click starts the break counter.

[Robin] has made everything available in his GitHub repo and encourages you to use it. Time’s a-wastin’!

Rewriting WS2812 Driver Libraries For Optimization

ws2812_compared

We like [Tim’s] drive for improvement. He wrote a WS2812 driver library that works with AVR and ARM Cortex-M0 microcontrollers, but he wasn’t satisfied with how much of the controller’s resources the library used to simply output the required timing signal for these LED modules. When he set out to build version 2.0, he dug much deeper than just optimizing his own code.

We remember [Tim] from his project reverse engineering a candle flicker LED. This time, he’s done more reverse engineering by comparing the actual timing performance of the WS2812(B) module with its published specs. He learned that although several timing aspects require precision, others can be fudged a little bit. To figure out which ones, [Tim] used an ATtiny85 as a signal-generator and monitored performance results with a Saleae logic analyzer. Of course, to even talk about these advances you need to know something about the timing scheme, so [Tim] provides a quick run-through of the protocol as part of his write-up.

Click the top link to read his findings and how he used them to write the new library, which is stored in his GitHub repository.

Low-Power SMD Fireflies

lowpowerledfireflies

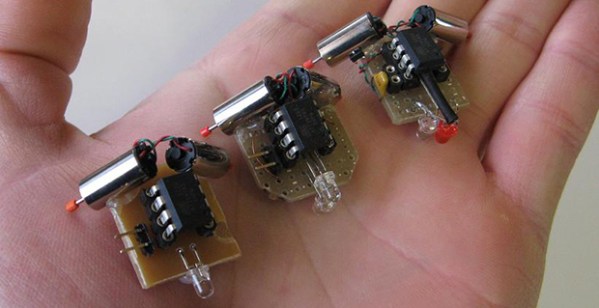
[Tyson’s] family went with creating rather than buying Christmas presents last month, which gave him the opportunity to build some electronic fireflies for gifts. He drew inspiration from a similar firefly project we featured last year, but expanded on the original model by designing dedicated PCBs and housings for each of his firefly pieces.

Although he’d settled on using ATTiny85’s for this project, [Tyson] was fresh out of through-hole versions. He decided to skip the prototyping phase and go right for fabrication, cranking up the laser-jet printer for some toner-transfer, which successfully produced 4 functioning boards (and 3 failures). The fireflies were [Tyson’s] first attempt at SMD soldering, and we’d have to say it’s a job well done; he reflowed each board with a cheap-o heatgun from Harbor Freight.

After some hiccups with fuse programming, [Tyson] got the code uploaded and the fireflies illuminated.  Swing by his site for the nuts and bolts on construction, then snag the project files here. (Direct .zip download)