We’ve reported on the world of electronic badges here at Hackaday since their earliest origins in [Joe Grand]’s work for DEF CON 14 in 2006. In that time we’ve seen an astonishing variety of creations, covering everything from abstract artwork to pure functionality in a wearable device. But it’s not been quite so often that we’ve looked at the other side of the BadgeLife coin, so it’s fascinating to read [John Adams]’ account of the work that went into the production of this year’s 500-piece run of the Da Bomb DEF CON indie badge.
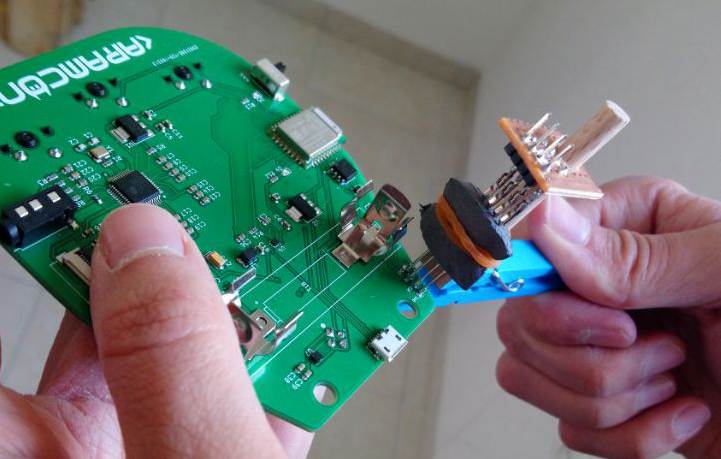
In it, [John] goes over scheduling worries, component sourcing issues, PCB assembly delays, and an in-depth look into the finances of such a project. In case anyone is tempted to look at Badgelife as the route to millions, it rapidly becomes apparent that simply not losing too much money is sometimes the best that can be hoped for. There were a few design problems, one of them being that the SAO I2C bus was shared with the LED controller, resulting in some SAOs compatibility issues. In particular the AND!XOR DOOM SAO had its EEPROM erased, creating something of a headache for the team.
A surprise comes in the distribution: obviously shipping is expensive, so you’d think badge pick-ups at the con would be straightforward alternative. Unfortunately, they became something of a millstone in practice, and organising them was a Herculean task. Astoundingly, some paying customers didn’t bother turn up for their badges. Which was especially infuriating since the team lost valuable conference time waiting for them.
Some of you are BadgeLife creators and will nod sagely at this. Still more of you will wish you were BadgeLife creators and find it a useful primer. For everyone else it’s a fascinating read, and maybe makes us appreciate our badges a bit more.
The images may have departed, but just to return to the origins of BadgeLife, here’s our coverage of that first [Joe Grand] badge.