Hands-On: CCCamp2019 Badge Is A Sensor Playground Not To Be Mistaken For A Watch

Last weekend 5,000 people congregated in a field north of Berlin to camp in a meticulously-organized, hot and dusty wonderland. The optional, yet official, badge for the 2019 Chaos Communication Camp was a bit tardy to proliferate through the masses as the badge team continued assembly while the camp raged around them. But as each badge came to life, the blinkies that blossomed each dusk became even more joyful as thousands strapped on their card10s.

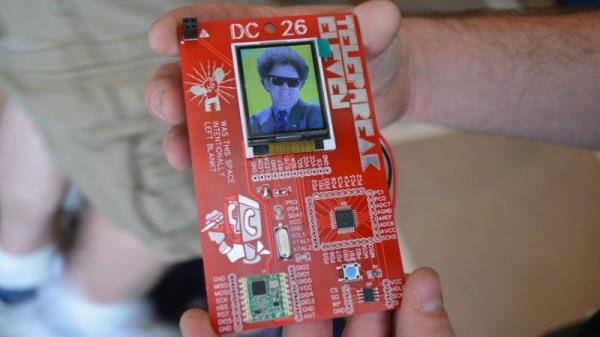
Yet you shouldn’t be fooled, that’s no watch… in fact the timekeeping is a tacked-on afterthought. Sure you wear it on your wrist, but two electrocardiogram (ECG) sensors for monitoring heart health are your first hint at the snoring dragon packed inside this mild-mannered form-factor. The chips in question are the MAX30001 and the MAX86150 (whose primary role is as a pulse sensor but also does ECG). We have high-res ADCs just waiting to be misused and the developers ran with that, reserving some of the extra pins on the USB-C connector for external devices.

There was a 10€ kit on offer that let you solder up some electrode pads (those white circles with gel and a snap for a solid interface with your body’s electrical signals) to a sacrificial USB-C cable. Remember, all an ECG is doing is measuring electrical impulses, and you can choose how to react to them. During the workshop, one of the badge devs placed the pads on his temples and used the card10 badge to sense left/right eye movement. Wicked! But there are a lot more sensors waiting for you on these two little PCBs.

Continue reading “Hands-On: CCCamp2019 Badge Is A Sensor Playground Not To Be Mistaken For A Watch”

Hello: A Mini Badge For CCCamp

Badgelife culture is our community’s very own art form, with a plethora of designs coming forth featuring stunning artwork, impressive hardware, and clever software tricks. But sometimes a badge doesn’t need a brace of LEDs or a meme-inspired appearance to be a success, it just needs to be very good at what it does.

A perfect example is [Gavan Fantom]’s Hello mini badge. The hardware is fairly straightforward, it’s just a small square PCB sporting a LPC1115 microcontroller, 8Mb Flash chip, piezo speaker, and an OLED display. Its functionality is pretty simple as well, in that it exists to display text, images, or short animations. But the badge hides a very well-executed firmware that provides a serial terminal and zmodem file upload capability as well as an on-device interface via a small joystick. Power comes from a 500 mAh lithium-polymer cell, for which the badge integrates the usual charger and power management hardware.

There’s a variety of possibilities for the badge, but we’d guess that most owners will simply use it to display their name with perhaps a little animation. A bit of nifty processing of some video could perhaps get something approaching watchable video on it though, opening up the entertaining possibility of displaying demos or other video content.

[Gavan] will have some of the Hello badges at the upcoming CCCamp hacker camp in Germany if you’re interested, and should be easy enough to find in the EMF village.

CampZone 2019 Badge Is Begging To Become A Huge Billboard

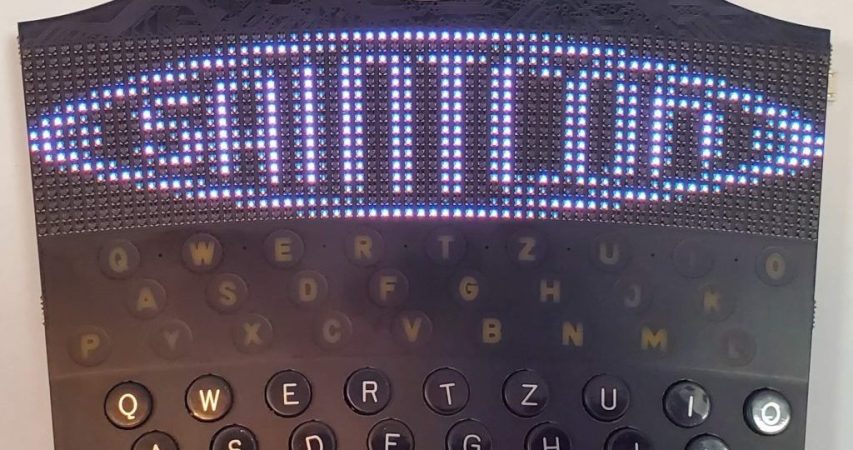
What has 256 full-colour LEDs, everyone’s favorite Lithium battery form factor, wireless connectivity, and hangs around your neck? It’s the CampZone 2019 badge that turns all attendees into a really fun billboard — but can the attendees hack themselves into one massive display?

One of Europe’s larger events for the gaming community,  CampZone is hosted in Netherlands and runs from July 26th to August 5th. It’s a typical large summer camp, and caters for those who intersect gaming and hacking with HackZone, a decent sized hacker camp within a camp. I’ve been fortunate enough to get my hands on a CampZone 2019 badge, dubbed the I-Pane, let’s take a look at what they managed to pack into this electronic conference badge.

Continue reading “CampZone 2019 Badge Is Begging To Become A Huge Billboard”

Live Apollo 11 Transcript On EInk Display

There are few moments in history that have ever been recorded in more detail or analyzed as thoroughly as the Apollo 11 mission to the Moon. Getting three men to our nearest celestial neighbor and back in one piece took a lot of careful planning, and recording every moment of their journey was critical to making sure things were going smoothly. As we celebrate the 50th anniversary of man’s first steps off our world, these records give us a way to virtually tag along with Armstrong, Aldrin, and Collins.

As part of the 50th anniversary festivities at the Parkes Radio Telescope in Australia, [Andrew] created a badge that would let him wear a little piece of Apollo 11. Using an ESP32 and an eInk screen, it replays the mission transcript between the crew and ground control in real-time. It’s a unique way to experience the mission made possible by that meticulous data collection that’s a hallmark of the National Aeronautics and Space Administration.

[Andrew] was inspired by the “Apollo 11 In Real Time” website, but rather than pulling the content from the Internet, he’s loaded the mission transcripts onto the ESP32’s SPIFFS filesystem as a CSV file. Not that the badge is completely offline, it does need to connect to the Internet (via a hotspot on his phone) so it can keep its internal clock synchronized with NTP. Keeping everything local does reduce power consumption compared to streaming it from the Internet, but he admits that otherwise he didn’t give much thought to energy efficiency and there’s definitely some room for improvement.

The LILYGO TTGO board he’s using combines the ESP32 with a 2.13 inch eInk display, in a formfactor not unlike the Badgy we’ve covered previously. He was able to find a STL for a 3D printed case on Thingiverse which he modified to fit a battery. Unfortunately the original model was released under a license that prevents him from distributing his modified version, but it doesn’t sound too difficult to replicate if you’re interested in building your own running ticker of humanity’s greatest adventure.

BornHack Tease Us With Their Badge

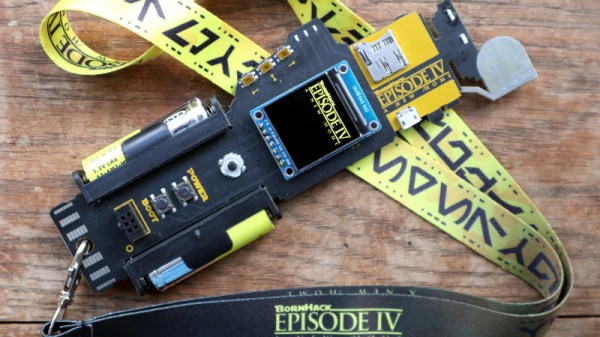
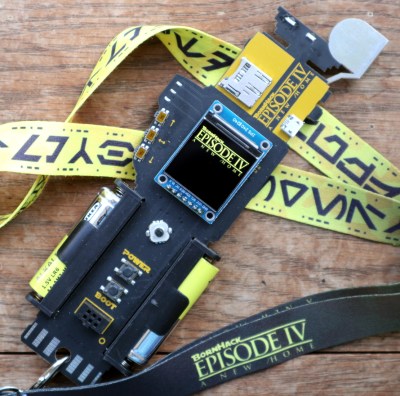
Every August for the past four years, there has been a summer hacker camp on the Danish island of Bornholm, that may be a relatively new kid on the block but is slowly evolving into one of the summer’s essential stop-offs. This year for the first time they are moving to a larger site in an easier-to-reach part of the country, and in the usual build-up to the event they have released a teaser image of their badge.

Of course, you will want to know a little more about it than the picture can convey, so the BornHack folks were kind enough to give us a few more details. At its heart is a Silicon Labs Happy Gecko EFM32HG322F64G microcontroller, the same 25 MHz ultra-low-power ARM Cortex M0+ part that has featured in the previous BornHack offerings. Power comes from a pair of AA cells, and it sports a 240 x 240 pixel colour IPS display and an SD card holder. Connectivity is via USB and an infra-red interface for badge-to-badge communication, and human interface is via a mini joystick switch. Finally, it has a six-way v1.69bis Shitty Addon connector.

By some standards this is a relatively modest offering, but by using an evolution of their hardware from previous years as well as the same proven Geckoboot bootloader they are far more likely to deliver a satisfactory user experience than had they opted for a more ambitious design. We’ll be attending the camp, so we’ll report on the finished article once we have it.

BornHack will run from the 8th to the 15th of August, on the Danish island of Funen. There are a range of tickets still available, from single day visits to the whole week for 1200 DKK (about €160, or $181). Compared to some other events on our community’s calendar, we think that represents a bargain.

Here’s How Hard It Is To Produce A Conference Badge

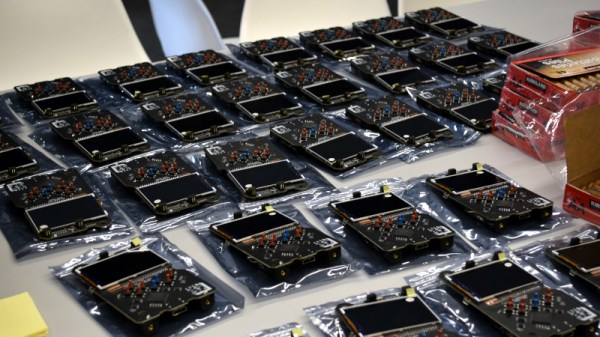
Making an event badge is hard work. Making a single prototype badge is hard enough, but the whole process of sourcing components and coordinating manufacture for hundreds of badges on a shoestring budget with the looming deadline of the event and its expectant attendees is a Herculean task.

[Uri Shaked] is one who bears the scars of producing an event badge, and he’s written a fascinating account of his experience. The conference in question was Aramcon 2019, a private tech event in Israel, and the badge has an nRF52840 driving an e-ink display, multi-colour LED, and an audio codec, with a set of full-size keyboard keys as user input. Since the nRF chip supports mesh networking, the idea was to produce a badge capable of streaming audio across the entire event.

A clothes-pin as a programming jig, we like it!

We follow the team through nail-biting months of prototype boards, reversed connectors with last-minute cable bodges, compatible parts that didn’t turn out to be quite so compatible, and wrong footprints, and see them arriving at a badge which worked, but without the audio they’d hoped for. Along the way they came up with a clothes-pin-based programming jig which would surely have merited its own Hackaday write-up had they covered it on its own. Demonstrating the mesh networking by turning a whole auditorium’s worth of badges LEDs yellow was their reward, and we can see they’ve produced a very creditable badge. We particularly like the use of keyboard key switches, and we commend them for planning a life for the badge after the event.

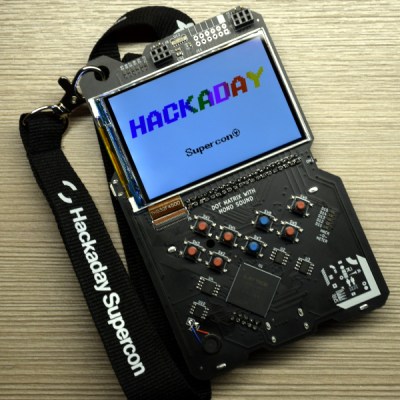
Our Hackaday colleague [Brian Benchoff] is a veteran of badge production, read his write-ups of the genesis of our Superconference 2017 badge and the Tindie dog badge. Meanwhile the keen-eyed among you may recognise the nRF52840 as the guts of the latest generation of Particle boards.

The Science Of Reverse Mounted LEDs

One of the most artistic applications of electrical engineering in recent memory is the burgeoning badgelife movement. This is an odd collective of people who are dedicating their time to rendering their own accomplishments in printed circuit boards. Of the entire badgelife collective, one of the most visible efforts are in Shitty Add-Ons, with a particular focus on reverse-mounted LEDs. Yes, you can install SMD LEDs upside down, and if you have your copper layers right, the light will shine through the badge.

One of the most prominent users of reverse mounted LEDs is [TwinkleTwinkie], and now finally we have a writeup on the science of reverse mounted LEDs. There’s a lot to unpack here, so buckle up and prepare to burn the tips of your fingers on a soldering iron.

For truly reverse-mounted PCBs, there are two options. The first, and most expensive, are ‘reverse gullwing’ LEDs. These LEDs are just like normal LEDs, except the SMD pads are reversed, allowing you to mount it so the light shines into the PCB. These LEDs are expensive, rare (only three companies make them), and they don’t really give off a lot of light. The other solution to reverse-mounting a LED is simply taking a standard 1206 SMD LED and manually soldering it upside-down. This is not pick and place friendly, although I’m sure you could find an LED manufacture that would put LEDs in reels upside-down if you want.

Side view LEDs

The takeaway for reverse mount LEDs is pick two: good, fast, or cheap. Reverse gullwing LEDs are expensive, but can be pick and placed and provide sufficient illumination. Hand-soldered LEDs installed upside down are cheap, slow, but also good.

But there is another option. Side view LEDs are a thing, and they can be pick and placed. You can get them in every color, and even UV. [Twinkle] has experimented with side-view LEDs in place of reverse mounted LEDs, and the results are promising. By putting the side view LED next to part of a PCB without copper or soldermask, there is some light bleed through the PCB. It’s somewhat uneven, but with a hot melt glue diffusor, you can get a somewhat decent bar of light being emitted through a PCB.

If you want to put blinky on a PCB, you have a lot of options. If you want to put blinky on a PCB without having any visible light source, these are your options. This is the state of the art in artistic PCBs, and we’re so glad [Twinkle] could share it with us.