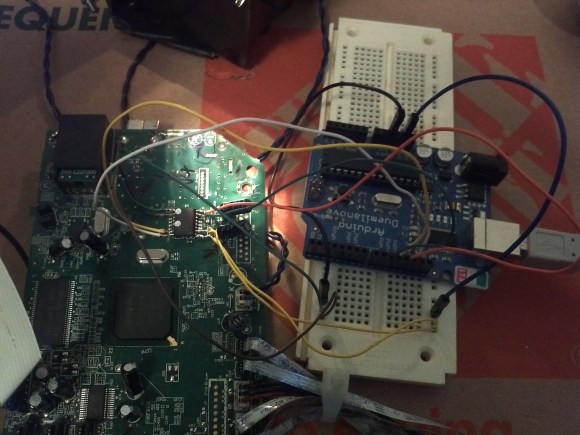
A lot of people have used ESP8266 to add inexpensive WiFi connectivity to their projects, but [Oscar] decided to take it one step further and program an Arduino over WiFi with the ESP8266. [Oscar] wrote a server script in Python that communicates with firmware running on the Arduino. The Arduino connects to the server on startup and listens for a “reboot” command.
When the command is received, the processor resets and enters the bootloader. The python script begins streaming a hex file over WiFi to the ESP8226, which relays it to the Arduino’s bootloader. Once the hex file is streamed, the microcontroller seamlessly starts executing the firmware. This method can be used with any AVR running a stk500-compatible bootloader.
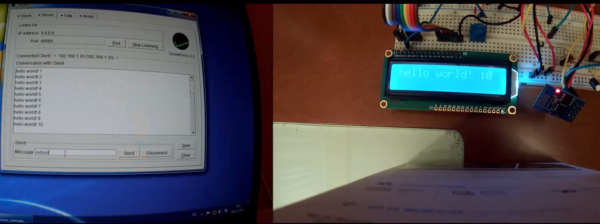
[Oscar]’s writeup is in Spanish, but fortunately the comments in his Python and Arduino code are in English. Check out the video (in English) after the break where [Oscar] demonstrates his bootloading setup.
Continue reading “Programming An Arduino Over WiFi With The ESP8266”