When Multimeters Go Boom

[youtube=http://www.youtube.com/watch?v=M-FZP1U2dkM]

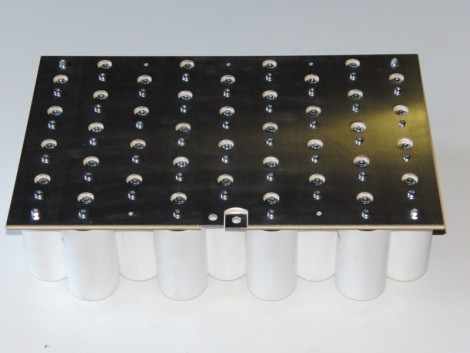
Ever wondered how expensive versus cheap multimeters hold up to abuse? [Dave] gives us a pretty good idea by, well, blowing them up. He’s using a capacitor bank to put roughly 4.2 KiloVolts into the poor little meters. If you absolutely must skip to the multimeters, go to about 5:00. You really will miss out on some good stuff though.

[via HackedGadgets]

Swapping Coins Cells For Capacitors For Noise Filtering

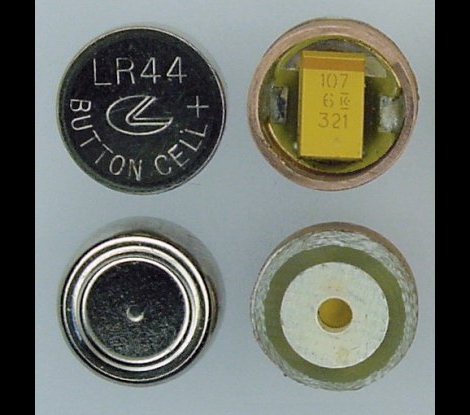
Here’s an interesting idea: replace a disposable coin cell battery with a capacitor in order to filter the noise from an external power supply. [David Cook] is taking advantage of the falling costs of digital calipers. He’s mounted one on his milling machine but noticed that with an external power supply the readings would sometimes reset in the middle of his work. The LR44 cell he’s replacing makes for very difficult in-place soldering so instead of permanently replacing it he built an insert that matched the form factor. The outer ring is from a piece of copper tubing and soldered to a PCB that he etched.

If [David’s] name sounds familiar it’s because we featured his Happy Meal toy scavenging a while back.

[Thanks Thomas]

194 Transistor Clock Will Blow Your Mind

It’s nice to have tip put on our desks that we think everyone, yes everyone can enjoy. The Transistor Clock is just as its name implies, A clock that doesn’t rely on ICs. 194 Transistors, 400 resistors, 566 diodes, and 87 capacitors are all that makes this clock tick – no programing, and most importantly no Arduino. The clock is offered as a kit, but there is a complete parts list and manual (including debugging help) so anyone can build (and fix) their own. The Transistor Clock might even beat out the VFD Clock and the Word Clock on the ‘pure awesome’ scale, tell us your favorite in the comments.

[Thanks Hoopstar]

Making A Rail Gun (again!)

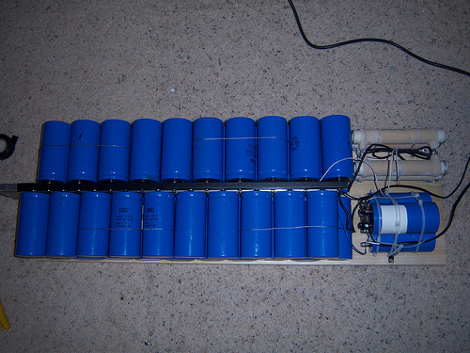
[Rp181] is at it again with version 2 of his rail gun project (link dead, try Internet Archive). The original did have some power with 18 400V 3900uf capacitors, but he’s ramped it up to now using 40! Reaching more than double the amount of joules of energy, 12kJ vs. the 5.6kJ! Some other changes include a new injector solenoid setup and revision 3 of his breakwire chronograph. Sadly, he doesn’t mention if this is as green as his first rail gun. Check out a video of just the injector firing and an animation explaining some new updates after the jump.

Continue reading “Making A Rail Gun (again!)”

DIY Lincoln Welder Conversion

[youtube=http://www.youtube.com/watch?v=yabesdeGKJo]

[Fritz] built this 600 joule capacitive discharge spot welder in a case scavenged from a Lincoln plasma cutter. All of the circuitry was designed by [Fritz] and the schematics are available on his website. He has a few other welding related project also documented on his site that are worth checking out. While this isn’t the first homemade spot welder we have seen, it is definitely the first one with a case mod. If you are not up to the challenge of building one quite as complex as [Fritz]’s example, a microwave can be used as the donor appliance in simpler designs.

Making A Rail Gun

rail

[Rp181] has documented his entire rail gun build. He takes us through collecting the materials and assembling the system. It required 18 400V 3900uf capacitors to get the 5600 joules he wanted. It looks pretty impressive, though a video of it wreaking havoc on something might have been nice. We’ve seen rail guns before, from tiny ones for a robosapien to larger projects very similar to this one. In his instructable, he touts this as a “green” system. The capacitors are aluminum and no gun powder is required to move the projectile. Anyone want to do the math to figure out if it really is any better? Maybe if he’s collecting his energy via a giant solar panel.

[via instructables]

LCD Repair

lcd

[Andrew] sent us this great breakdown of an LCD monitor repair. After his wife’s monitor developed an issue with rippling in the picture, he was forced to decide between trashing it, or fixing it. He decided for the latter, possibly to his wife’s disappointment. The rippling image could easily be attributed to a failed filter in the power supply. Knowing that capacitors are a prime suspect in these cases, he tore in, looking for failures. He found that there were, in fact, 2 bad capacitors on the back light circuit. After replacing them with newer, higher quality ones, the monitor was as good as new.