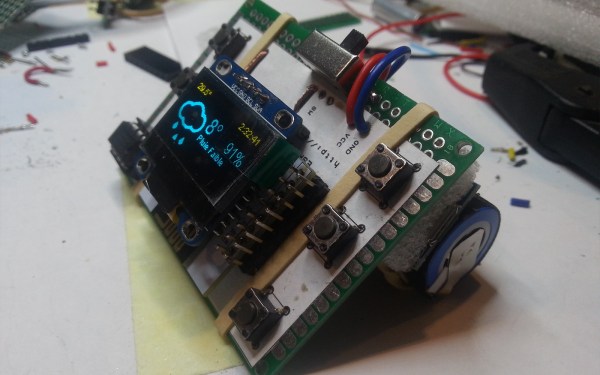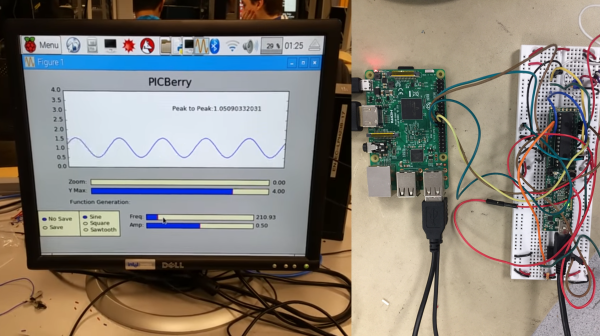
The PicBerry is a student final project by [Advitya], [Jeff], and [Danna] that takes a hybrid approach to creating a portable (and affordable) combination digital oscilloscope and function generator. It’s based on the Raspberry Pi, features an intuitive Python GUI, and can generate and measure simultaneously.
But wait! The Raspberry Pi is a capable little Linux machine, but meeting real-time deadlines isn’t its strong suit. That’s where the hybrid approach comes in. The Pi takes care of the user interface and other goodies, and a PIC32 over SPI is used for 1 MHz sampling and running a DAC at 500 kHz. The idea of combining them into PicBerry is to get the best of both worlds, with the Pi and PIC32 each doing what they are best at. The readings are sent in batches from the PIC32 to the Pi, where the plot is updated every 30 ms so that user does not perceive any visible lag.
The project documentation notes that improvements can be made, the speeds are a far cry from regular bench equipment, and the software lacks some typical features such as triggering, but overall not bad at all for under $50 of parts. In fact, there are hardly any components at all beyond the Raspberry Pi, the PIC32, and a MCP4822 digital-to-analog converter. A short demo video is embedded below.
Continue reading “Hybrid Raspberry Pi + PIC32 = Oscilloscope And Function Generator”