“If you or someone you love has been exposed to questionable quality electrolytic capacitors, you could be entitled to financial compensation.” Perhaps that’s not exactly the pitch behind this class action lawsuit against capacitor manufacturers, but it might as well be. The suit claims that the defendants, a group of capacitor manufacturers that includes Nichicon, Matsuo, ELNA, and Panasonic, “engaged in an unlawful conspiracy to fix, raise, maintain, or stabilize the prices of Capacitors.” Translation: if you bought capacitors between 2002 and 2014 from a distributor, you paid too much for them. The suit aims to recover a bunch of money from the defendants and divide it up between all the class members, so make sure you go back through all your receipts from Mouser and DigiKey over the last 17 years so you can file a claim that could be worth several dozen cents.
When are people going to learn that posting pictures of their illegal activities online is an Official Bad Idea? One SpaceX fan earned a night in jail after posting selfies he took with Starhopper, the SpaceX test article currently residing at Elon Musk’s would-be spaceport at Boca Chica, Texas. JB Wagoner, a SpaceX super-fan, made the pilgrimage from California to Texas — in his Tesla of course — to see the recent Starship Mark 1 unveiling, and decided to take a side trip to see the Starhopper. He parked at a beach, climbed a dune, and was able to walk right up to Starhopper and go selfie-crazy. After posting the pictures on Facebook, he was arrested, interviewed by Homeland Security, charged with criminal trespass, and thrown in a cell overnight. Wagoner has since been bonded out, but the charges might not stick, since Texas trespassing law requires clear signage or verbal notification of trespass, neither of which Wagoner encountered. SpaceX had even let the fence between the beach and the Starhopper collapse, so Wagoner seems to have had no way of knowing he was trespassing. Still, posting the pictures online was probably asking for trouble.
As satire and dark comedy, the 1987 cyberpunk classic RoboCop can’t be beat. But it also managed to accurately foreshadow a lot of what was to come in the world in terms of technology. No, we don’t have cyborg law enforcement — yet — but we do have something predicted by one throwaway scene: robotic realtors. In the movie, kiosks were set up around Murphy’s old house to extol the various virtues of living there, which ended up triggering the cyborg and starting the film’s climactic rampage. The real-life robotic realtor is a little more flexible, more like a telepresence robot — described aptly as “a Segway with an iPad on top.” The robotic realtor is not autonomous; it only lets a remote realtor interact with potential homebuyers without having to travel to multiple homes. It seems a little gimmicky to us, but the robots are reported to have made 25 sales in their first year on the job.
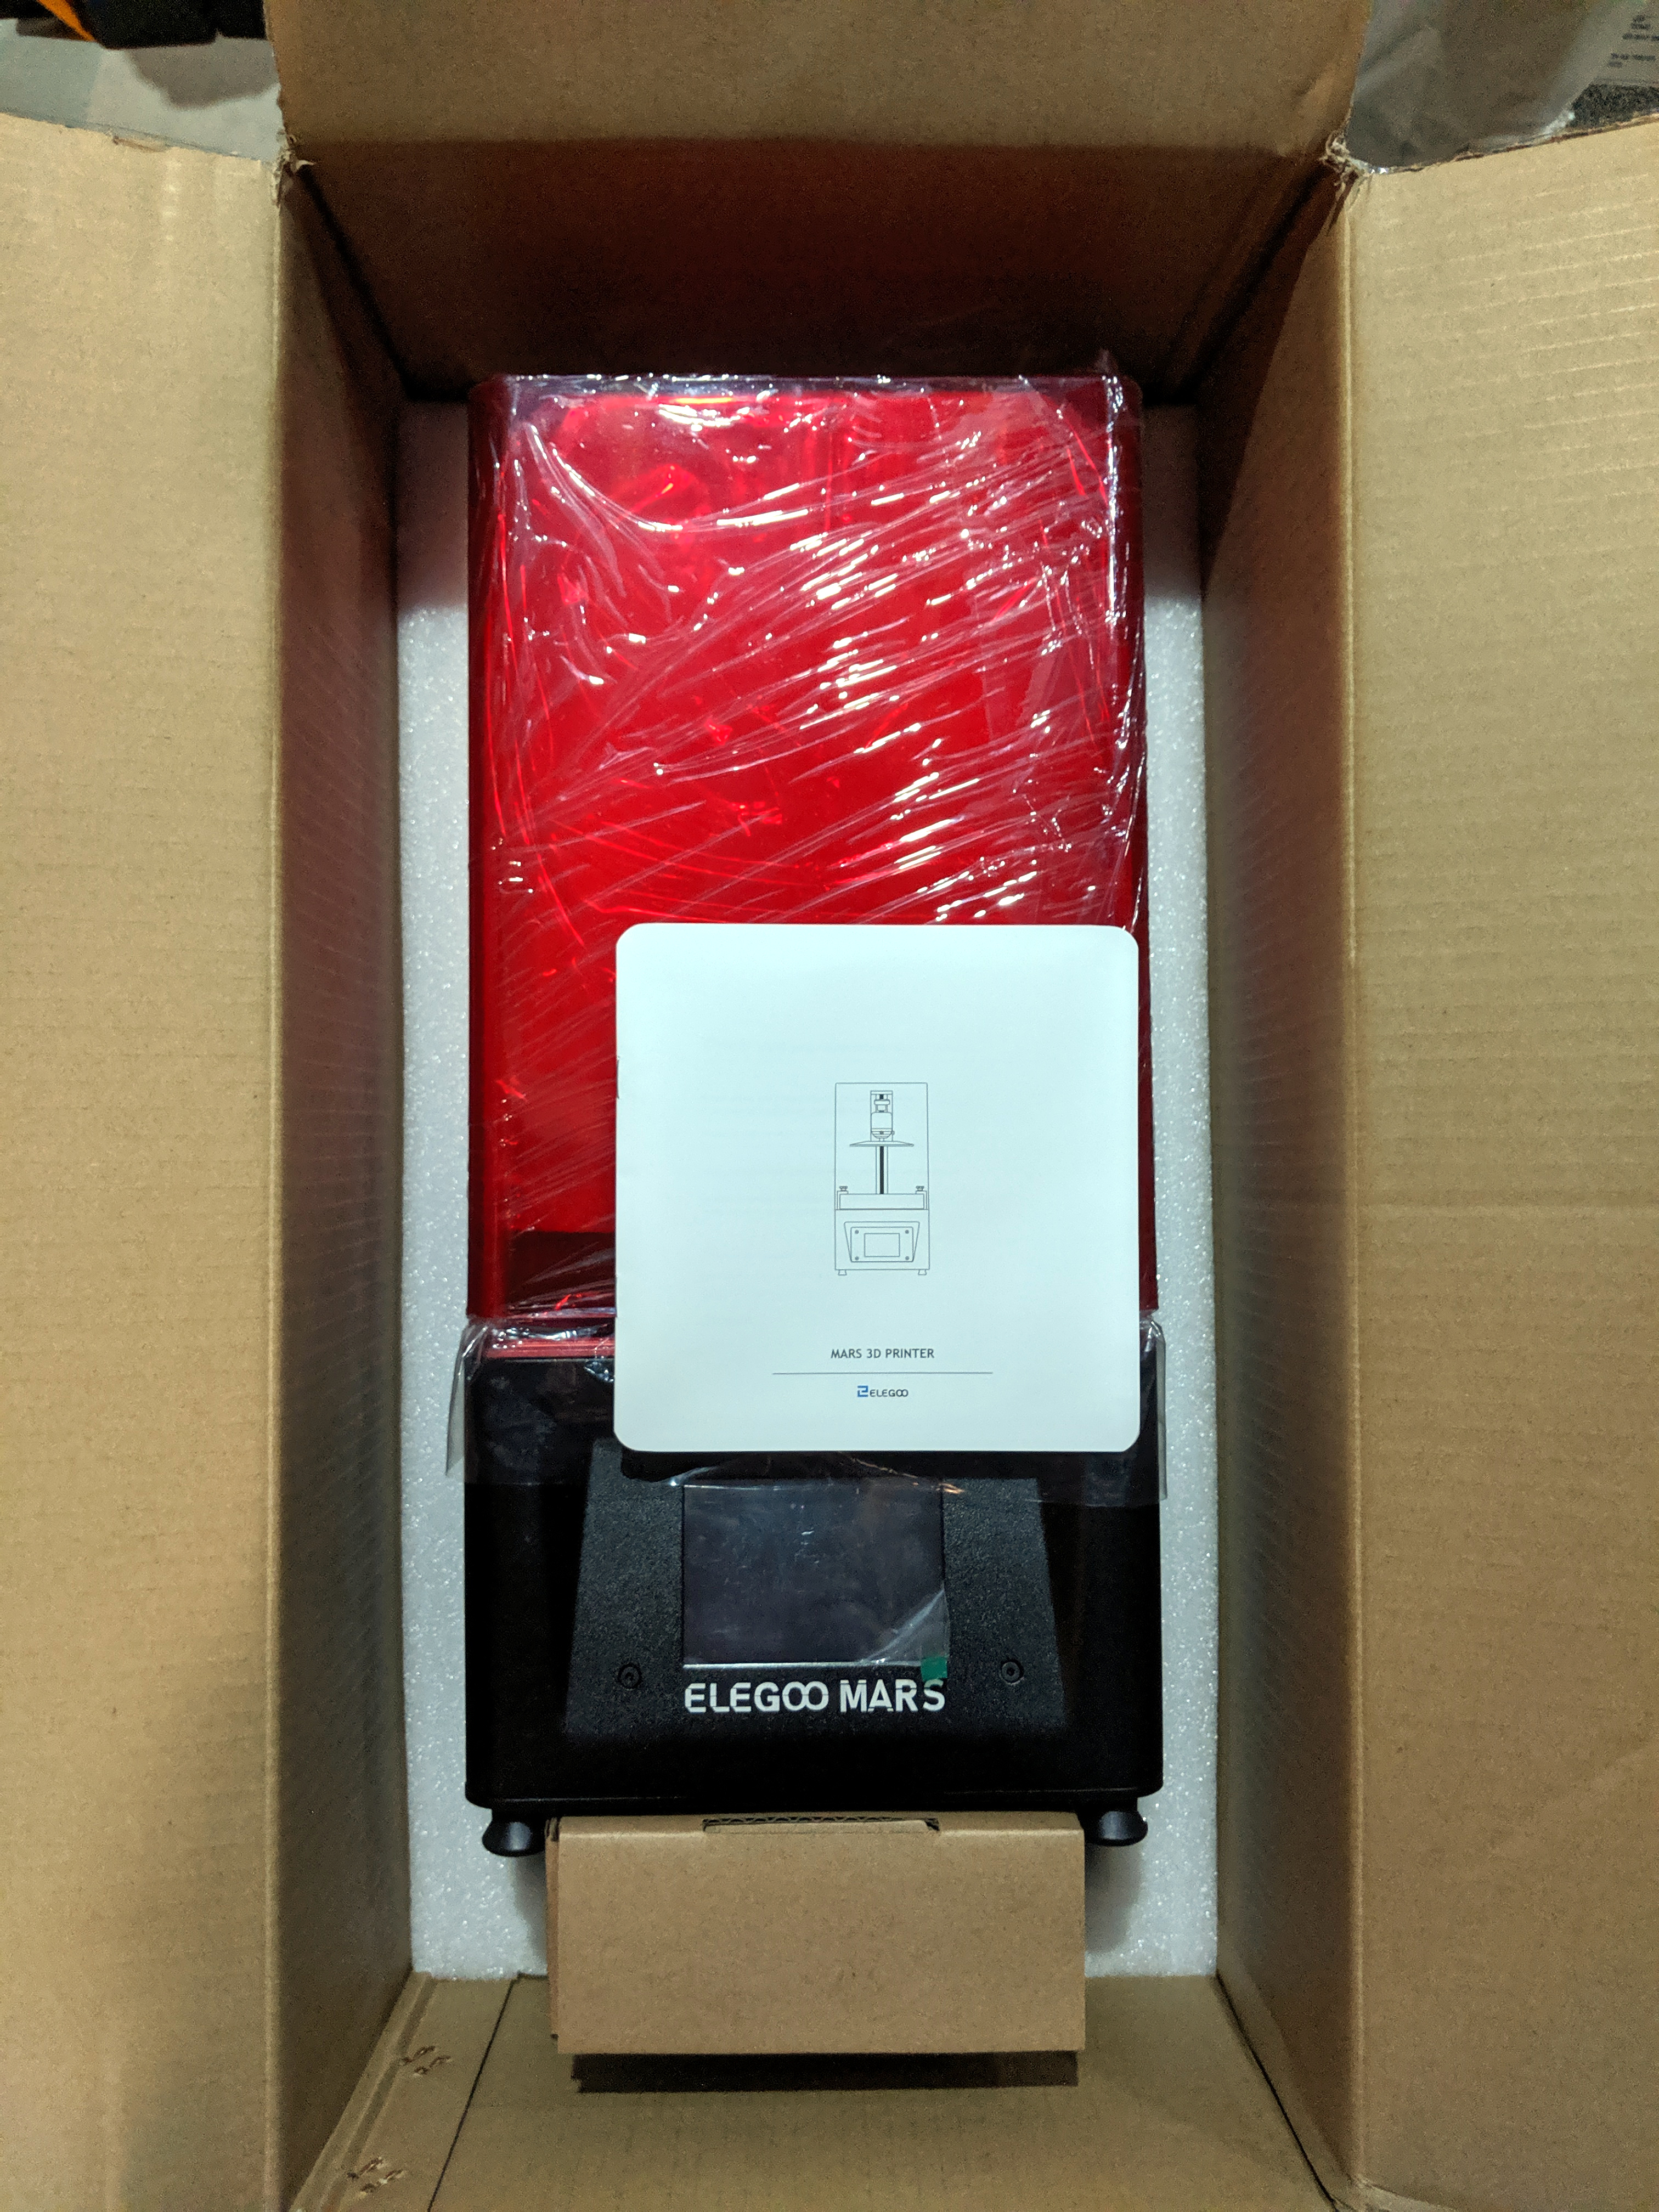
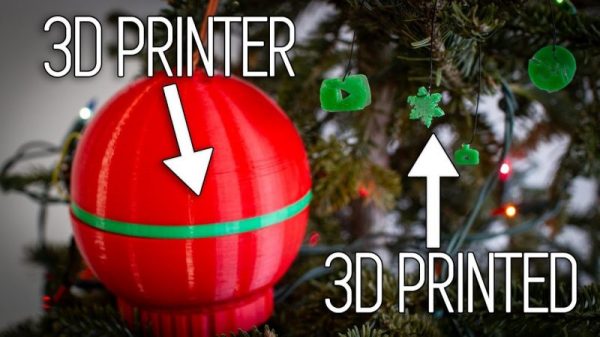
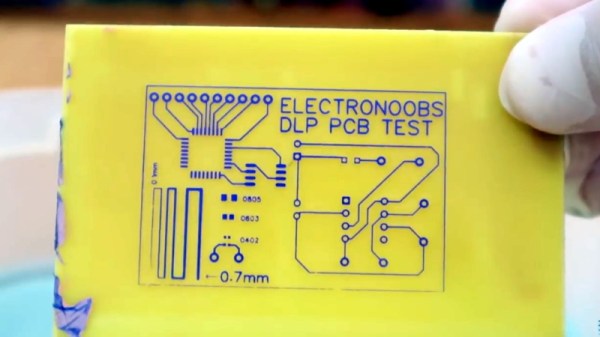
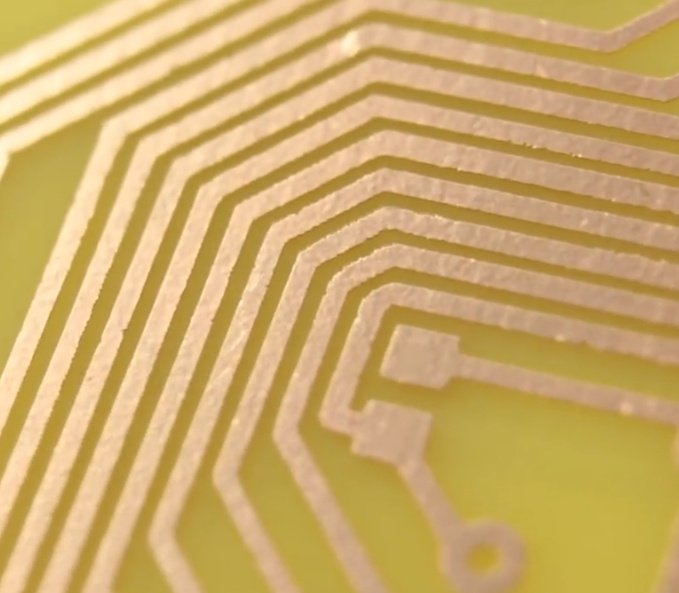
We’ve been seeing a lot of cheap resin printers these days, enough to make us want to jump into the market and start playing with them. But the cheap ones are all cheap for the same reason — they’re so dang small! They all use LCD screens from phones to mask off the UV light used to cure the resin, and the resulting print volume is tiny. Clem Mayer from MayerMakes has bigger ideas, though: he wants to make a giant resin printer using an LCD monitor as the mask. It’s not as simple as using a bigger screen, though; the film used between the screen and the resin, a fluoropolymer film called FEP, gets deformed when used on larger screens. So Clem is looking at a new built-plate interface that floats the resin on a layer of denser, immiscible liquid. It’s an interesting idea that is still clearly in the proof-of-concept phase, but we look forward to seeing what progress Clem makes.
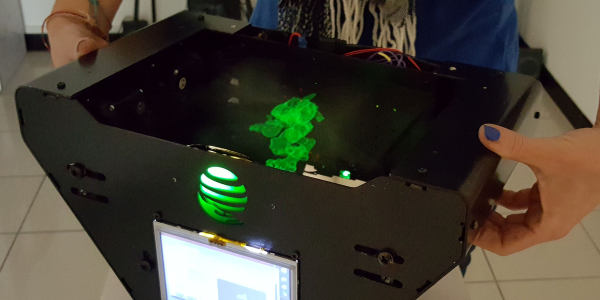
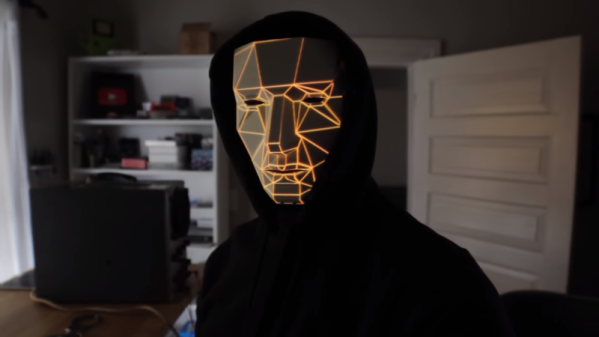
 If the VVD, as it has been named by its creator [Madaeon], looks somewhat familiar, perhaps it’s because editor-in-chief [Mike Szczys] ran into it back in 2019 at Maker Faire Rome. It looks like it has progressed quite a bit since then, but the basic idea is still the same. A thin, flexible membrane, which is stretched across a frame, is attached to articulated arms. The membrane can move up and down rapidly, fast enough that a 1,000-fps high-speed camera is needed to see it move. That allows you to see the magic in action; a digital light processor (DLP) module projects slices of a 3D image onto the sheet, sending the correct image out for each vertical position of the membrane. Carefully coordinating the images creates the POV illusion of a solid image floating in space, which can be observed from any angle, requires no special glasses, and can even be viewed by groups.