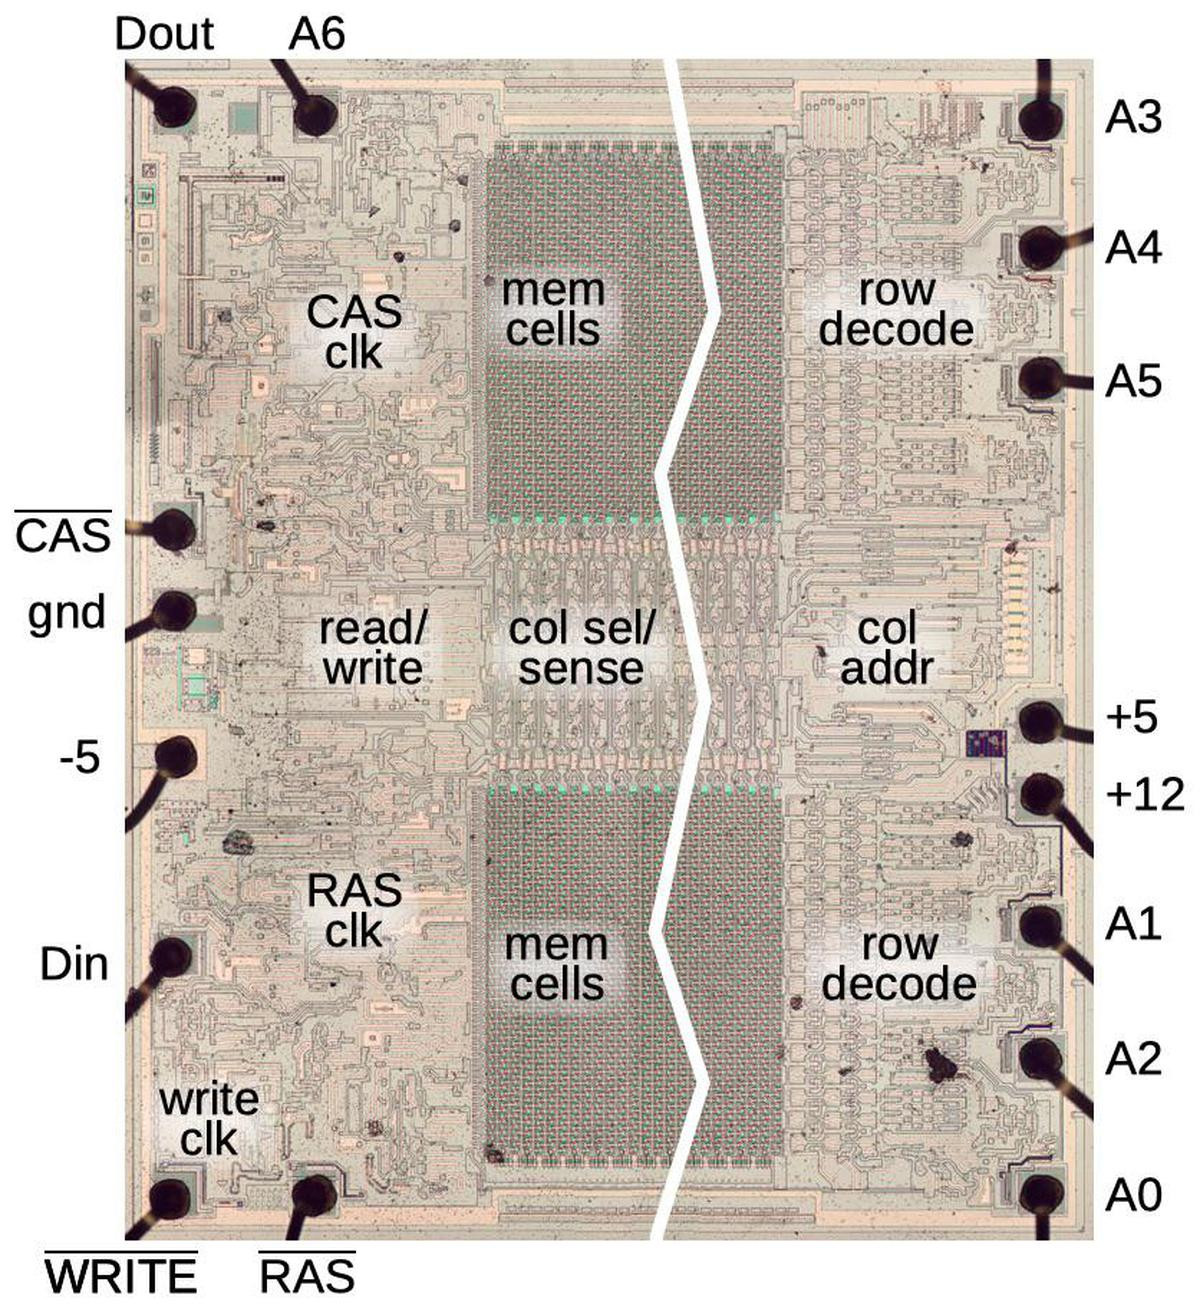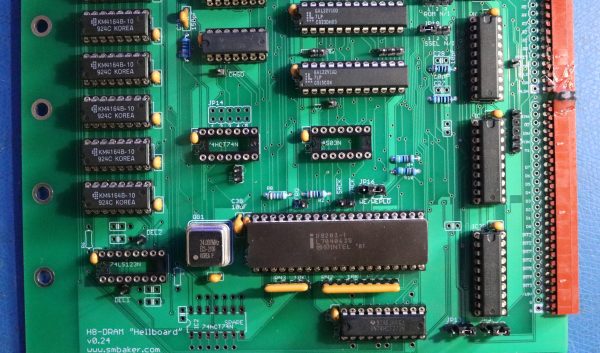
A modern DRAM board for the Heathkit H8 computer

Versatile DRAM Board Adds Memory To Any Heathkit H8 Variant

Ask anyone to name a first-generation home computer from the 1970s, and they’ll probably mention the likes of the Altair 8800 and IMSAI 8080. But those iconic machines weren’t the only options available to hobbyists back in the day: Heathkit, famous for its extensive range of electronic devices sold in kit form, jumped on the microcomputer bandwagon with their H8. Though it always remained a bit of an obscure machine, several dedicated enthusiasts kept making H8-compatible hardware and software long after the computer itself went out of production. That tradition continues in 2023, with [Scott M. Baker] producing a brand-new DRAM board that’s compatible with any version of the H8.

Although the Heathkit H8 was designed around the Intel 8080 processor, it could also be equipped with a Z80. [Scott] had built an 8085 based CPU board as well, meaning that any other hardware he developed for the H8 had to support these three processors. For something as timing-critical as a memory board, this turned out to be way harder than he’d expected.

First off, he had already made things difficult for himself by choosing DRAM rather than the simpler SRAM. Whereas SRAM chips can be more or less directly hooked up to the CPU’s address and data buses, a DRAM setup needs refresh circuitry to ensure the data doesn’t leak out of the chips’ internal capacitors. [Scott] decided to use the classic D8203 DRAM controller to do that for him — a solution that was pretty common back in the day.

Getting the timing right for all signals between the CPU and the DRAM controller was not at all trivial, however. The main problem was with two signals, called /SACK and /XACK, which were used to pause memory access during refresh cycles. Depending on which CPU was on the other side, these signals apparently had to be combined with other signals, stored in a flip-flop or delayed by a cycle or two in order to align with the processor’s internal logic. None of this seemed to work reliably, so [Scott] looked elsewhere for inspiration.

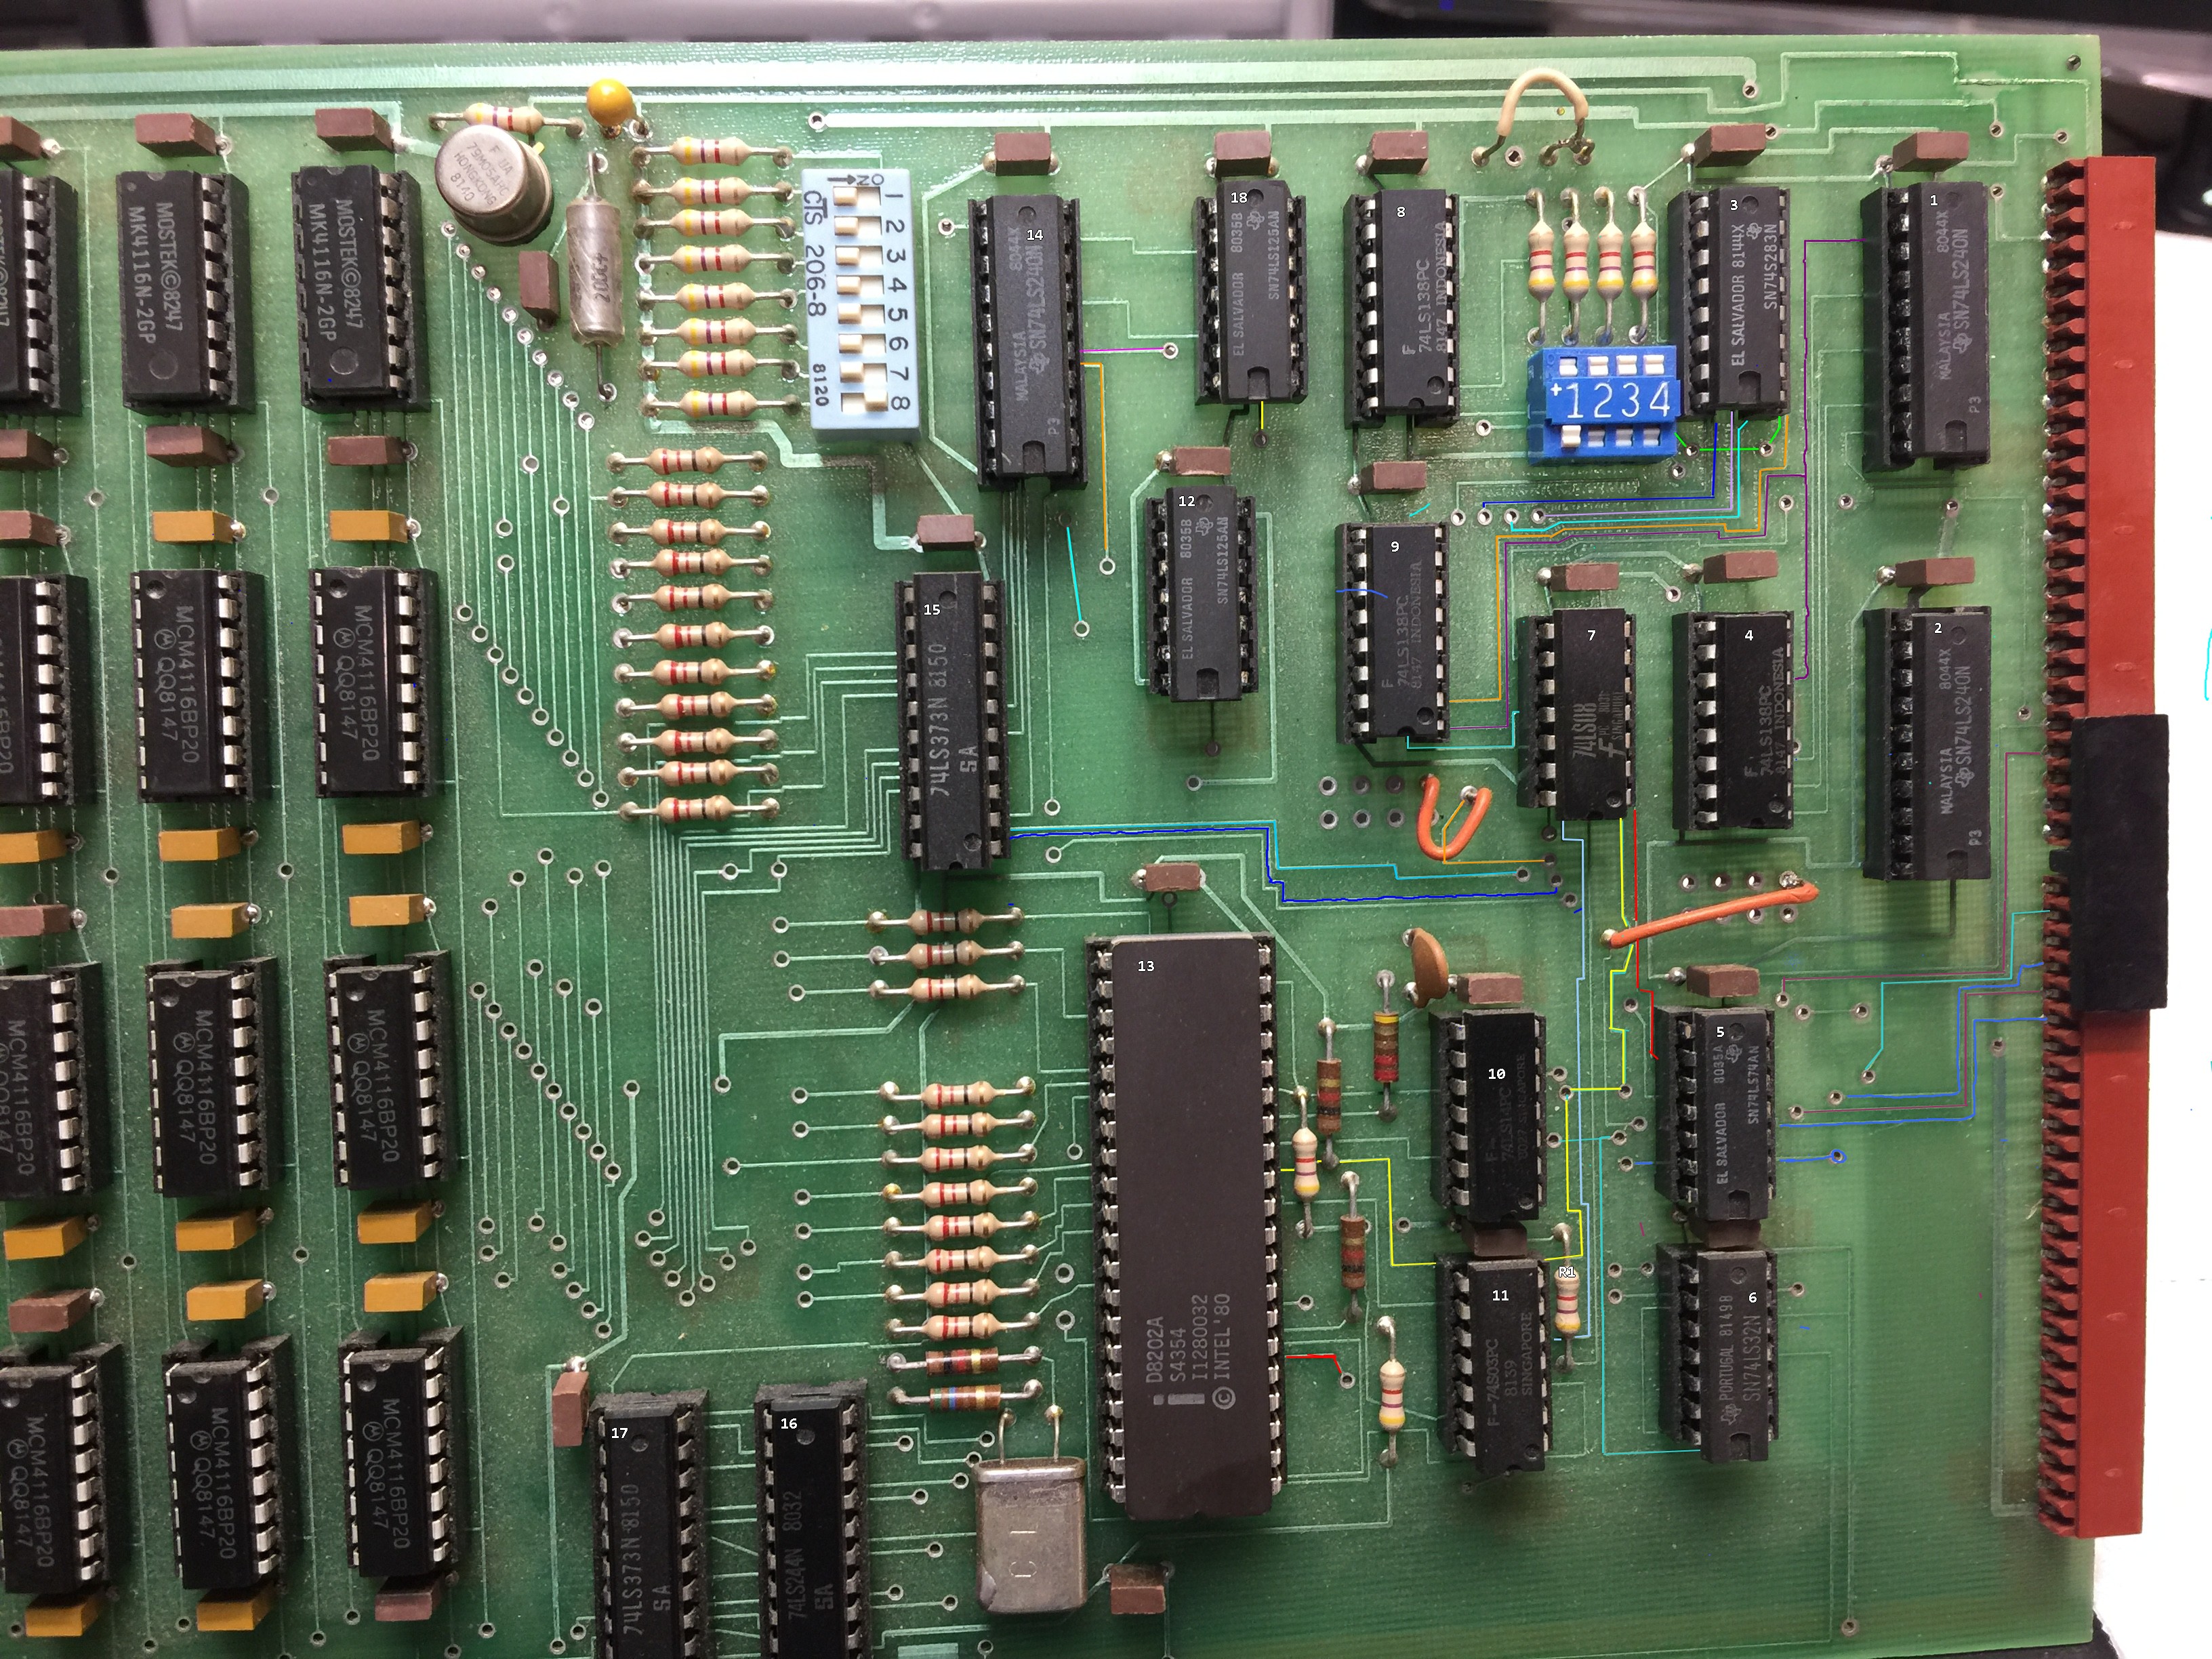
A vintage DRAM board for the Heathkit H8 computer
Luckily, traces are easy to follow on a two-layer board.

He found this on eBay, where a few vintage H8-compatible DRAM boards were for sale. Although [Scott] didn’t manage to win the auction, the eventual buyer was kind enough to snap some high-resolution pictures of the board which enabled him to reverse-engineer the circuit. The board used the similar D8202 DRAM controller and came with logic that generated the proper signals to interface with the 8080 and 8085 CPUs. For the Z80, [Scott] dived into the documentation for Heathkit’s Z80 option and found a schematic with a few logic gates that would satisfy the Zilog chip as well.

[Scott] combined both of these solutions on a beautiful 1980s-style printed circuit board, with a bunch of 7400 series logic gates and even two GAL22V10 programmable logic devices. With full documentation and Gerber files available on the project’s GitHub page, Heathkit H8 owners can now get their own brand-new memory board — in kit form, as a Heathkit should be.

There are several enthusiasts keeping the various Heathkit computer models up and running, and even producing completely new ones. The Heath Company also still exists, selling electronic kits to this day.

Thanks for the tip, [Adrian]!

Linux Fu: Reading Your Memory’s Memory

Linux users have a lot of software to be proud of. However, there is the occasional Windows program that does something you’d really like to do and it just won’t run. This is especially true of low-level system programs. If you want to poke around your CPU and memory, for example, there are tons of programs for that under Windows. There are a few for Linux, but they aren’t always as complete or handy. Recently, I had half the memory in my main desktop fail and I wanted to poke around in the system. In particular, I wanted to read the information encoded in the memory chips configuration EEPROM. Should be easy, right? You’d think.

Not Really Easy

One nice tool a lot of Windows users have is CPU-Z. Of course, it doesn’t run on Linux, but there is a really nice imitator called CPU-X. You can probably install it from your repositories. However, the GitHub page is a nice stop if for no other reason than to enjoy the user name [TheTumultuousUnicornOfDarkness]. The program has a gtk or an ncurses interface. You don’t need to run it as root, but if you press the “start daemon” button and authenticate, you can see some extra information, including a tab for memory.

Continue reading “Linux Fu: Reading Your Memory’s Memory”

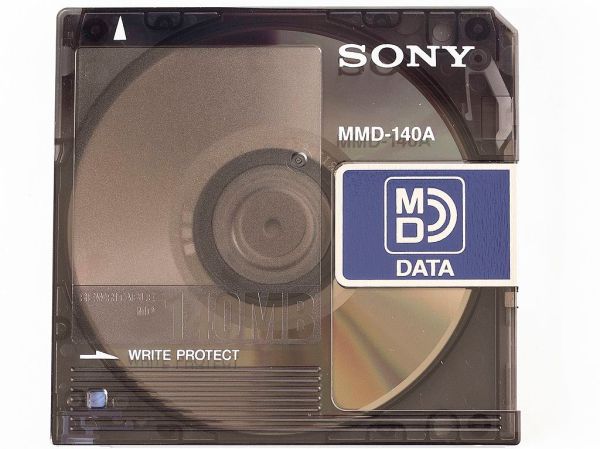
MiniDisc Player Supports Full Data Transfer

Between the era of the CD and the eventual rise and domination of streaming music platforms, there was a limbo period of random MP3 players mixed in with the ubiquitous (and now officially discontinued) iPod. In certain areas, though, the digital music player of choice was the MiniDisc, a miniature re-writable CD player with some extra digital features. Among them was the ability to transfer music to the discs over USB, but they did not feature the ability to transfer the songs back to a computer. At least until now, thanks to this impressive hack from [asivery].

Although it sounds straightforward, this trick has a lot of moving parts that needed to come together just right. The MiniDisc player uses a proprietary encoding format called ATRAC, so a codec is needed for that. The MiniDisc player stores data from the disc in a 40-second buffer when playing, so the code reads the data directly from DRAM in 40-second chunks, moves the read head, repeats the process as needed, then stitches the 40-second parts back together. It can work on any Sony NetMD portable, if you are lucky enough to still have one around.

The project is a tremendous asset to the MiniDisc community, especially since the only way to recover data from a MiniDisc player prior to this was to use a specific version known as the RH-1. As [asivery] reports, used RH-1 players are going for incredibly high prices partially because of this feature. Since this new method demonstrates that it’s possible to do with other devices, perhaps its reign in the MiniDisc world will come to a close. For those still outside the loop on this esoteric piece of technology, take a look at this MiniDisc teardown.

Thanks to [Maarten] for the tip!

A circuit board with a memory chip in a socket, and many memory chips in foam

Simple DRAM Tester Built With Spare Parts

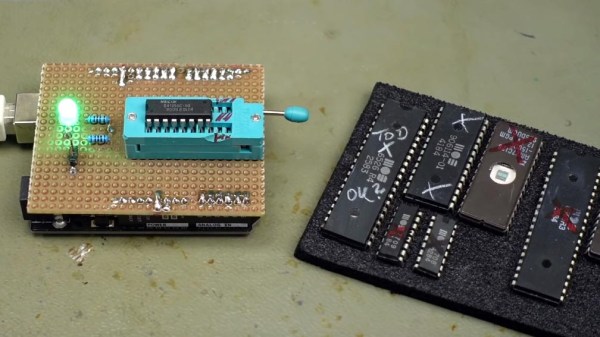
Some of the most popular vintage computers are now more than forty years old, and their memory just ain’t how it used to be. Identifying bad memory chips can quickly become a chore, so [Jan Beta] spent some time putting together a cheap DRAM tester out of spare parts.

This little tester can be used with 4164 and 41256 DRAM memory chips. 4164 DRAM was used in several popular home computers throughout the 1970s and 1980s, including the Apple ][ series, Commodore 64, ZX Spectrum and many more. Likewise, the 41256 was used in the Commodore Amiga. These computers are incredibly popular in the vintage computing community, and its not uncommon to find bad memory in any of them.

With an Arduino at its core, this DRAM tester uses the most basic of electronic components, and any modest tinkerer should have pretty much everything in stock. The original project can be found here, including the Arduino code. Just pop the suspect chip into the ZIF socket, hit the reset switch, and wait for the LED – green is good, and red means it’s toast.

It’s a great sanity check for when you’re neck deep in suspect DRAM. A failed test is a sure sign that the chip is bad, however the tester does occasionally report a false pass. Not every issue can be identified with such a simple tester, however it’s great at weeding out the chips that are definitely dead.

If you’re not short on cash, then the Chip Tester Pro may be more to your liking, however it’s hard to beat the simplicity and thriftiness of building your own simple tester from spare parts. If you’re a little more adventurous, this in-circuit debugger could come in handy.

Continue reading “Simple DRAM Tester Built With Spare Parts”

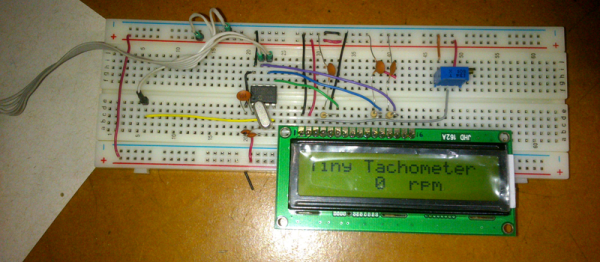
Craziest Pin-Saving LCD Trick Ever!

We love squeezing every last bit of silicon goodness out of a tiny chip, or at least we delight in seeing it done. Today’s analog/digital hack is one of the sweetest we’ve seen in a while. And it’s also a little bit of a puzzle, so don’t scroll down to the answer until you’ve given the schematic a good think-over.

Continue reading “Craziest Pin-Saving LCD Trick Ever!”

Building The First Digital Camera

While the official history of the digital camera begins with a Kodak engineer tinkering around with digital electronics in 1975, the first digital camera was actually built a few months prior. At the Vintage Computer Festival East, [William Sudbrink] rebuilt the first digital camera. It’s wasn’t particularly hard, either: it was a project on the cover of Popular Electronics in February, 1975.

Cromemco catalog page for the Cyclops, the first digital camera

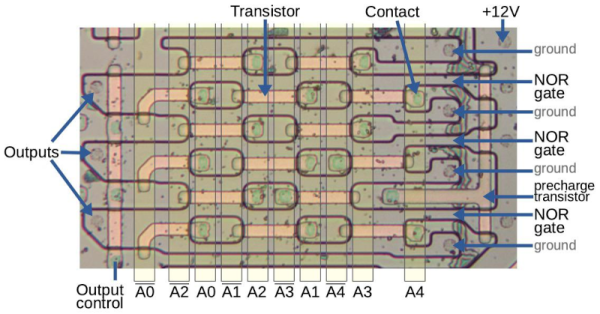
[William]’s exhibit, Cromemco Accessories: Cyclops & Dazzler is a demonstration of the greatest graphics cards you could buy for S-100 systems and a very rare, very weird solid-state TV camera. Introduced in the February, 1975 issue of Popular Electronics, the Cyclops was the first digital camera. This wasn’t a device that used a CCD or a normal image sensor. The image sensor in the Cyclops was a 1 kilobit DRAM from MOS, producing a digital image thirty-two pixels square.

The full description, schematic, circuit layout, and theory of operation are laid out in the Popular Electronics article; all [William] had to do was etch a PCB and source the components. The key part – a one kilobit MOS DRAM in a metal can package, carefully decapsulated – had a date code of 1976, but that is the newest component in the rebuild of this classic circuit.

To turn this DRAM into digital camera, the circuit sweeps across the rows and columns of the DRAM array, turning the charge of each cell into an analog output. This isn’t a black or white camera; there’s gray in there, or green if you connect it to an oscilloscope.

This project in Popular Electronics would be manufactured by Cromemco in late 1975 and was released as their first product in January, 1976. The Cromemco was marketed as a digital camera, designed to interface with the MITS Altair 8800 computer, allowing anyone to save digital images to disk. This was the first digital camera invented, and the first digital camera sold to consumers. It’s an amazing piece of history, and very happy [William] was able to piece this together and bring it out to the Vintage Computer Festival this weekend.

Testing DRAM, One Byte At A Time

A few weekends ago, [Chris] was in the mood for some retrogaming. That meant digging out the old Apple IIgs equipped with a monstrous RAM card with a whole three megabytes of RAM. This particular Apple IIgs had intermittent issues for a long time, and [Chris] was beginning to suspect the RAM was the culprit. Testing this required testing a few dozen individual RAM chips, so why not build something with an Arduino to make [Chris]’ life easier?

The chips found in [Chris]’ Apple are standard 1 M x 1 DRAM chips, the standard for late-80s computers. To test these chips on an Arduino, he picked up a beautiful ZIF socket, wired up the chip to an Arduino shield, and began the joyous process of figuring out how to interface DRAM to an Arduino.

Unlike static memories, DRAM needs to be refreshed periodically to recharge the capacitors. While this refresh cycle was the bane of designers and engineers throughout time, [Chris] actually doesn’t need to care about refreshing the DRAM. He’s just writing 1024 rows to the memory and reading it straight out – no need to refresh the memory. The trick comes from the multiplexed address bus. For his project, [Chris] needs to write 10 bits of the address, latch it, then write the other half of the address bits.

The DRAM tester was a success, and [Chris] put all the code and schematics up on GitHub. Solving the mystery of the broken Apple IIgs wasn’t as simple, as [Chris] thinks the problem might be in one of the support chips on the gigantic RAM card or the IIgs motherboard. Still, it’s a neat, quick build to test out a few DRAM chips.