Ethernet is how we often network computers together, particularly when they’re too important to leave on a fussy WiFi connection. Have you ever thought about listening to Ethernet signals, though? Well, you totally could, with the NSA selector from [wenzellabs].
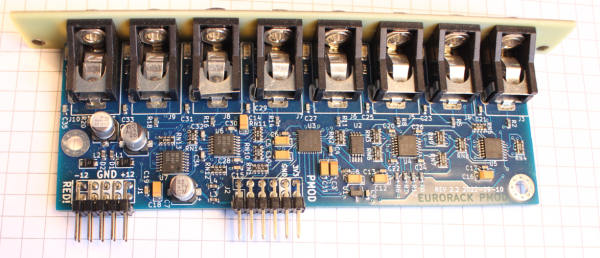
The NSA selector is a Eurorack module, designed for use as part of a larger modular synthesizer. There are lots of fun jokes and references on the PCB, but the front panel really shows you what this module is all about. It’s got a pair of RJ45 jacks, ready to receive your Ethernet cables through which data is flowing. They’re paired with a single audio output jack. “Any bit on the network will be sent to the audio output,” [wenzellabs] explains.
The device operates in a relatively simple fashion. Network traffic from one jack is forwarded to the other, unmodified. However, it’s also spat out to a simple digital-to-analog converter and turned into audio. This thing doesn’t play digital audio formats or anything like that—it just turns raw Ethernet signalling into audible noise.
Raw signal noises might not sound very appealing, but let’s be real here. If you liked nice sounds, you wouldn’t be into Eurorack. Skip to 25:46 in the video below if you just want to hear the final product.