
Multi-color 3D printing is notorious for being difficult to get right. Even with modern printers, you often end up using much more filament (and tool changes) than you would for a single-color print. [YKG3D] shows us a new method of color printing that needs far fewer tool changes. It’s the work of [SentientStardust] and you can check it out here.
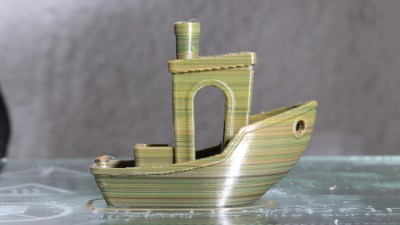
Based on 2018 research, the new slicer rotates through its palette of colors each layer. Then, either by adjusting the amount of filament dispensed or by displacing the edges, the prominence of each color is adjusted. The result is smoother gradients and better color blending — and it prints faster too!
Of course, nothing is perfect: the more base colors you add, the thicker your apparent layer lines will be. For example, a 3-color print with 0.2 mm layer height will appear as having 0.6 mm layer height. A different issue happens when the walls get too steep; the color blending illusion starts to break down.


 Whether you’re using granules or filament, FDM printing relies heavily on a consistent flowrate of the extruder. This is also the challenge with [HomoFaciens]’s direct granule extruder. Version 7.1 here refines some parameters before being
 The idea of FDM 3D printing using granules rather than filament is an appealing one: rather than having to wrangle spools of filament that need to adhere to strict dimensions and cannot be too flexible, you can instead just keep topping up a big hopper with fresh granules. This is what [HomoFaciens] has been tinkering with for a while now, with their


