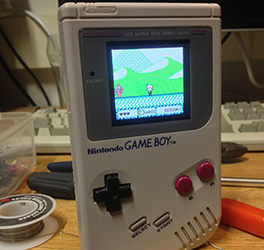
For a few years now, [Michael] has wanted to put the guts of a Game Boy Advance – the small clamshell version with a backlit LCD – into the classic and comfortable DMG-01 ‘brick’ Game Boy. He’s finally finished with his project, and we’ve got to say it’s looking pretty good.
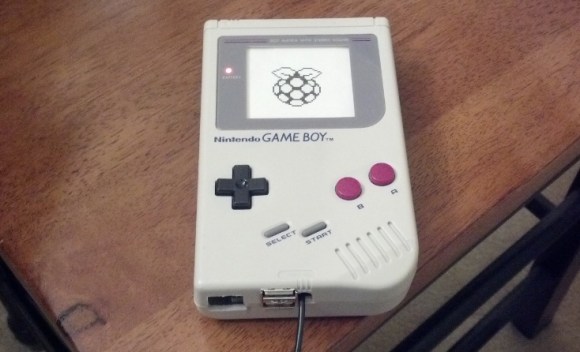
The build began by excising the backlit LCD from an old clamshell Game Boy Advance and hot gluing it to the screen bezel of an old DMG-01. The cartridge slot from the original ‘brick’ Game Boy remained, but this design decision did require a fair bit of soldering and a length of ribbon cable.
Since [Michael] is using the original cartridge slot found in the original Game Boy, he can’t play any games in the smaller Game Boy Advance cartridge format. Still, it should be possible to build an adapter to fit those smaller cartridges inside the larger Game Boy, and he can always play Tetris and Little Sound DJ, so nothing of value is lost.