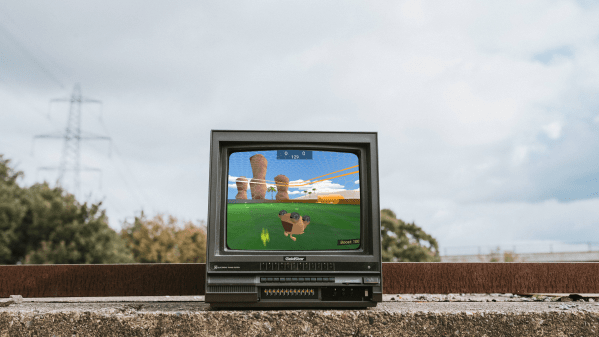
Would it have been too obvious to call a game about soccer playing RC cars, Soc-Car? Well [Martin] thought so and opted to call his Nintendo GameCube homebrew game, Retro League GX. The game clearly takes inspiration from Rocket League developed by Psyonix, as it pits teams of cars on a pitch plus comes complete with boosts to boot. There are some impressive physics on display here, and according to Krista over at GBATemp everything is playable on original hardware. Though those without a GameCube can certainly get a match in via the Dolphin emulator.
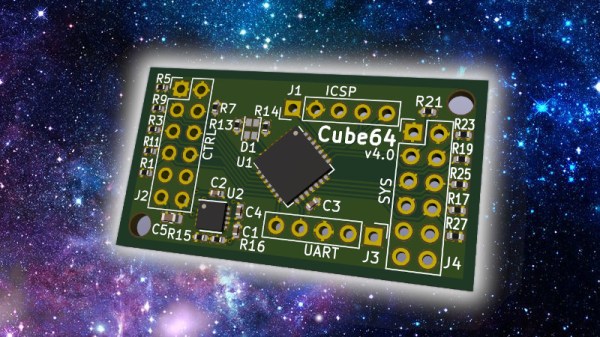
There are a number of ways to boot homebrew on a Nintendo GameCube, however, the most essential piece of software would be Swiss. Swiss is a homebrew utility that interfaces with all the myriad of ways to load code onto a GameCube these days. Common ways loading homebrew include saving files onto an SD card then using a SDGecko device that plugs into the memory card ports, or a SD2SP2 device that plugs into one of the GameCube’s expansion ports located on the bottom of the console. Those who prefer ditching the disc drive entirely can load homebrew via a optical disc emulator device like the GC Loader.
Still on the roadmap Retro League GX are ports for 3DS, PSP, Wii, and Linux. LAN and Online multiplayer are in the works as well. So at least that way GameCube broadband adapter owners may get to branch out beyond Phantasy Star Online for once. Best of all, [Martin] stated that the code for Retro League GX will be open sourced sometime next year.
Continue reading “Rocket League Inspired Homebrew Reverses Onto Nintendo GameCube”