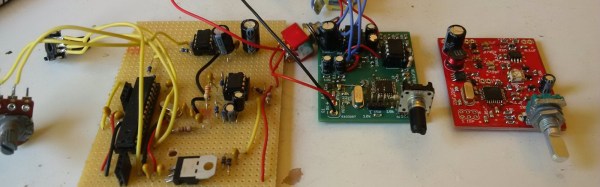
Just for a second, let’s perform a little engineering-based thought experiment. Let’s design a guitar tuner. First up, you’ll need a 1/4″ input, and some op-amps to get that signal into a microcontroller. In the microcontroller, you’re going to be doing some FFT. If you’re really fancy, you’ll have some lookup tables and an interface to switch between A440, maybe A430, and if you’re a huge nerd, C256. The interface is simple enough — just use a seven-segment display and a few LEDs to tell the user what note they’re on and how on-pitch they are. All in all, the design isn’t that hard.
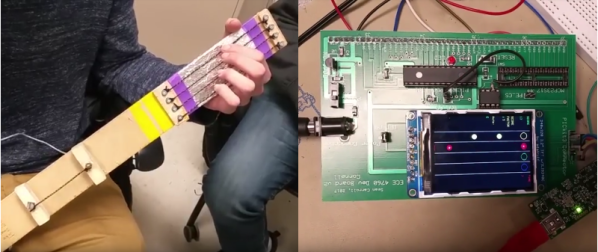
Now let’s design a tuner for blind musicians. This makes things a bit more interesting. That LED interface isn’t going to work, and you’ve got to figure out a better way of telling the musician they’re on-pitch. This is the idea of [Pepijn]’s Accessible Guitar Tuner. It’s a finalist in The Hackaday Prize Assistive Technology round, and a really interesting problem to solve.
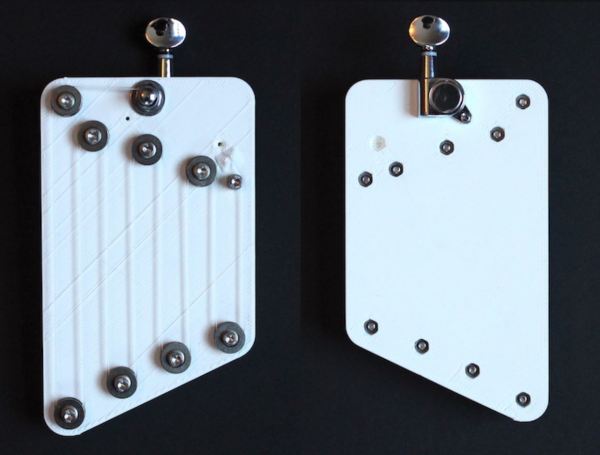
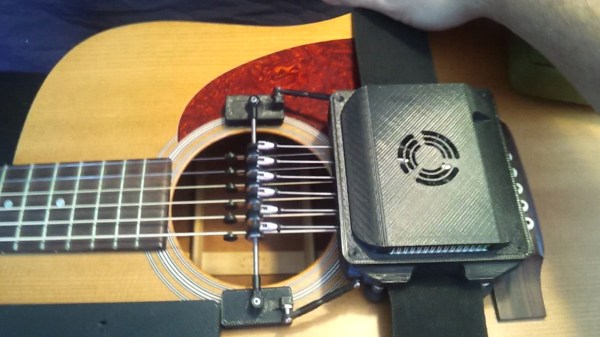
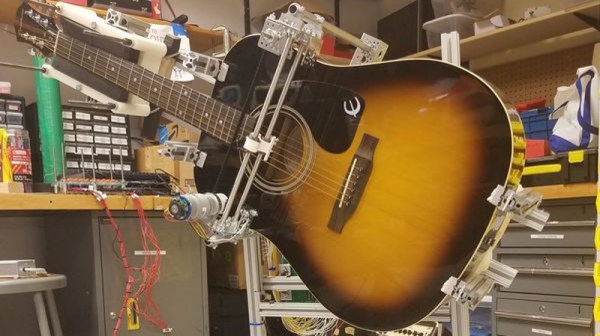
Most of [Pepijn]’s tuner is what you would expect — microcontrollers and FFT. The microcontroller is an ATMega, which is sufficient enough for a simple guitar tuner. The real trick here is the interface. [Pepijn] modulating the input from the guitar against a reference frequency. The difference between the guitar and this reference frequency is then turned into clicks and played through headphones. Fewer clicks mean the guitar is closer to being in tune.
This is one of those projects that’s a perfect fit for the Hackaday Prize Assistive Technology round. It’s an extremely simple problem to define, somewhat easy to build, and very useful. That doesn’t mean [Pepijn] isn’t having problems — he’s having a lot of trouble with the signal levels from a guitar. He’s looking for some help, so if you have some insights in reading signals that range from tiny piezos to active humbuckers, give him a few words of advice.