When the electric guitar was first produced in the 1930s, there was some skepticism among musicians as to whether or not this instrument would have lasting impact or be a flash-in-the-pan novelty. Since this was more than a decade before the invention of the transistor, it would have been hard then to imagine the possibilities that a musician nowadays would have with modern technology to shape the sound of an instrument like this. People are still innovating in this space as well as new technology appears, like [Gary Rigg] who has added a few extra degrees of freedom to a guitar effects pedal.
A traditional expression pedal, like a wah-wah pedal, uses a single motion to change an aspect of the sound of the guitar, and is generally controlled with the musician’s foot. [Gary]’s pedal, on the other hand, can be manipulated in three different ways to control separate elements of the instrument’s sound. It can be pitched forward and back like a normal effects pedal, but also rolled side-to-side and twisted around its yaw axis. The pedal has a built-in IMU to measure the various position changes of the pedal, which is then translated by an RP2040 microcontroller to a MIDI signal which controls the three different aspects of the sound digitally.
While the yaw motion might be difficult for a guitarist to create with their foot while playing, the idea for this pedal is still excellent. Adding in a few more degrees of freedom gives the musician more immediate control over the sound of their instrument and opens up ways of playing that might not be possible or easy with multiple pedals, with the MIDI allowing for versatility that might not be available in many analog effects pedals. Not every pedal needs MIDI though; with the help of a Teensy this digital guitar pedal has all its effects built into a self-contained package.


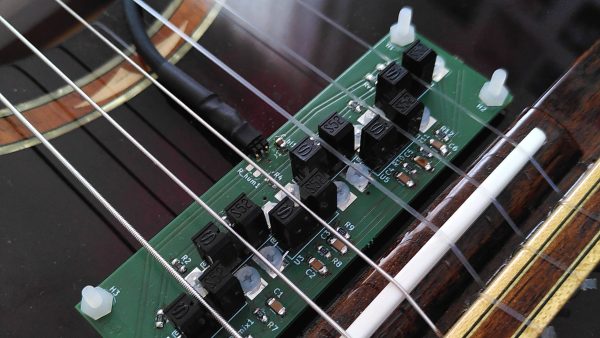
 The concept is simple. You place an LED and a phototransistor in a U-shaped channel, and place it so that the string runs through it. You repeat this for each string. Thus, as a string vibrates, it interrupts the light travelling from the LED to the phototransistor. This generates a voltage that varies with the frequency of the string’s vibration. Funnily enough, this type of pickup will work just fine on both nylon and steel strings, if you were so inclined to try it.