If you were a computer enthusiast in the late 1980s or early 1990s, the chances are that one of your objects of desire would have been a Commodore Amiga. These machines based on the 68000 line of processors and a series of specialized co-processors offered the best compromise between performance and affordability at the time, with multitasking, a GUI, and graphics capabilities that were streets ahead of their competition.
The Amiga story is littered with tales of what might have been, as dismal marketing and lacklustre product refreshes caused it to lurch from owner to owner and eventually fade away from the mainstream in the mid 1990s. But it’s been one of those products that never really died, as a band of enthusiasts have kept a small market for its software and hardware alive.
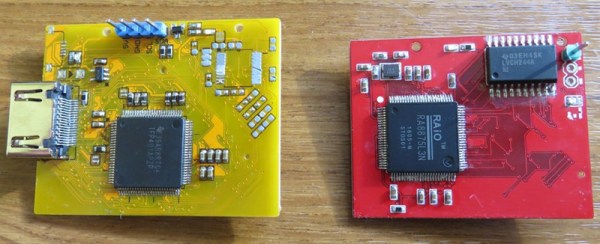
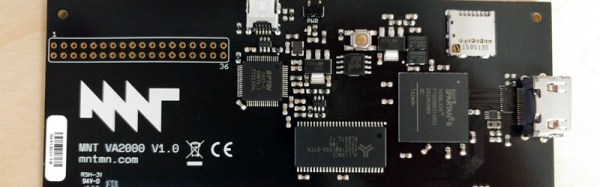
Earlier this year we showed you a prototype of an unusual graphics card, a modern GPU implemented on an FPGA board that brought up-to-date HDMI monitor support to the Zorro expansion slots found in the big-box Amigas. It’s thus very interesting today to find that the board made it to market, and that you can buy one for your Amiga if you have a spare 189 Euros (now sold out but taking pre-orders for another production run). Producing any niche electronic product is a significant challenge, so it is always positive to see one that makes it.
As well as HDMI output the board features a micro SD card slot that is mountable as an Amiga volume, and an expansion header that is toured as “Hacker friendly”. Best of all though, the whole board is open-source with all resources on a GitHub repository, so as well as reading our coverage of the prototype you can immerse yourself in its internals if that is your thing.
It’s always good to see a new piece of hardware for an old computer see the light of day, though it’s fair to say this development won’t revive the Amiga platform in the way that the Raspberry Pi has for RiscOS. Still, the mere fact of an open-source Zorro FPGA implementation being released should mean that other cards become possible, so we await developments with interest.
[via forums.xilinx.com]