Hacking Buttons Back Into The Car Stereo

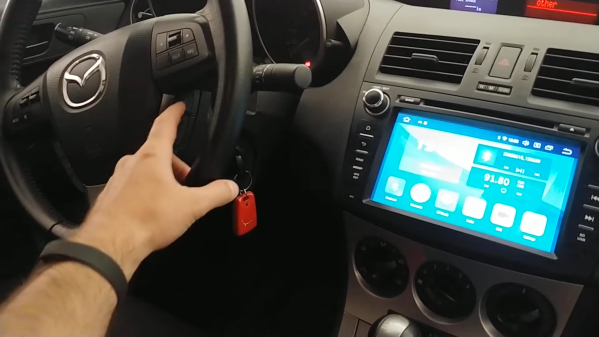
To our younger readers, a car without an all-touchscreen “infotainment” system may look clunky and dated, but really, you kids don’t know what they’re missing. Buttons, knobs, and switches all offer a level of satisfying tactility and feedback that touchscreens totally lack. [Garage Tinkering] on YouTube agrees; he also doesn’t like the way his aftermarket Kenwood head unit looks in his 2004-vintage Nissan. That’s why he decided to take matters into his own hands, and hack the buttons back on.

Rather than source a vintage stereo head unit, or try and DIY one from scratch, [Garage Tinkering] has actually hidden the modern touchscreen unit behind a button panel. That button panel is actually salvaged from the stock stereo, so the looks fit the car. The stereo’s LCD gets replaced with a modern color unit, but otherwise it looks pretty stock at the end.

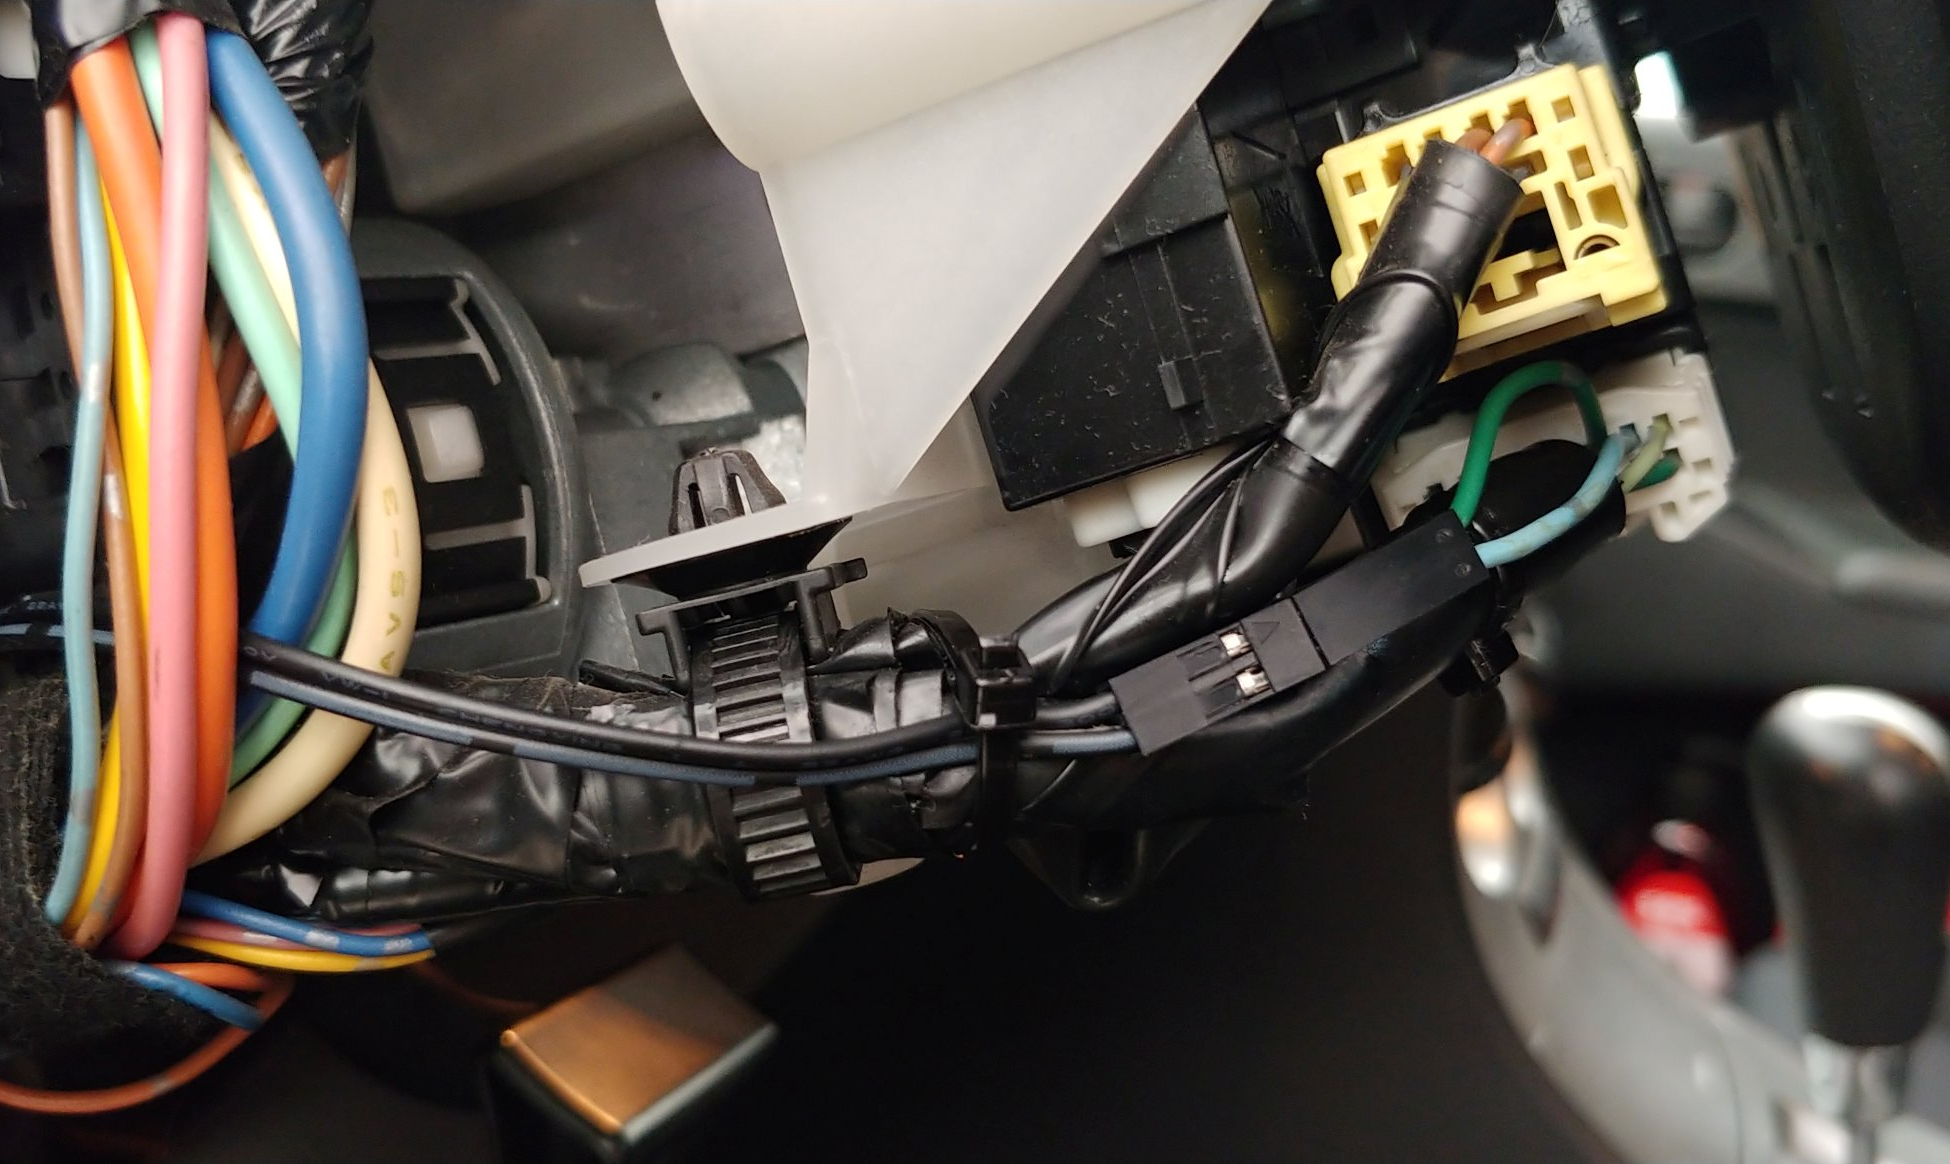
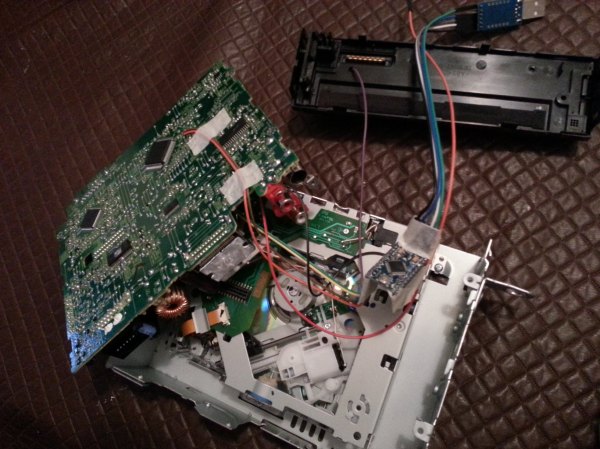
Adding buttons to the Kenwood is all possible thanks to steering-wheel controls. In order to make use of those, the touchscreen head unit came with a little black box that translated the button press into some kind of one-wire protocol that turned out to be an inverted and carrier-less version of the NEC protocol used in IR TV remotes. (That bit of detective work comes from [michaelb], who figured all this out for his Ford years ago, but [Garage Tinkering] is also sharing his code on GitHub.) Continue reading “Hacking Buttons Back Into The Car Stereo”

Original E39 Head Unit Modernized

Although most modern cars have moved to using proprietary components nearly everywhere, especially when it comes to infotainment systems, for a brief moment which peaked in the 90s and 00s most cars shipped with radios that fit in a standard size opening called a DIN slot. If you wanted a new Pioneer or Kenwood stereo it was usually a simple matter to slide the factory radio out and put your choice of aftermarket head unit in its place. [Stefan] has an E39 BMW from this era and wanted to upgrade the factory radio but use the original hardware instead of replacing it.

This isn’t just a simple stereo upgrade either. [Stefan] has gone all-out for this build which he started in 2020. Beginning with a Kotlin/Jetpack Compose Linux application to handle control input from the vehicle’s various knobs and buttons he moved on to a map application and an on-screen keyboard. From there he implemented VGA to send video to the OEM screen, and now has a fully functional system based on a Raspberry Pi. It does everything the original unit can do including playing music and showing the feed from the backup camera, plus adds plenty of new, modern features like Bluetooth.

For a certain classic car enthusiast, this build hits a sweet spot of modernizing a true classic like the E39 without removing or permanently modifying any OEM components. The amount of work that went into it is pretty staggering as well, with [Stephan] putting in over 100 hours of work just to get the video signal timing correct. We also like it because it reminds us of the flash-in-the-pan “carputer” trend from the late 00s where people in the pre-smartphone age were shoving all kinds of computing horsepower in their trunks.

Macros For A Mazda

[Arik Yavilevich] recently upgraded his second-gen Mazda’s control console, going from the stock busy box to an Android head unit that does it all on a nice big touchscreen. It can also take input from the handy steering wheel buttons — these are a great option for keeping your eyes on the road and occasionally startling your unsuspecting passengers when the radio station suddenly changes.

The only problem is that [Arik]’s stock steering wheel doesn’t have any media-specific buttons on it. After a short trip to the junkyard, [Arik] had a fancier wheel to go along with the new head unit.

[Arik] doesn’t use cruise control, and those particular buttons can’t be hooked up with reprogramming the car’s computer, so he made them into macro buttons that control the head unit over Bluetooth, using an STM32 black pill board stashed in the glove box.

[Arik] found out that the cruise control buttons don’t ride the CAN bus — they use a resistor ladder/voltage divider and go directly into the ECU. After that it was mostly a matter of finding the right wires and then cutting and re-routing them to make the buttons work on the ACC setting as well as ON. A brief demo video is idling after the break.

Have an old smart phone lying around? Of course you do. Why not make your own head unit?

Continue reading “Macros For A Mazda”

Rooting Your Ride: Jailbreaking A Subaru QNX

A modern car still drives in the same way as the one you would have bought thirty years ago, it still has a steering wheel and all the other controls. What has changed in the cabin lies mostly beneath the dash, where enough computing power to launch several Moon shots takes care of everything from air-conditioning to entertainment. As you might expect these systems attract the curiosity of security researchers, and through their work we gain an insight into their operation.

[Scott Gayou] has a Subaru, a car that has an all-in-one entertainment system head unit that is typical of what you’d find across a host of manufacturers. His account of jailbreaking it is a lengthy essay and a fascinating read for anyone. He starts with a serial port, then an SSH prompt for a root password, and a bit of searching to find it was made by Harman and that it runs the closed-source realtime OS QNX. From there he finds an official Subaru update, from which he can slowly peel away the layers and deduce the security mechanism. The write-up lays bare his techniques, for example at one point isolating the ARM assembler for a particular function and transplanting it bodily into his own code for investigation.

Eventually he could penetrate the filesystem of the update, and from there he could find that while the root user had a password there were two other accounts that while heavily locked down, had none. The discovery came that files on USB drives plugged into the system were given user-level execute permissions, at which point under the locked-down user he could execute arbitrary code from USB drives. He could then create and modify copies of the device’s filesystem which he could flash onto it, and thus place a modified password validation function into it and gain root access.

Some Hackaday readers will be accomplished in security work such as this, but many of us are hardware specialists for whom it remains something of a dark art. A comprehensive and accessible write-up such as this one is therefore invaluable, because it gives us an insight into the techniques used and perhaps more importantly, into some of the security pitfalls a hardware engineer might unwittingly introduce into their creations.

QNX is a real-time operating system with a long history of appearances in industrial and automotive applications. Readers with long memories may recall their demo floppies from the 1990s which packed a fully functional GUI, Internet connectivity, and modern (for the time) web browser onto a single 1.44Mb floppy disk. We’ve talked about it in the past in a little detail, as when someone made a desktop OS using it.

Tricking An Ancient Protocol To Play Tunes

A lot of technological milestones were reached in 2007. The first iPhone, for example, was released that January, and New Horizons passed Jupiter later on that year. But even with all of these amazing achievements, Volvo still wasn’t putting auxiliary inputs on the stereo systems in their cars. They did have antiquated ports in their head units though, and [Kalle] went about engineering this connector to accommodate an auxiliary input.

The connector in question is an 8-pin DIN in the back, which in the days of yore (almost eight years ago) would have been used for a CD changer. Since CDs are old news now, [Kalle] made use of this feature for the hack. The first hurdle was that the CD changer isn’t selectable from the menu unless the head unit confirms that there’s something there. [Kalle] used an Arduino Nano to fool the head unit by simulating the protocol that the CD changer would have used. From there, the left and right audio pins on the same connector were used to connect the auxiliary cable.

If you have a nearly-antique Volvo like [Kalle] that doesn’t have an aux input and you want to try something like this, the source code for the Arduino is available on the project page. Of course, if you don’t have a Volvo, there are many other ways to go about hacking an auxiliary input into various other devices, like an 80s boombox or the ribbon cable on a regular CD player. Things don’t always go smoothly, though, so there are a few nonstandard options as well.

DIY Steering Wheel Control Adapter

Arduino Translates Signals Between Steering Wheel Buttons And Aftermarket Head Unit

There is no question that steering wheel mounted controls are super convenient. Reaching all the way over to the dashboard to change a radio station is so 1990’s. An ever-increasing percentage of new cars are coming equipped with steering wheel controls for the stereo, however, you’ll lose the button control if you change out the stock head unit to something a little higher in quality. Sure, there may be an adapter readily available for your car/stereo combination, but there also may not be. [Ronnied] took the DIY road and made his own adapter.

The first obstacle for [Ronnied] was to figure out the wiring on the steering wheel controls. After some poking around he found that there were only two wires used for all of the control buttons, each button only changing the resistance between the two wires. The button states could easily be read by using an Arduino’s analog input. A Pro Mini model was chosen for its small size as it could be housed in the radio compartment of the dash.

The next step was getting the Arduino to control the aftermarket head unit. [Ronnied] did some research regarding JVC’s Stalk digital control interface but came to the conclusion that it would be easier to direct wiring the Arduino outputs to the appropriate spot on the head unit’s circuit board. To do this the button for each function that would also be represented on the steering wheel was traced out to find a common point on the circuit board. Jumper wires soldered to the circuit board simply allow the Arduino to emulate button pushes. To ensure that the head unit buttons still work in conjunction with the steering wheel buttons, the Arduino would have to keep the pins as inputs until a steering wheel button was pushed, the pin changed to an output, the signal sent and the pin changed back to an input. This feature was easily created in the Arduino sketch.

Video below.

Continue reading “Arduino Translates Signals Between Steering Wheel Buttons And Aftermarket Head Unit”

Repairing A VFD Driver On A Car Stereo

We love seeing repairs and always marvel at the ability to track down the problem. [Todd] seems to have a knack for this. He was met with a lot of adversity when trying to get the Vacuum Fluorescent Display working on his car stereo. A lot of persistence, and a little bit of taking the easier way out let him accomplish his goal.

The head unit is out of his 1994 Jeep. He knew the radio functionality still worked, but the display was completely dark. After getting it out of the dashboard he connected it to a bench supply and started probing around. He established that the data lines were still working by setting the radio to auto scan mode and testing with a multimeter. When he went to measure the cathode pins he didn’t get any reading. It seems the driver which supplies that signal is burnt out.

One easy fix would be to replace the parts from a scavenged unit. [Todd] hit the junkyard and picked up one from a Jeep that was just one model year apart from his. Alas, they weren’t exactly the same, and although he swapped out a chip (using a neat heated solder sucker) it didn’t work. In the end he simply dropped in a power resistor to use the 12V rail as a 1V at 0.1A source for the filament.

You can see his repair extravaganza in the video after the break. If you’re looking for tips on scavenging these types of displays check out this post.

Continue reading “Repairing A VFD Driver On A Car Stereo”