If home automation in the IoT era has taught us anything, it is that no one wants to run wires. Many of us rent, so new cabling is not even an option, even if we wanted to go that route. If you want a unique sensor, you have to build your own, and [tmkThings] wanted an NFC scanner at his front door. Just like arriving at work, he scans his credentials, and the door unlocks automagically.
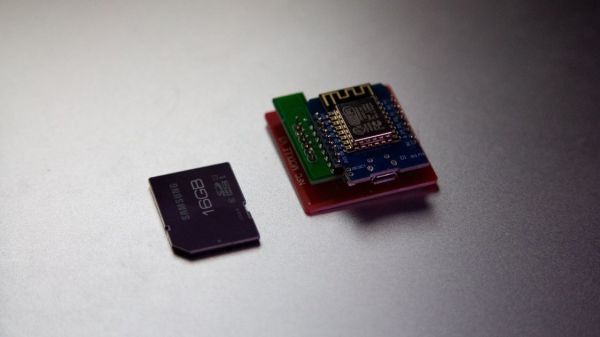
Inside a little white box, we find an ESP8266 speaking Wifi attached to a PN532 talking NFC, and both are familiar names on these pages. The code, which is available on GitHub, links up with IFTTT and MQTT. For the security-minded, we won’t see this on your front door, but you can trigger your imagination’s limit of events from playing your favorite jams at the end of the day to powering down all the televisions at bedtime.
NFC hacks are great because they are instantly recognizable and readers are inexpensive, but deadbolt hacking is delightful in our books.