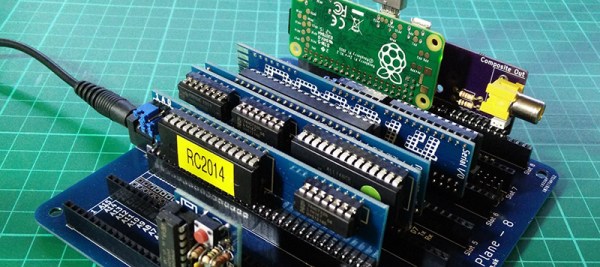
Someone walks into the Vintage Computer Festival and asks, ‘what’s new?’. It’s a hilarious joke, but there is some truth to it. At this year’s Vintage Computer Festival West, the exhibit hall wasn’t just filled to the brim with ancient computers from the Before Time. There was new hardware. There was hardware that would give your Apple IIgs even more memory. There was new hardware that perfectly emulated 40-year-old functionality. There’s always something new at the Vintage Computer Festival.
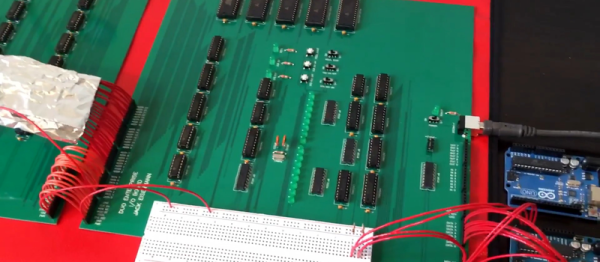
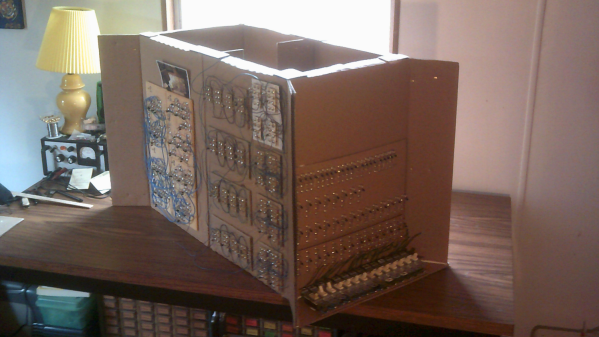
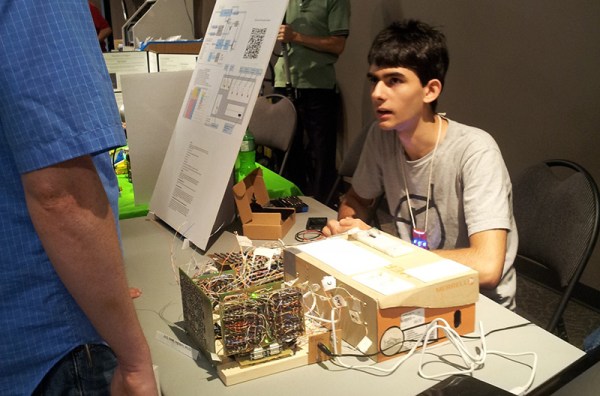
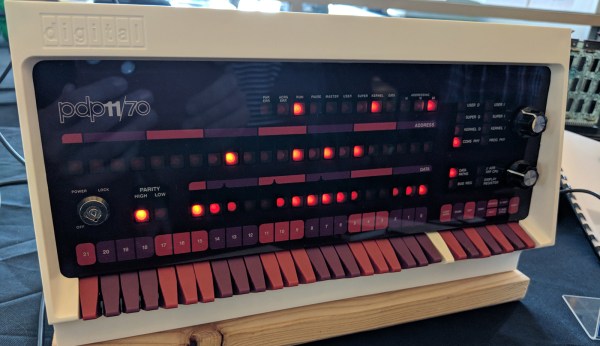
Some of the more interesting projects are just coming off the assembly line. If you want a modern-day Lisp machine, that one won’t be assembled until next week, although there was a working prototype at VCF. If you want the greatest recreation of the most beautiful hardware, VCF has your back. Check out these amazing builds below.
Continue reading “VCF West: Homebrew Lisp Machines And Injection Molded PDPs”