While some people may enjoy the occasional whiff of noxious smells — gasoline, axe body spray, etc — prolonged exposure to fumes is not good for your health. This goes for soldering too, isn’t it about time you added some abatement to your bench tools?
Inspired by some of the fume hoods we’ve featured before — take note, ye who art lacking projects — [Georg Sluyterman] put together his own Ikea lamp fume extractor.
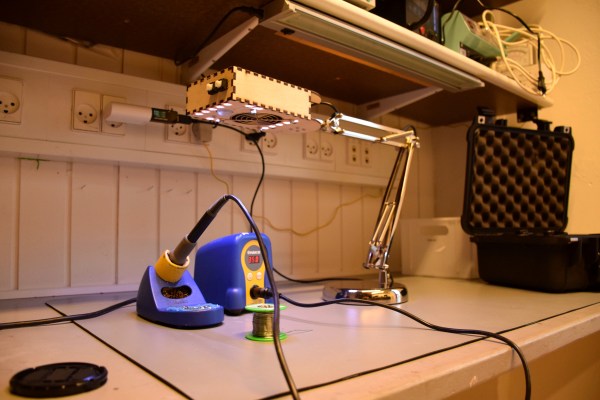
The most striking feature is that it’s mounted on an Ikea desk lamp making for convenient positioning and minimal clutter. A NeoPixels strip lights up your soldering space while the PIR sensor activates the fan when it detects movement. A WeMos D1 Mini is included for WiFi connectivity but that feature still down the road a little bit. The functionality that is in place is still quite impressive; more on that after the break.
Continue reading “Ikea Desk Lamp That Will Defend Your Lungs”
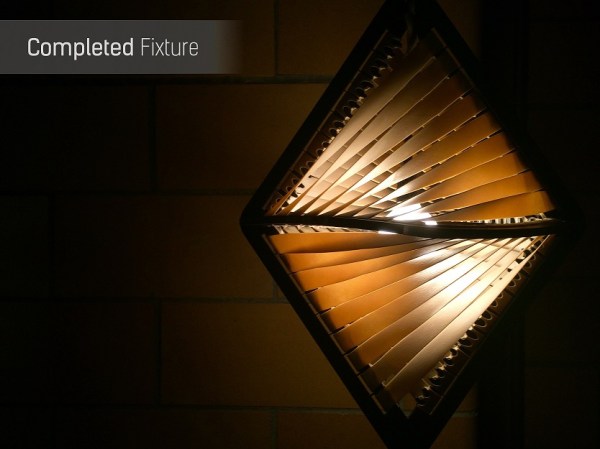
 Having access to a laser cutter made the job much easier than it could have been and allowed [Matt] to go through many designs for the lamp frame. The two main pieces were cut from acrylic and include mounting pegs for the elastic bands. The two plastic pieces are designed to slot together, forming a sort of diamond shape.
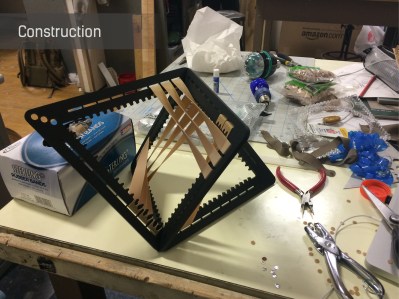


