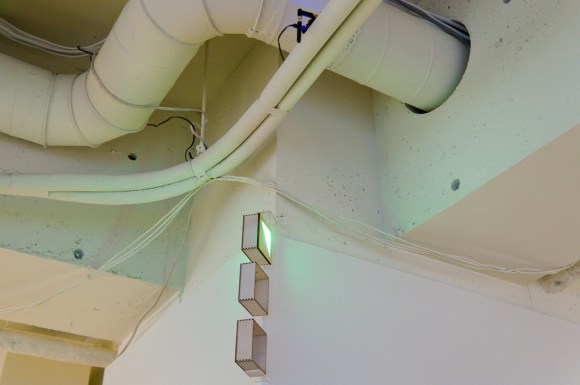
Municipal waste pickup is a wonderful luxury. Typically once a week, large trucks come by and pick up bins of garbage from your residence. All you have to do is remember to put them out! In a uniquely human way, this is very hard to do. Enter the BinDayCator.
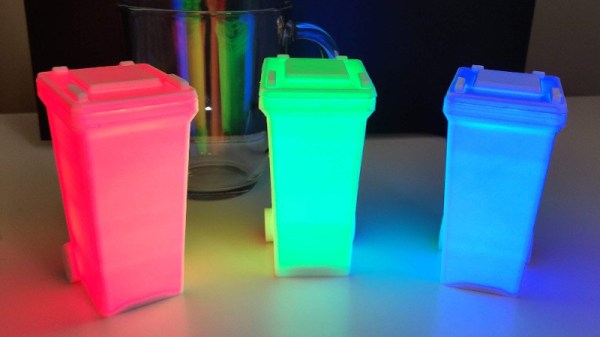
The project consists of a 3D printed model of a typical council wheelie-bin. Printed in white filament, the bin is translucent enough to glow when lit by powerful WS2812B LEDs. Having four LEDs both helps fill the entire model with an even light, as well as allows the bin to display multiple colors in different segments. This means that if it’s green bin day, the bin glows green. If it’s the day for the red and blue bins, the indicator will light up segments in red and blue.
Unfortunately there’s no global standard that councils use to serve up bin day data over the Internet, so configuration isn’t as simple as pointing the BinDayCator at your local waste authority’s website. Instead, some Node-RED code is used to scrape the council website once a day and tell the ESP8266 controlling the BinDayCator which bins are due to be placed on the roadside. A later revision has a custom calendar UI that can allow for manual configuration of the relevant days.
The BinDayCator is a cute device, and one that would likely be commercially successful if there were a simple and easy way to configure the necessary data feed. We’d love one by our front door so we didn’t miss another collection day. Visual indicators are always useful, even if its just for checking the mail. Video after the break.
Continue reading “BinDayCator Lets You Know When To Take Out The Trash”
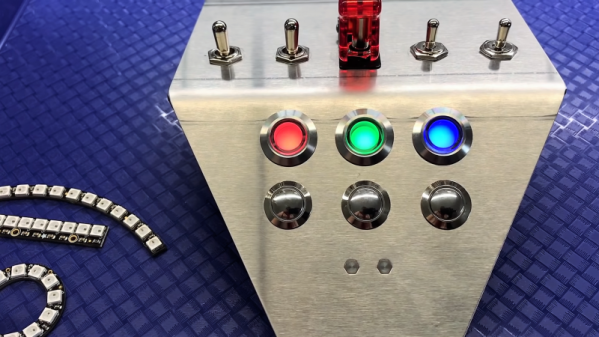
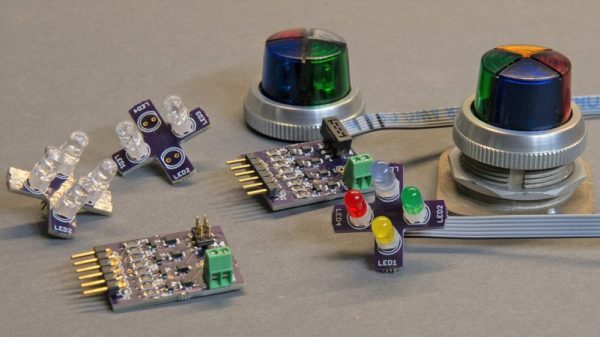
 Before this project, [David]’s office had a fairly terrible system to tell everyone who was in the office, who was out, and who wasn’t coming in today. Velcro and whiteboards will do the job, but arcade buttons and LEDs called to [David], leading him to create this