With all the EV hype in the air, you’d be forgiven for thinking electric vehicles are something new. But of course, EVs go way, way back, to the early 19th century by some reckonings. More recently but still pretty old-school were Ford’s Think line of NEVs, or neighborhood electric vehicles. These were commercially available in the early 2000s, and something like 7,200 of the slightly souped-up golf carts made it into retirement communities and gated neighborhoods.
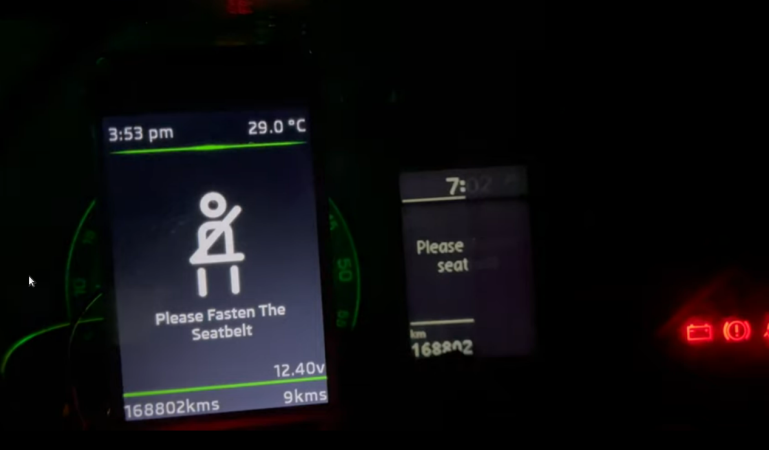
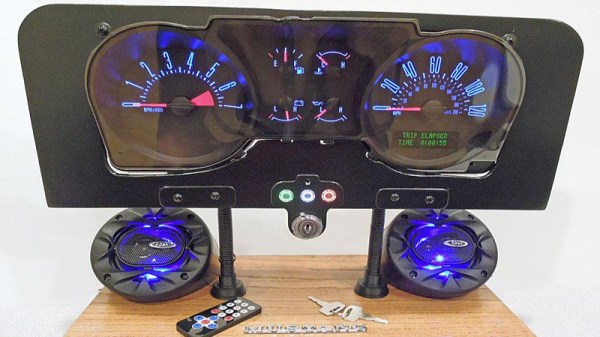
But as Think aficionado [Hagan Walker] relates, the Achille’s heel of these quirky EVs was its instrument cluster, which had a nasty habit of going bad and taking the whole vehicle down with it, sometimes in flames. So he undertook the effort of completely reverse engineering the original cluster, with the goal of building a plug-in replacement.
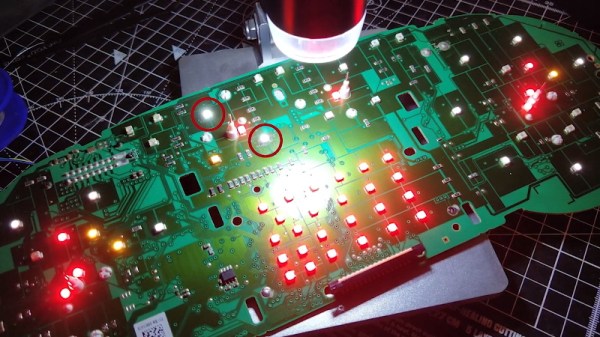
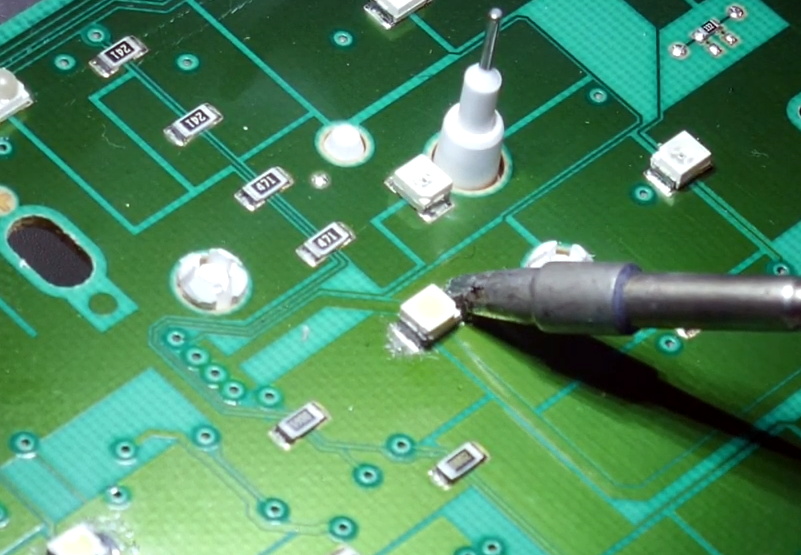
The reverse engineering effort itself is pretty interesting, and worth a watch. The microcontroller seems to be the primary point of failure on the cluster, probably getting fried by some stray transients. Luckily, the microcontroller is still available, and swapping it out is pretty easy thanks to chunky early-2000s SMD components. Programming the MCU, however, is a little tricky. [Hagan] extracted the code from a working cluster and created a hex file, making it easy to flash the new MCU. He has a bunch of other videos, too, covering everything from basic diagnostics to lithium battery swaps for the original golf cart batteries that powered the vehicle.
True, there weren’t many of these EVs made, and fewer still are on the road today. But they’re not without their charm, and keeping the ones that are still around from becoming lawn ornaments — or worse — seems like a noble effort.
Continue reading “Reverse Engineering Keeps Early Ford EVs Rolling”