No, Hackaday hasn’t started advertising shoes, this is [Matlek’s] foot controller for Ableton Live.
Matlek plays guitar and needed an easy way to control Ableton Live, which he uses as a looper. Ableton normally expects keyboard input, so that’s exactly what he gave it.
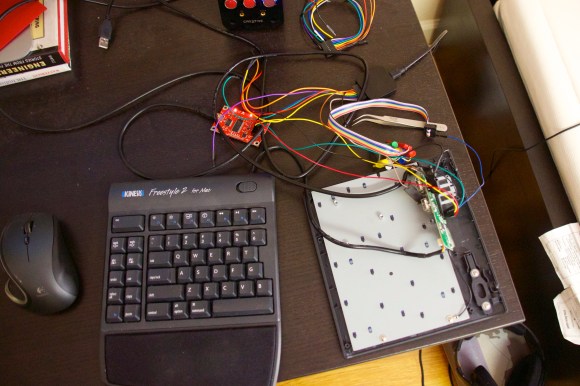
An old dell keyboard was gutted down to its controller board. This exposes the leads the keyboard uses to scan the key matrix. From there it is simply trial and error connecting different pins together and seeing which keys are printed on the PC screen (A text editor works well for this). Only 8 characters are needed to control the looper, so [Matlek] chose digits 1-8.
Since some of the wires are going to be sharing pins, a small piece of stripboard comes in handy between the buttons and the keyboard controller. [Maltek] used basic momentary push buttons for his mini key matrix, though we think that box looks sturdy enough to support some larger stomp box style buttons.
Everything comes together inside a sturdy shoebox, which also serves to insulate the exposed keyboard PCB from shorting out.
The only major downside to the project is that the box is light enough that it slides easily on the floor when recording or triggering loops. Adding some heavy items (or dare we say, some shoes) would solve this problem. Self adhesive rubber feet on the bottom of the box would help too.
Continue reading “USB Ableton Foot Controller Reuses Old Keyboard”